
An Enthusiast's Diary — Day 0. At the Beginning of the Journey into Development. No Promises, Just a Report.
Like many people, I probably got into programming with one thought in mind: to make my own game someday. Not “get into IT” or “learn an in-demand profession”—but build something with my own hands that people would play. That’s what a lot of people think when they sit down for their first programming lessons. Then work, projects, and deadlines come along—and the dream quietly gets put on the shelf with all the other “somedays.”
That’s what happened to me, too. When I started programming, there weren’t any ready-made solutions yet—just like there wasn’t a lot of what we take for granted today. Back then, people made games with whatever they could find, and the road from “I can write code” to “I’m making a game” was a lot longer and bumpier than it is now.
Then Unity came along. And it used C#—a language I already knew by then. You’d think this was the moment: just get started. I was interested. I read articles, looked at other people’s prototypes, visited the download page—and closed the tab. There was too much I didn’t understand, and it all felt too far removed from what I did every day. It’s easier to play finished games than figure out how they work, after all.
Years went by like that. A familiar language, sure, but an unfamiliar engine, a different approach, different rules. There was always a reason to put it off: work today, too tired tomorrow, and the day after, “I’ll finish what I’m working on and get back to it.” Then you open someone else’s prototype again and think: look at that, people are making games. So I can do it, too. Someday.
And now I’ve decided I’m done watching from the sidelines.
Why I decided to start now
To be honest, things have gotten a little quiet in the gaming world. Stores stopped throwing interesting game keys at us every week, and big announcements have dried up. It feels like everyone’s frozen, waiting for something big. And in that lull, I caught myself thinking: what am I waiting for? Maybe it’s time to create something myself instead of just waiting for someone else’s release.
That’s how this series came about. “Enthusiast’s Diary” isn’t a Unity tutorial or an engine review. It’s my personal journey: an amateur gamer trying to make a game from scratch. With bugs, reworks, sleepless nights, and, hopefully, a playable result at the end.
And you know what finally pushed me over the edge? I caught myself discussing the mechanics in other people’s games as if I’d made them myself. Arguing about balance, complaining about optimization, suggesting how things should have been done. Then I realized I hadn’t even put together the simplest prototype. It’s easy to be a critic when you haven’t created anything yourself. That was the final trigger—not to wait or discuss, but to sit down and make something. However rough, however slow, it’ll be mine.
First step: installing everything I need.
Before I can make anything, I need to get my tools ready. For Unity, there are two main components: Unity Hub (the manager you use to install the engine and manage projects) and Visual Studio (the environment where you write code). Unity uses C#, so you need a code editor.
Usually, people go with “Unity Hub first, then the code editor.” I decided to do it the other way around—and I’m glad I did.
Visual Studio 2022
I went to the official Visual Studio website, downloaded the installer, and launched it. In the installer, I selected the Workloads tab and checked Game development with Unity. This is the key option: it includes Visual Studio Tools for Unity, the official integration that lets you run the game right from the code editor, set breakpoints, and see what’s happening at runtime.
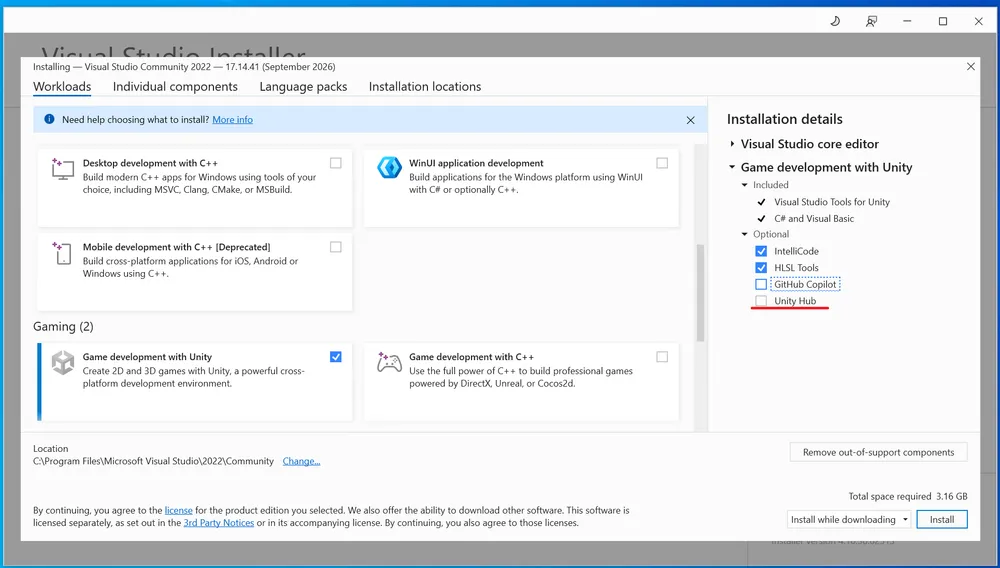
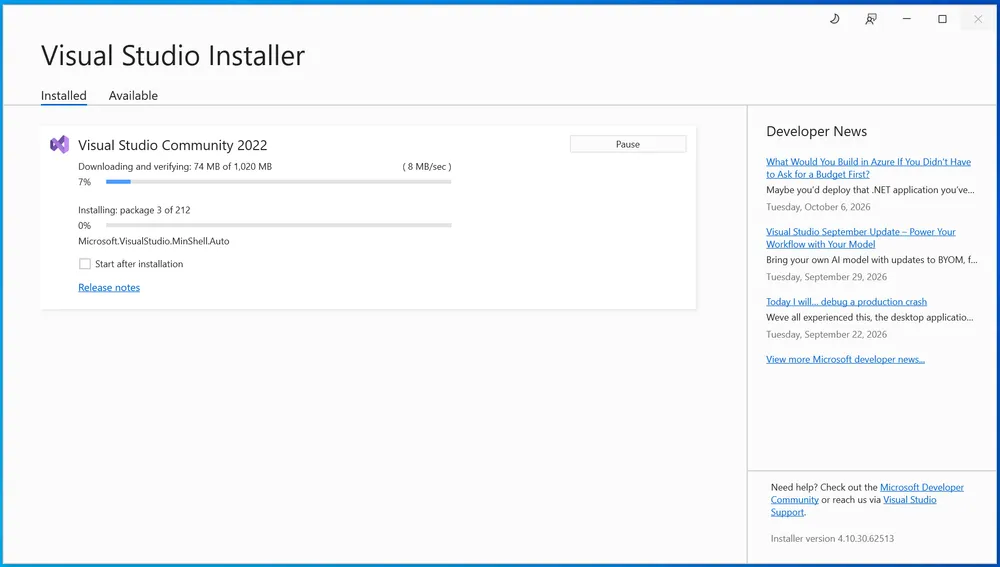
Now for the interesting part. The installer also has an Optional section. I took a look and found Unity Hub there—and checked the box. Unity Hub downloaded and installed automatically along with Visual Studio. No need to visit Unity’s website or search for anything. It all came in one package.
Why Visual Studio 2022
By the time I’m writing this, Visual Studio 2026 has already been released. I tried it, but deliberately switched back to the 2022 version. The reasons are simple.
First, 2022 works more reliably with Unity. It’s a proven combination that Unity and Microsoft have supported for years. Newer versions of VS sometimes fail to “see” the Unity editor, break IntelliSense (the technology that provides code completion and smart coding assistance), or behave unpredictably when updating a project. I ran into this myself while setting things up, and later read in the forums that it’s a known issue.
Second, I don’t need the AI features. Visual Studio 2026 heavily promotes built-in AI assistants, AI-powered code completion, and other “vibe coding” tools. I write code by hand, and it’s important to me to understand every line instead of just accepting what a model suggests. That’s essential when you’re learning: if AI does the work for you, you’re not learning—you’re just watching. This is a personal choice, and I’m not trying to impose it on anyone.
Third, 2022 is simpler and lighter. Fewer extra panels, less telemetry, lower memory usage. For a machine that’s running Unity and a game at the same time, I think that makes a noticeable difference.
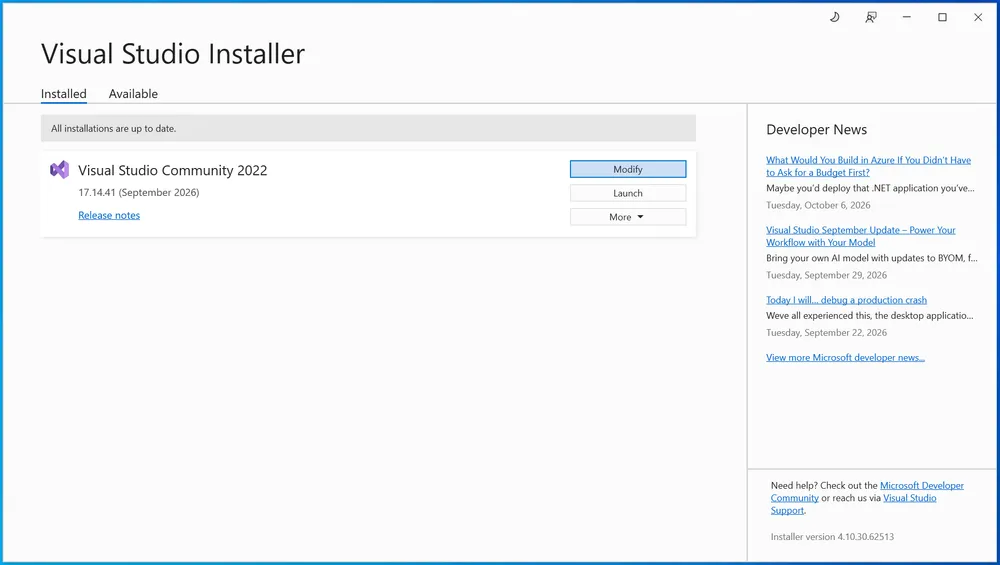
If you want to try 2026, you can install it alongside 2022: Unity works perfectly well with several versions of Visual Studio at the same time—or at least, that’s what the documentation says. To do this, go back to the installer and select the 2026 version under the Available tab.
What to do with Unity Hub
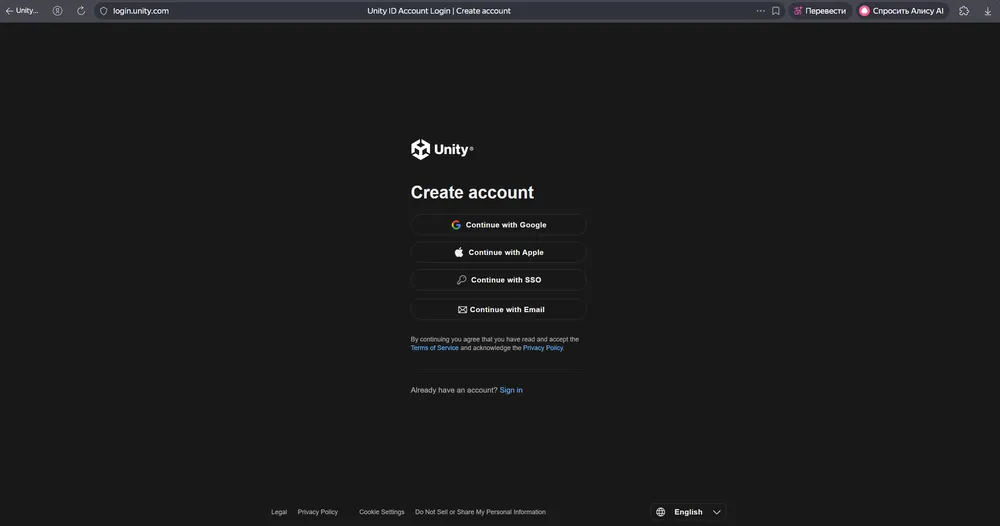
Once Visual Studio had installed, Unity Hub was already there. I opened it. Hub asked me to sign in to my Unity account—I already had one, but if I hadn’t, creating one would have been just like any other online registration: it’s free and you need it to access the editor and assets.
After signing in, we’re greeted by the Unity Hub window. This isn’t the engine itself, just a hub (as the name suggests) that brings together all your projects and installed editor versions. Think of it as a control center: from here, you can launch projects, install new versions of Unity, manage your license, and access learning materials.
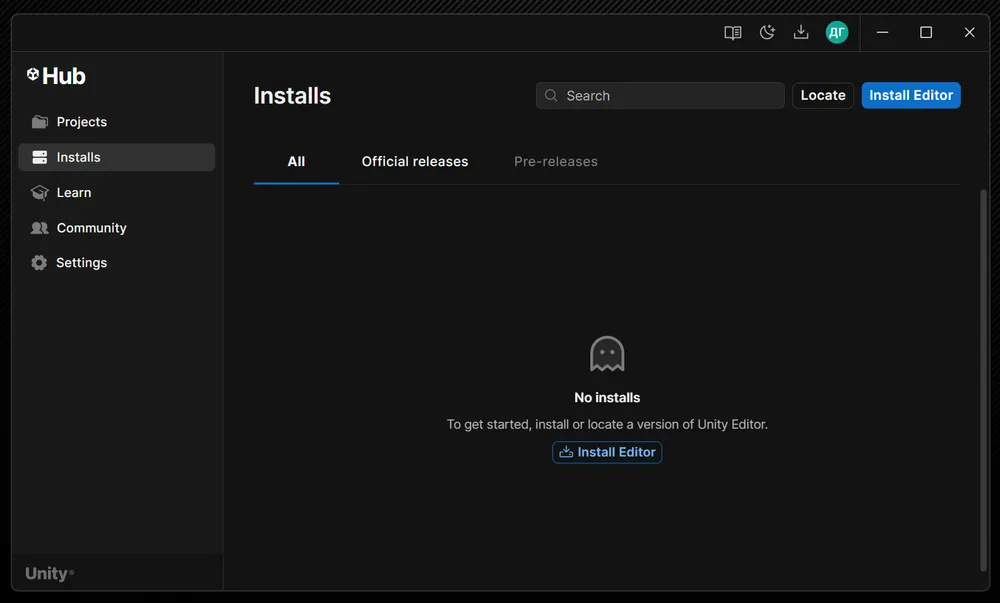
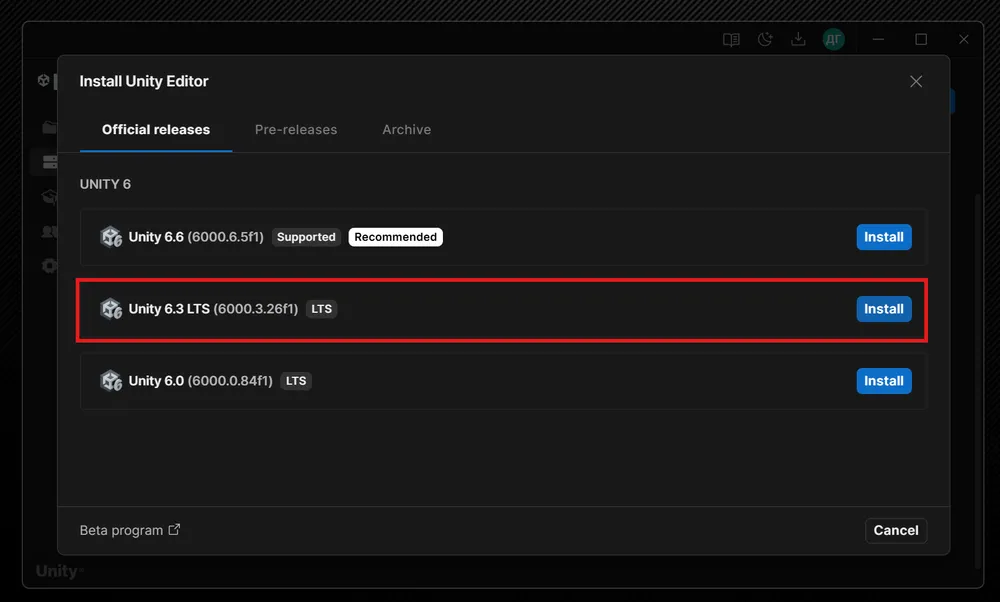
Now it’s time to install the engine itself. I went to the Installs tab and clicked Install Editor. I chose Unity 6.3 LTS. LTS stands for “long-term support”: it’s a stable version that gets bug fixes and support for two years. Just what you need for a first project. I decided not to chase the latest beta.
When it came time to choose modules (Add modules), Hub offered to install Visual Studio Community 2026, but I unchecked it—as you’ll remember, I started by installing VS 2022, so that’s already in place as my code editor.
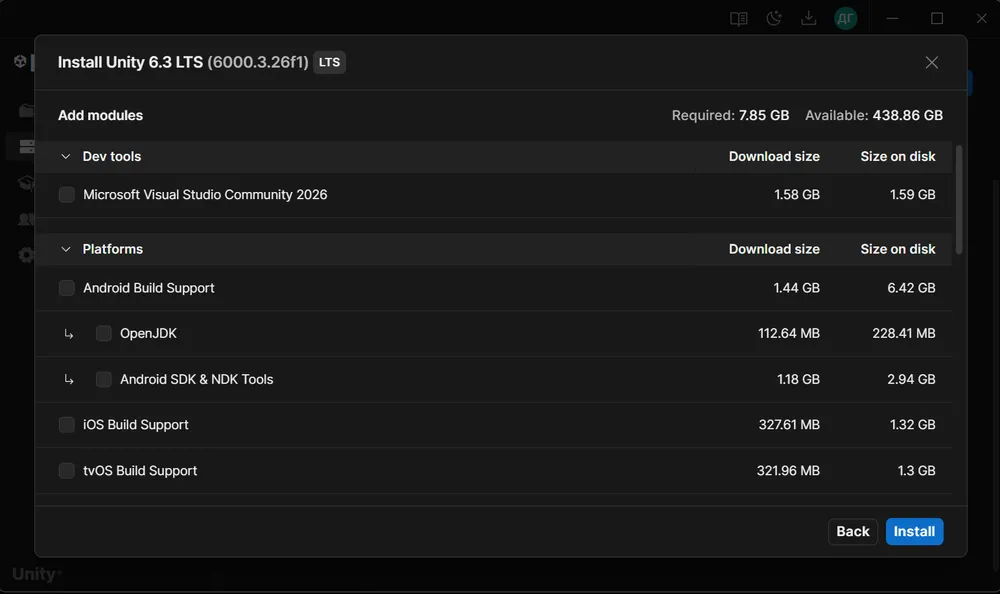
Setting up Unity + Visual Studio
An important point: since I installed the code editor before Unity, I need to tell the system that Visual Studio is where I write my code.
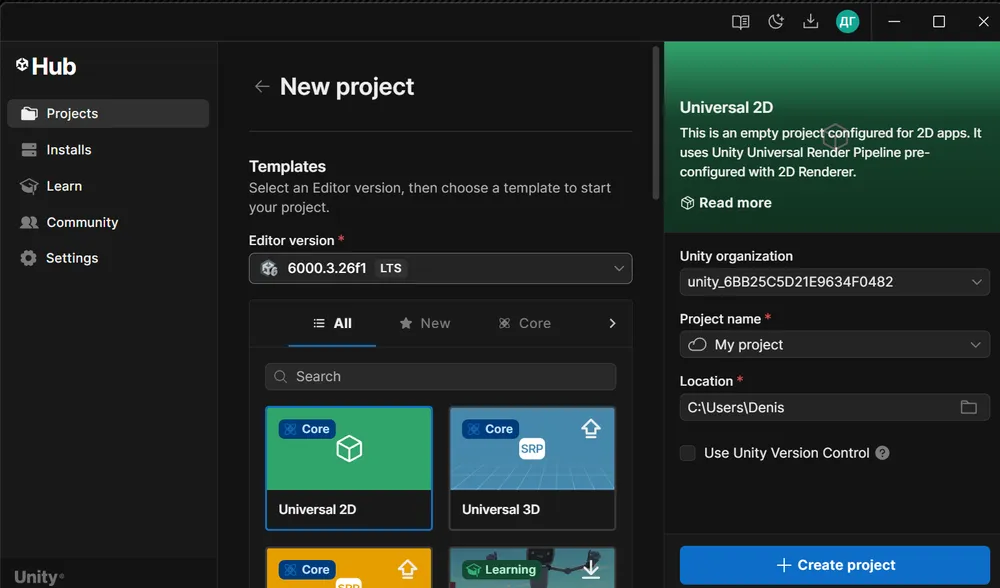
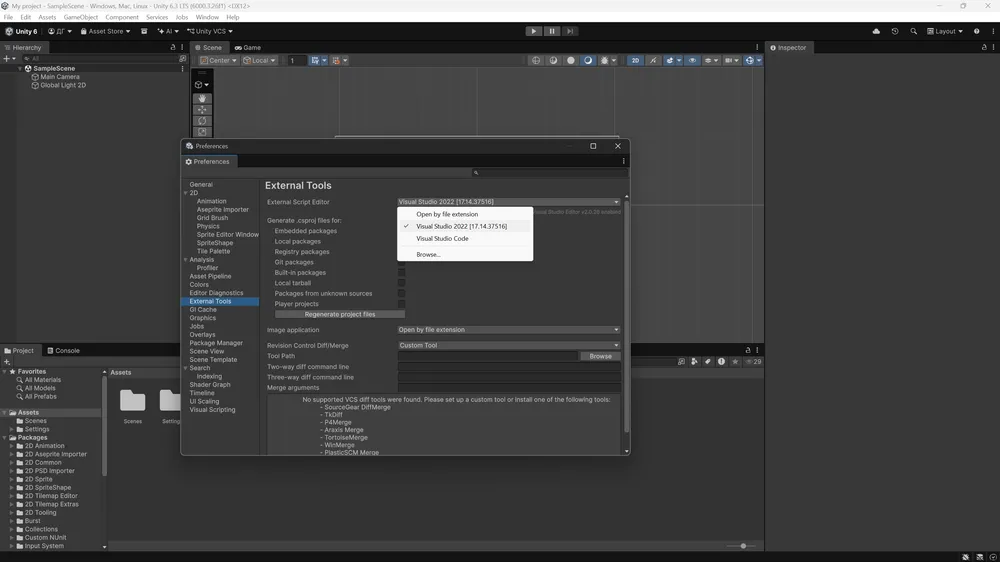
Unity Hub doesn’t have the relevant settings, so first I created a new project (the most basic 2D game template). Once the project had been generated, the Unity editor opened. I went to Edit → Preferences. On the left, I selected the External Tools tab. In the External Script Editor dropdown, I chose Microsoft Visual Studio 2022. Then I clicked Regenerate project files beside it. This made Unity recreate the project files, so Visual Studio would now see the scripts as part of the project rather than as separate files.
Plans and schedule
Now, a few words about what’s ahead. I don’t want this diary to turn into “started and gave up after three weeks,” so I’m setting a pace for myself from the start.
Every two weeks, a short post. Something like this one: one topic, one step, a couple of pitfalls. Maybe a breakdown of one mechanic, maybe a story about something I broke and fixed. No big conclusions, just an update on what I’ve managed to do.
Once a month, a longer report. That’s where I can take stock: what worked, what didn’t, what I reworked, and how long it took. With code, screenshots, and, if I’m lucky, a video of the prototype in action. The longer report won’t cover a separate topic; it’ll be a summary of what I’ve worked on over the month.
Why this schedule? Short posts are easier to write: I don’t have to wait until I’ve built up enough material. And longer reports keep me from getting lost in the details and make me look at the project as a whole. If a report every month doesn’t work out, I’ll shift to every month and a half. There’s no rush, and I don’t want to sacrifice quality for speed.
For now, I’ll only say one thing about the game itself: it’ll be a small 2D prototype. I’ll keep the genre, references, and features to myself—for one thing, I want to make sure I can actually build it, and for another, it’s more interesting to show the finished thing than talk about something that doesn’t exist yet. If something doesn’t work out or I have to change direction, I’ll write about it honestly, just like everything else.
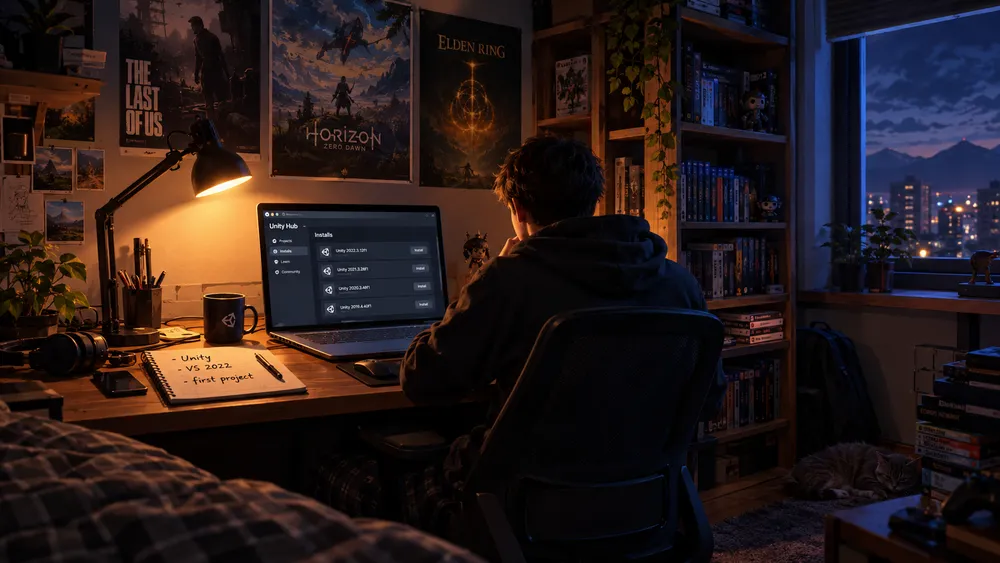
What’s coming up soon? Open the editor and put together a simple object that moves around the scene. Figure out what GameObjects and components are, why everything in Unity gets “attached” to objects, and how not to get lost in it all. After that, we’ll see. In the end, I want to show a playable build: small, but alive—something you can launch and try out.
I’m keeping this diary primarily for myself: to keep from giving up, and to see how I’m progressing. But if it helps someone else make the leap, then it’ll already have been worth it.
The first entry is written, the box is open, the dust hasn’t been wiped away, and entry is still free. To be continued.