
Guide to Crafting the Polymer Pony-Geta O..O
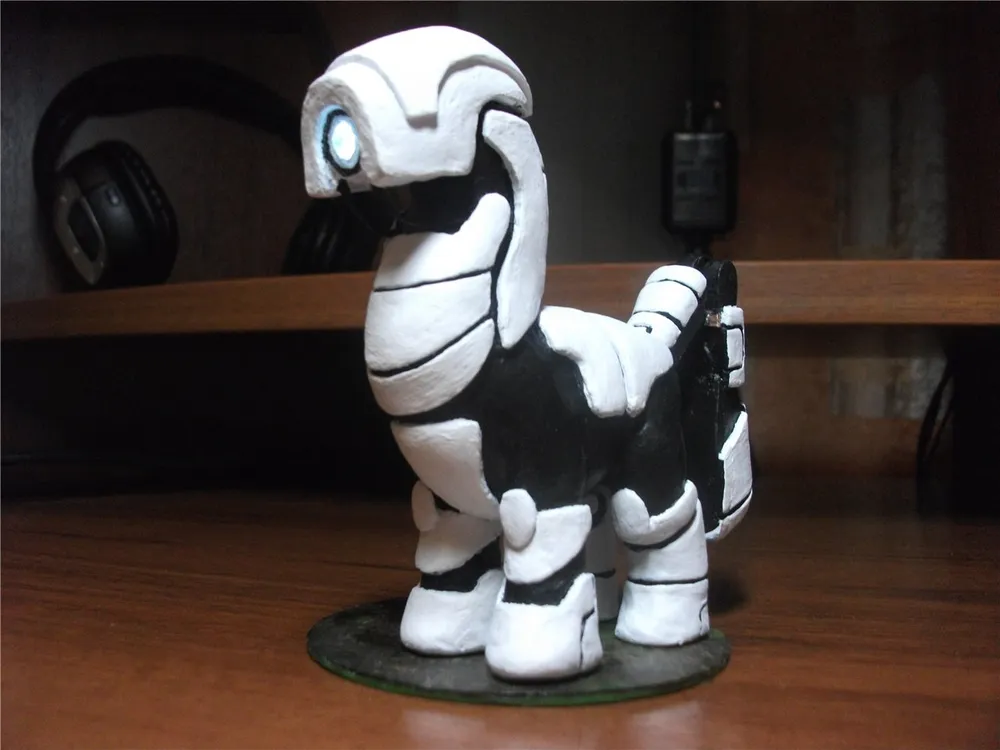
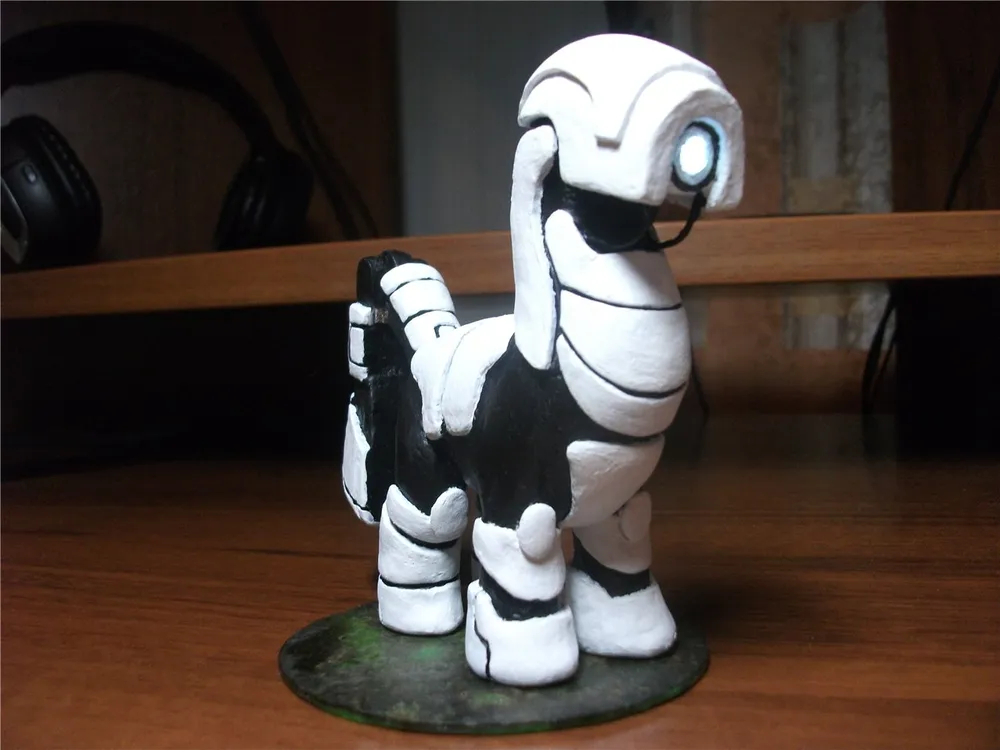
Well then, dear gamers, today I will tell (and show) you how to craft the most terrifying get in the world, so dreadful that if it haunts Shepard in his dreams, he will wake up with a scream of horror and won't stop crying in despair until morning... So meet, the pony-get!
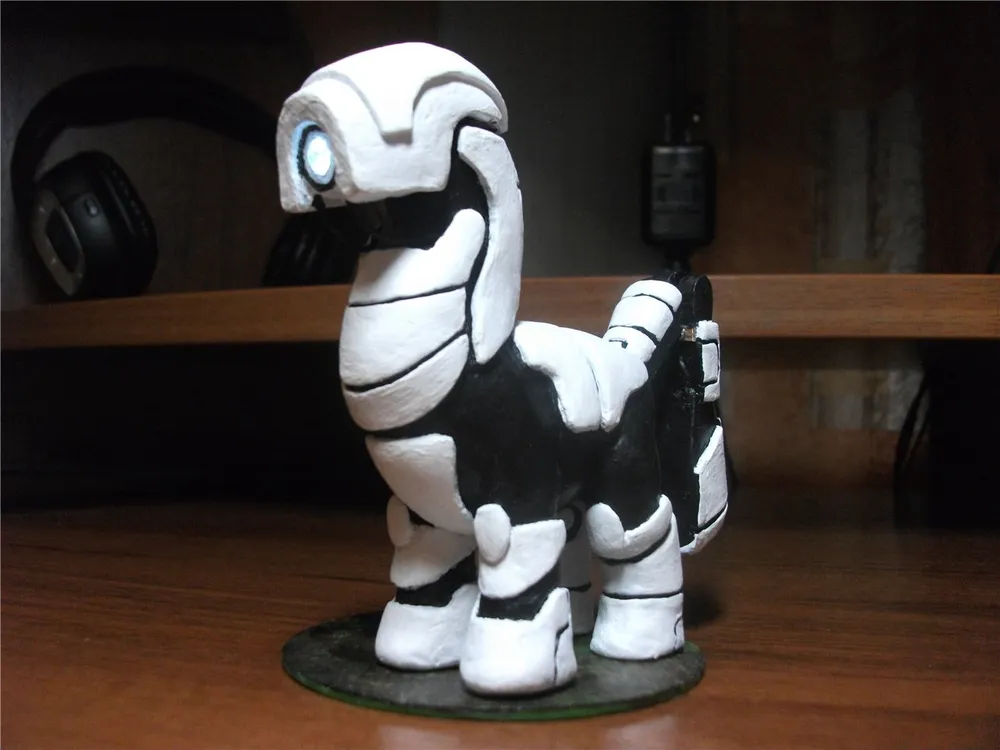
Let's get started on the crafting!
What do we need to create Shepard's nightmarish horror?
LED (white, with a slight bluish tint, can be salvaged from a lighter, which is currently in fashion)
Tin and Rosin
Wires with insulation, preferably black
Wire of varying thickness for the skeleton
Super Glue
Metal Plate (in my case, copper)
Steady Hands (the rarest component mentioned above)
Have you gathered everything you need? Let's move on...
First, let's choose a sample; I came across one that caught my eye; I don’t know who it belongs to...
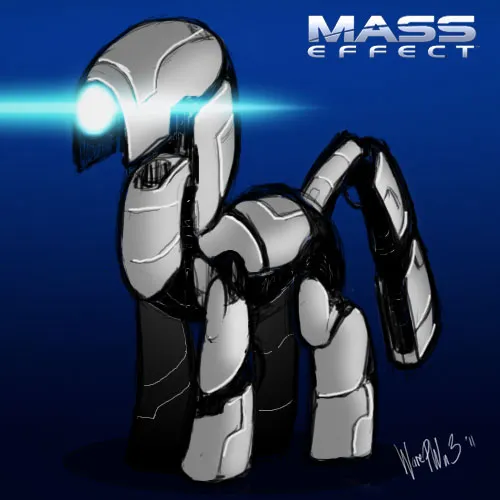
Step 1:
Make the "skeleton" from wire.
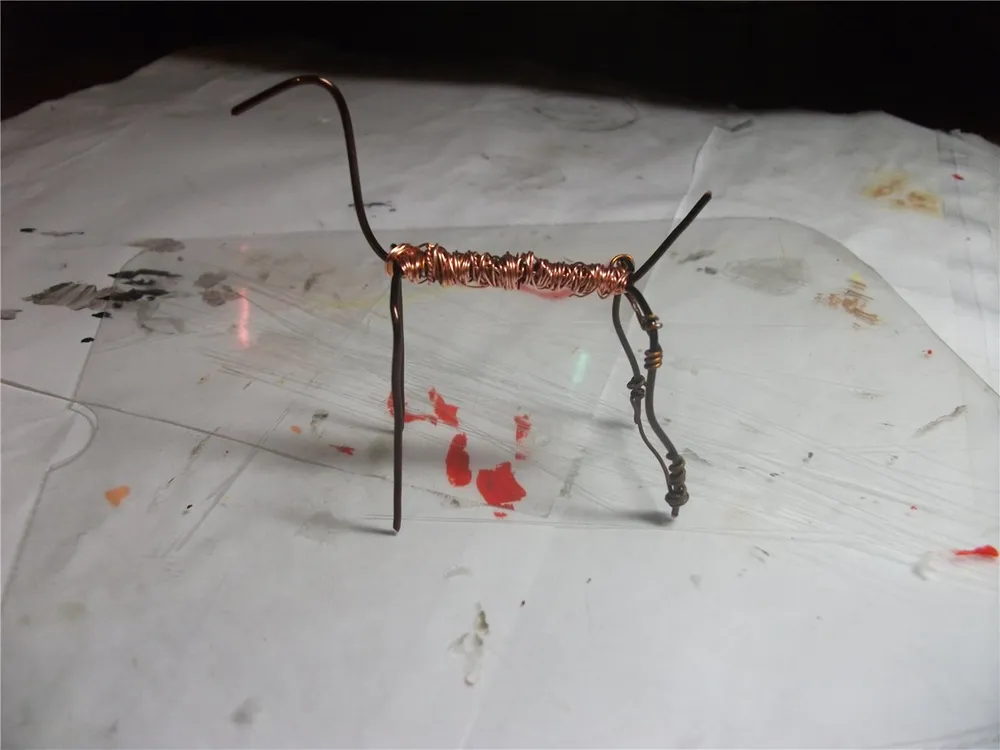
Take 2 wires approximately 1.2mm thick and bend them mirror-image to each other, forming the legs, then take a third wire and bend it to form the future head, neck, and tail. After that, reinforce it with thinner wire until the whole structure is stable.
At this stage, it is important that the legs are of equal length.
Step 2:
Cover the skeleton with clay.
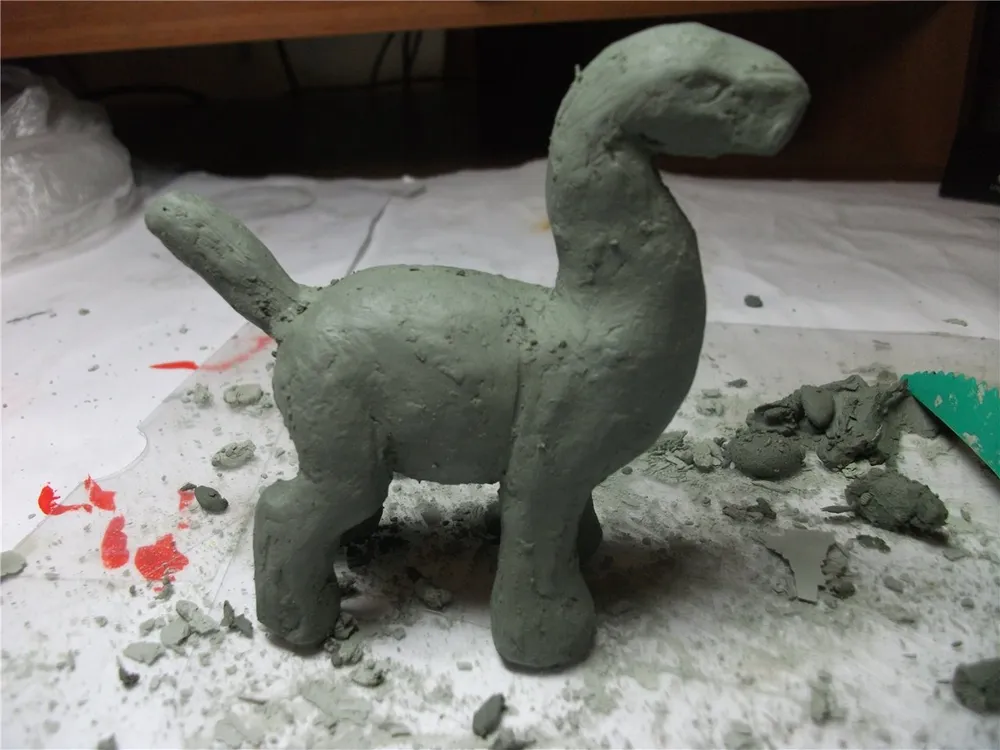
Here you need to cover the skeleton with a layer of clay, after it sets, give it a rough future shape; remember, it’s better to apply a thicker layer first and then slice/file it down than to apply an insufficient layer and after drying, add a new one that will not adhere well, however, that's also solvable as mentioned below.
Step 3:
Finishing the blank.
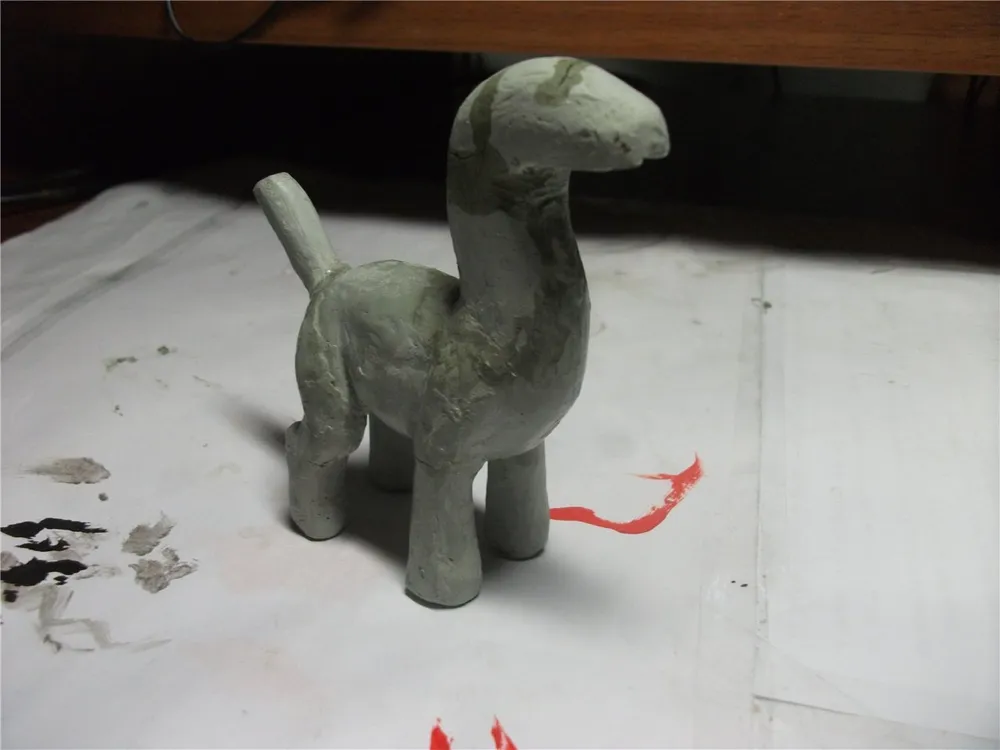
After drying, my blank cracked, so I reinforced the cracks with super glue (it absorbs very well into the clay). After that, I thickened the neck, covering the barely set clay with a layer of super glue. Next, using a craft knife, file, and sandpaper, we refine the blank.
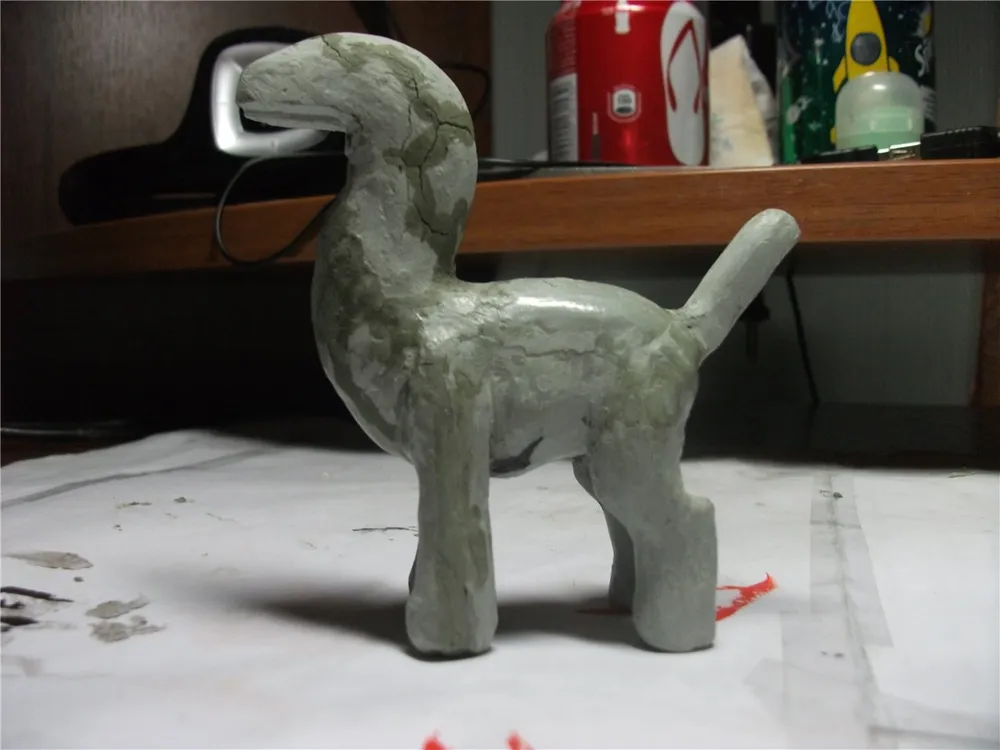
Step 4:
This is the main step, as here we give the figure its final shape. To do this, on the fully dried blank (IMPORTANT! Otherwise, blisters will appear during baking), we cover it with polymer clay. I did this in stages, conducting baking as soon as the part was ready.
First, I made the plates on the back; then I covered the belly with polymer and added a breastplate, after which I covered the tail with clay and made a hole for the future joint. That’s a total of 3 bakings.
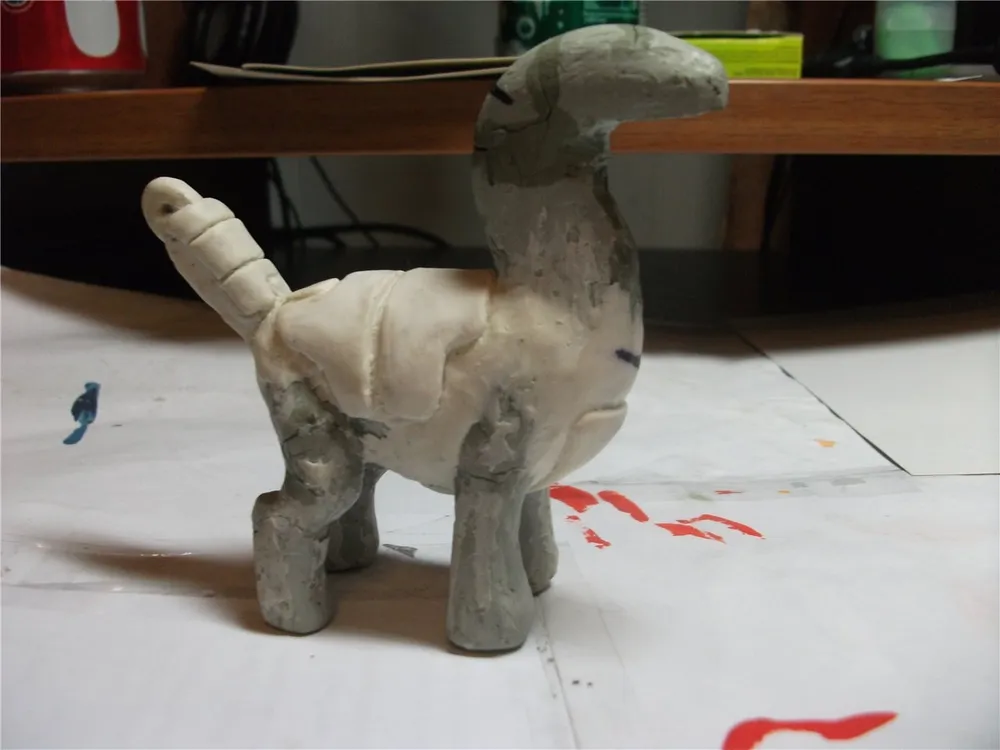
Next, I covered the legs with clay (by the way, this is the most difficult part, since there isn't much space between the legs). After the legs, it was time for the neck; the grooves get pressed immediately because after baking, the clay is quite difficult to process.
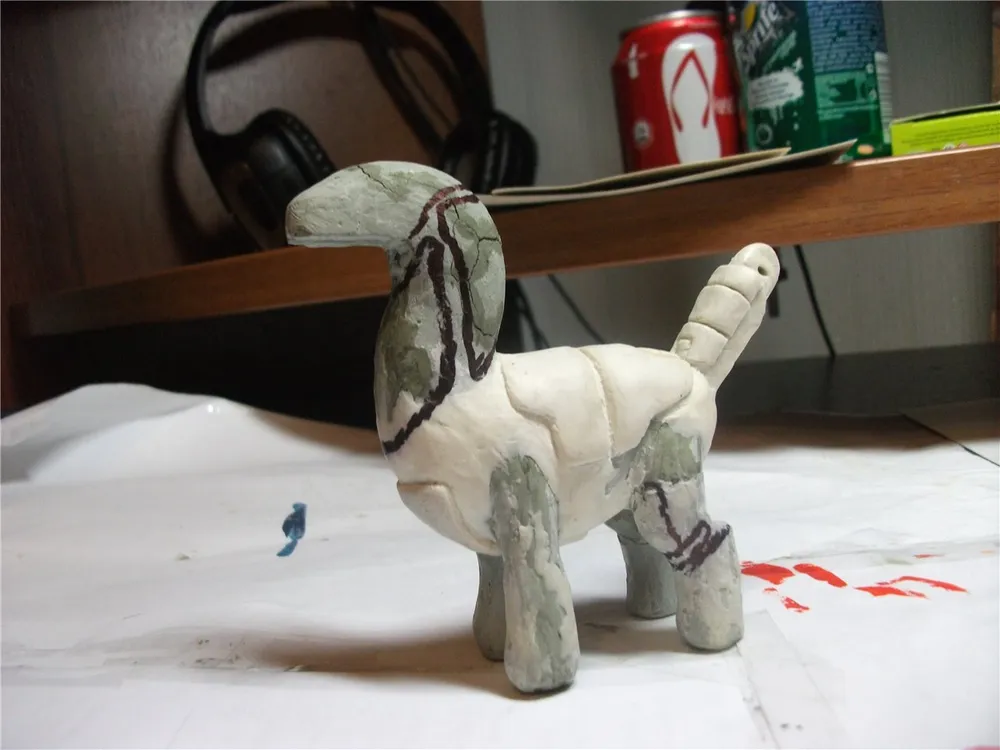
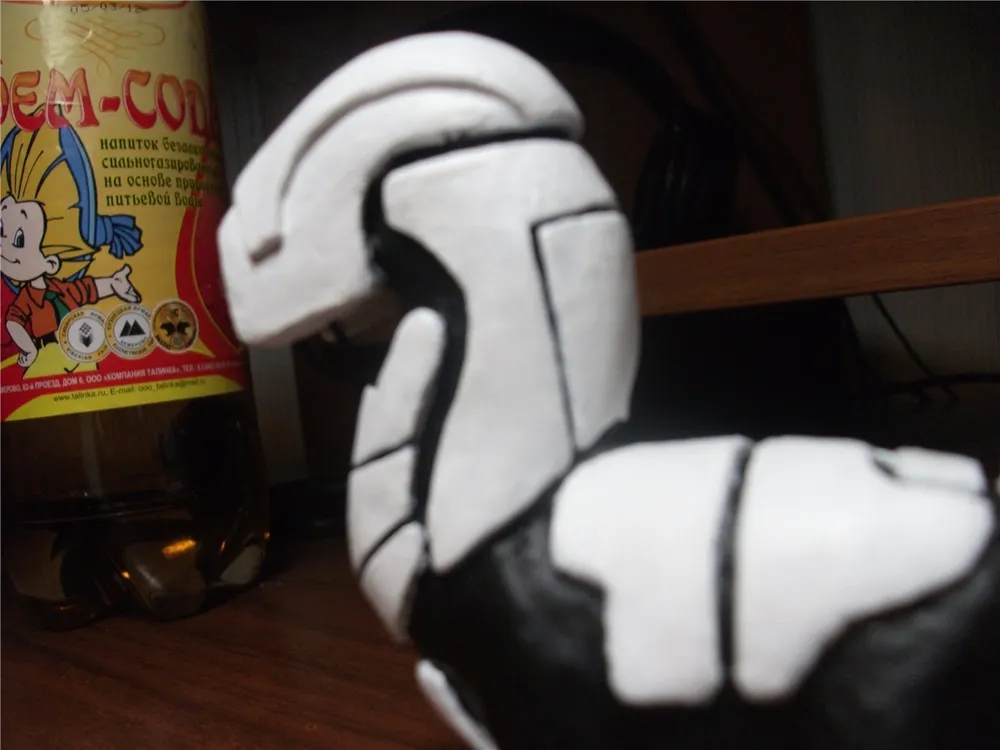
Next came the head, and here I forgot to take a photo, so I will show a photo from the next step.
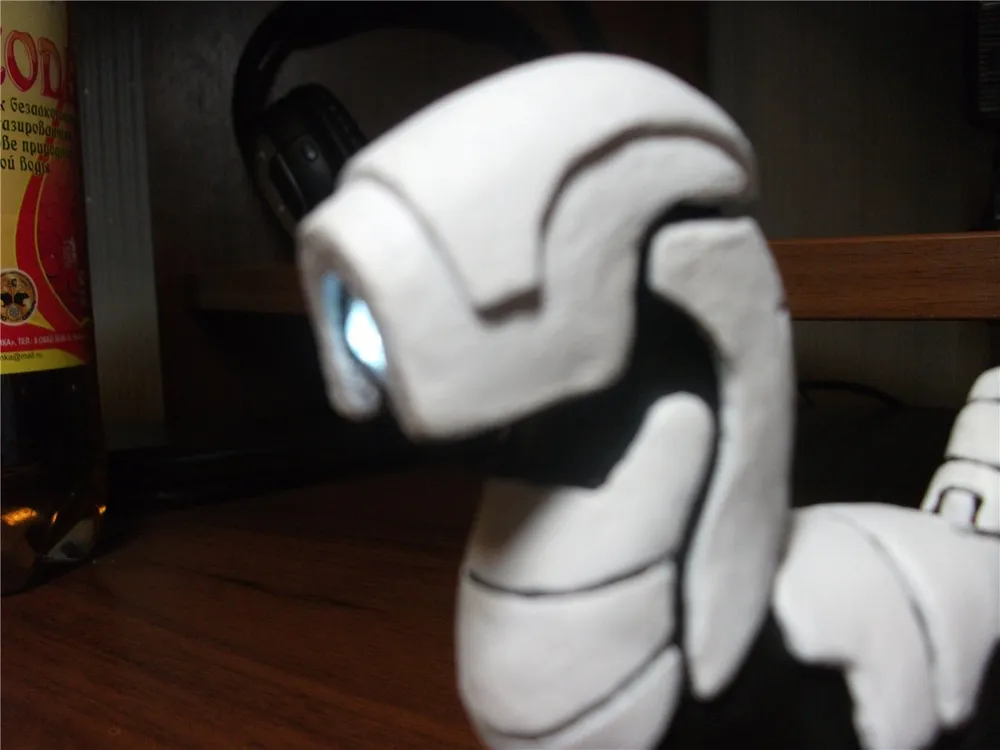
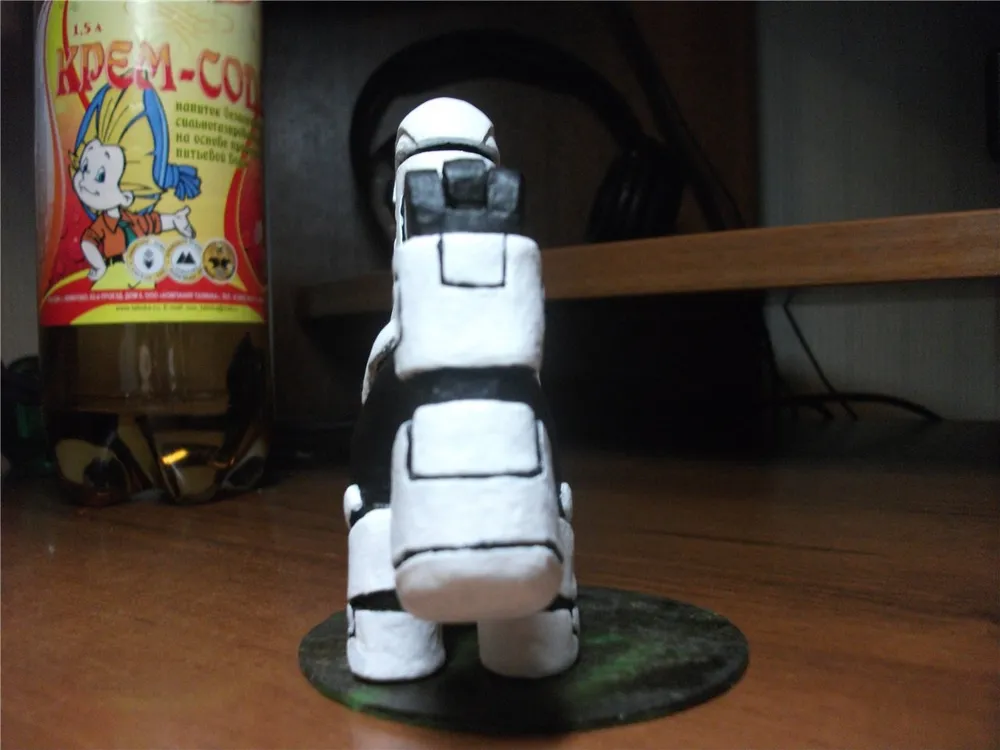
Finally, I made the tail, which needs an indentation for the batteries and a cover to hide them. The tail is attached with a joint that also serves as a switch, about which in the next step...
Step 5:
At this stage, we will "bring the get to life," or rather, ignite the fire of cybernetic life in its eye
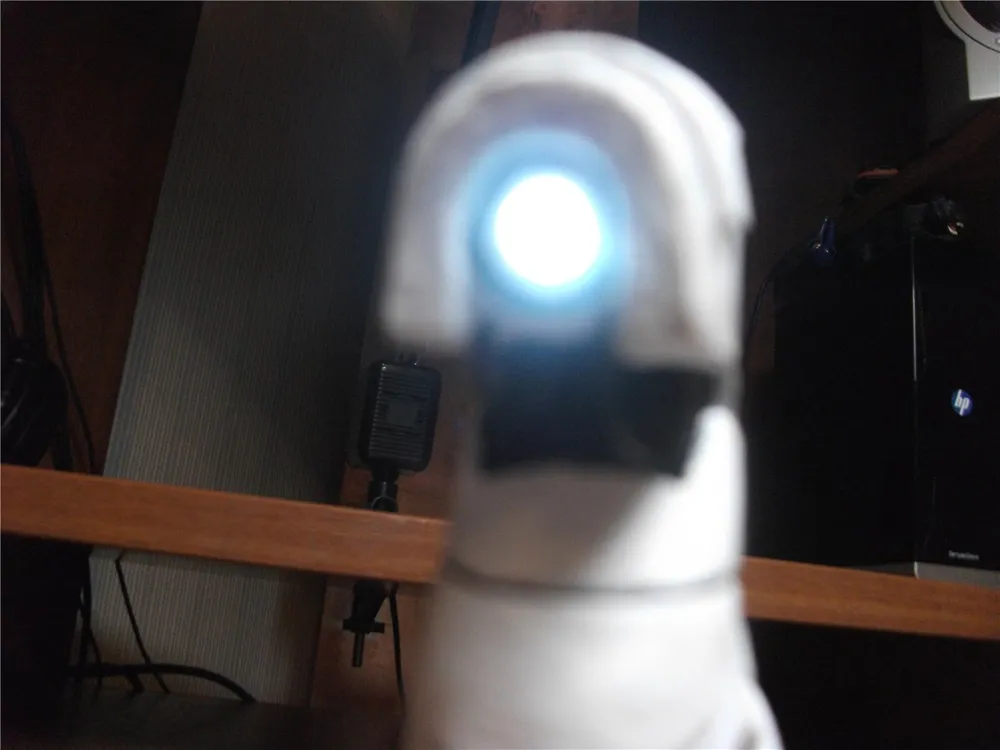
To do this, we take an LED and solder two wires of about 20 centimeters in length to it. After that, we make a tube from polymer clay with the diameter of the LED (it’s best to use a thick nail). After baking, carefully cut the tube and insert the LED into it so that it barely sticks out, then fill the tube with super glue and glue it to the head. Next, we make grooves along the body of the pony-get and glue along them
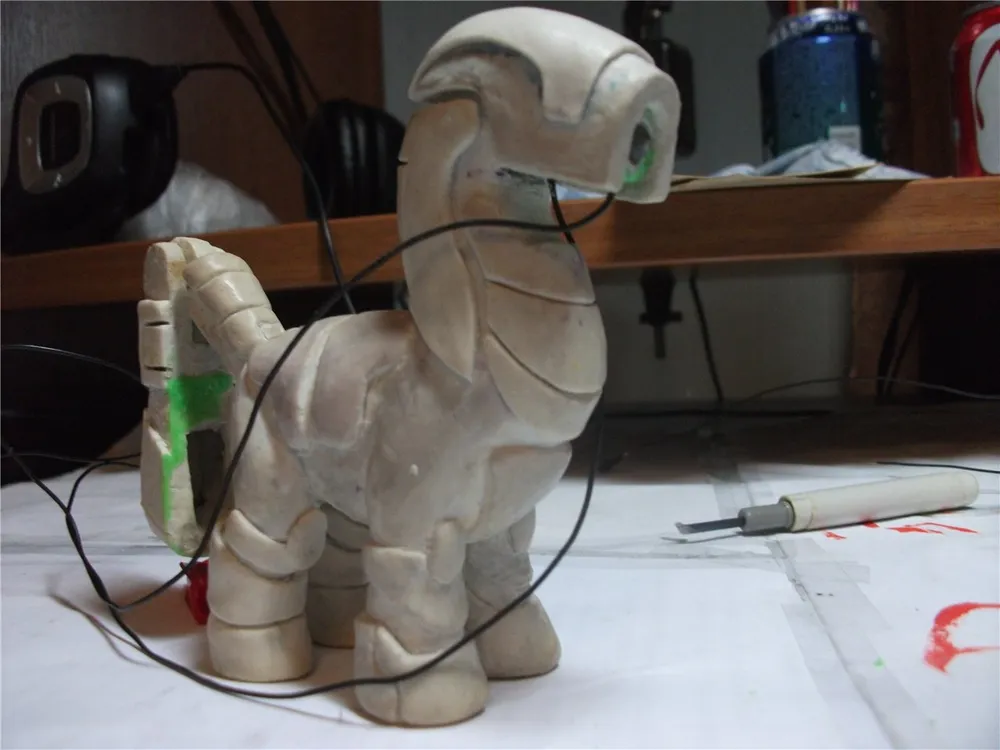
The grooves run from the head down the neck, then along the lower edges of the back plates to the hindquarters, where they are brought out as follows:

Solder one wire to a copper plate; the second one is left alone for now.
Next, let's deal with the tail:
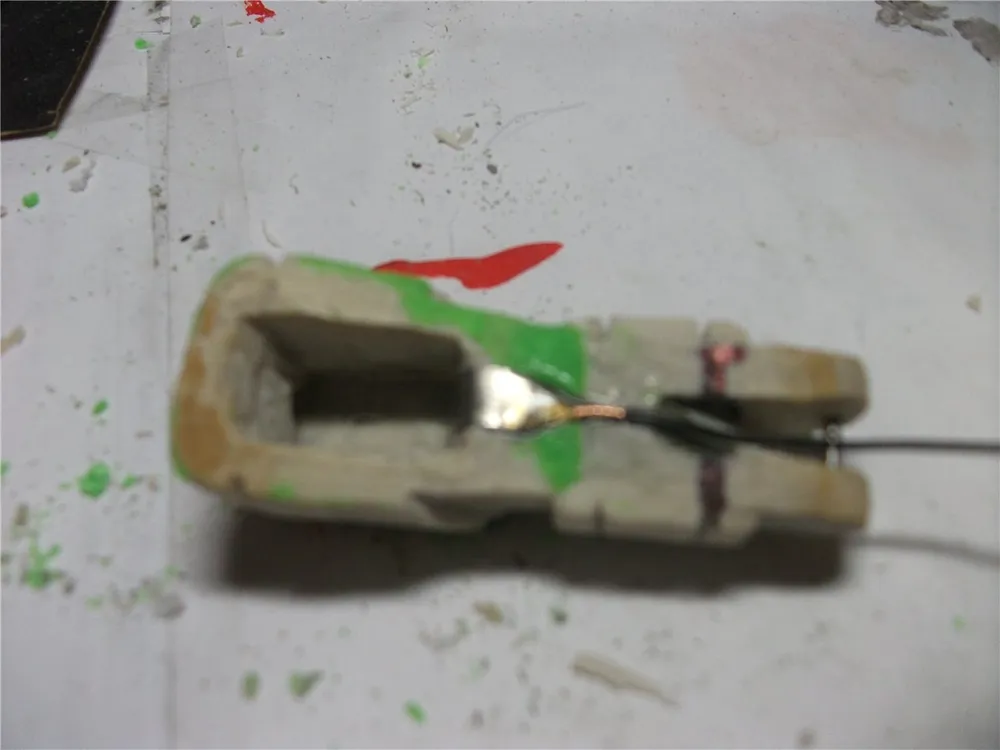
Solder a wire to the terminal to which we attach a second copper plate; we fit the "tail" to the body, trim the remaining long wire to the required length, solder it to the terminal, gather the whole structure, insert the batteries and close the hole with the cover:
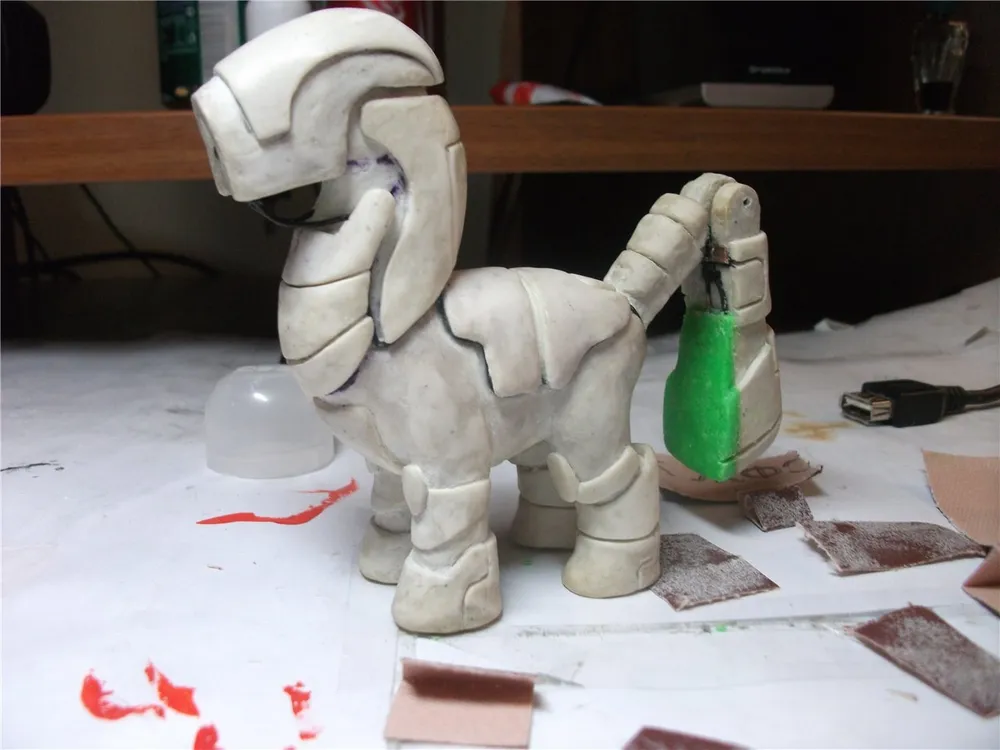
Step 6:
Painting is the last, but no less important step; it is at this stage that a candy can become a monstrosity, and a blatant piece of junk can become a masterpiece of art. First, we paint all the indentations black, in 2-3 layers. After drying, gently cover the plates and protrusions with white paint several times. After painting, let the paint dry for a few hours and apply a varnish. If you don't want to splurge on special model varnishes (mostly priced from 300 rubles), you can buy cheap nail varnish. That's it!
Next, I suggest looking at some photos:
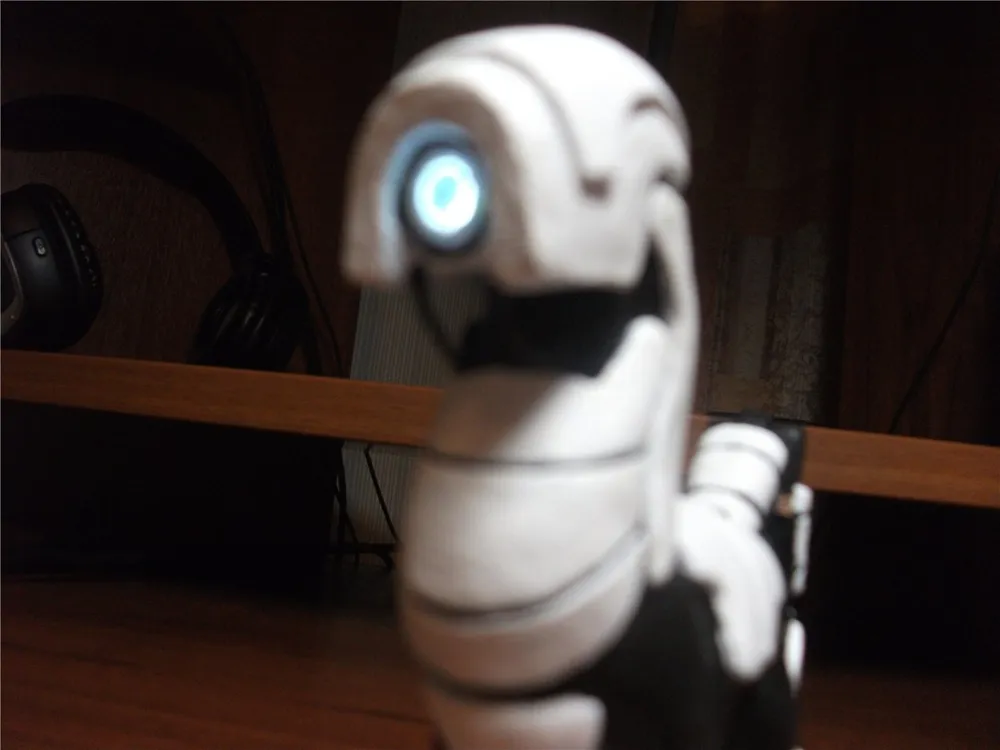
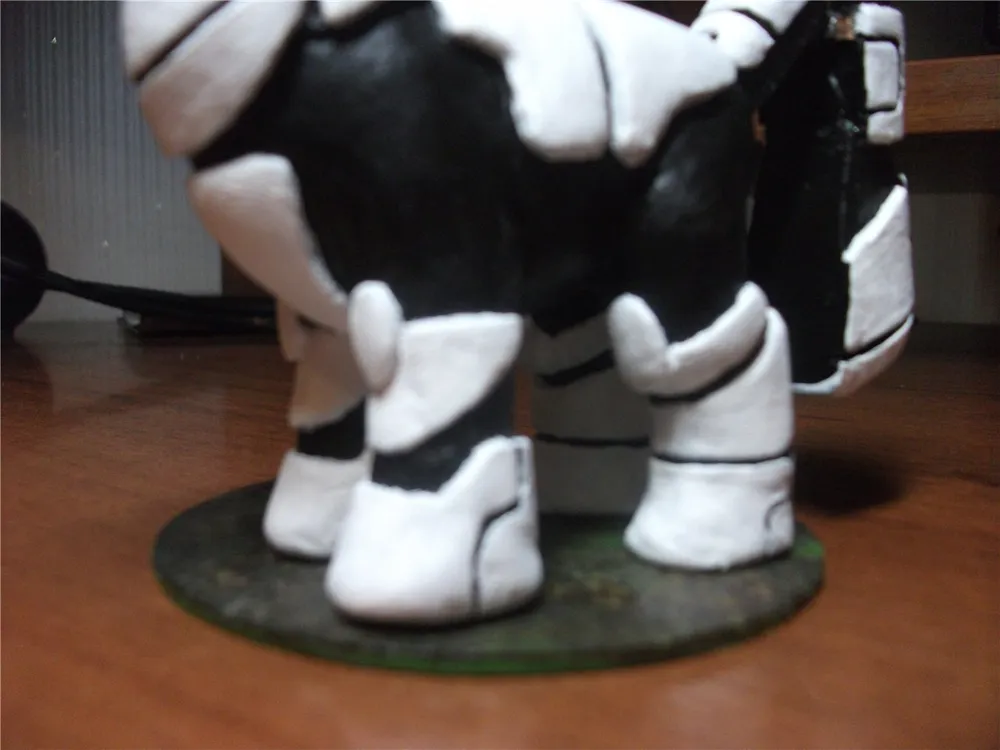


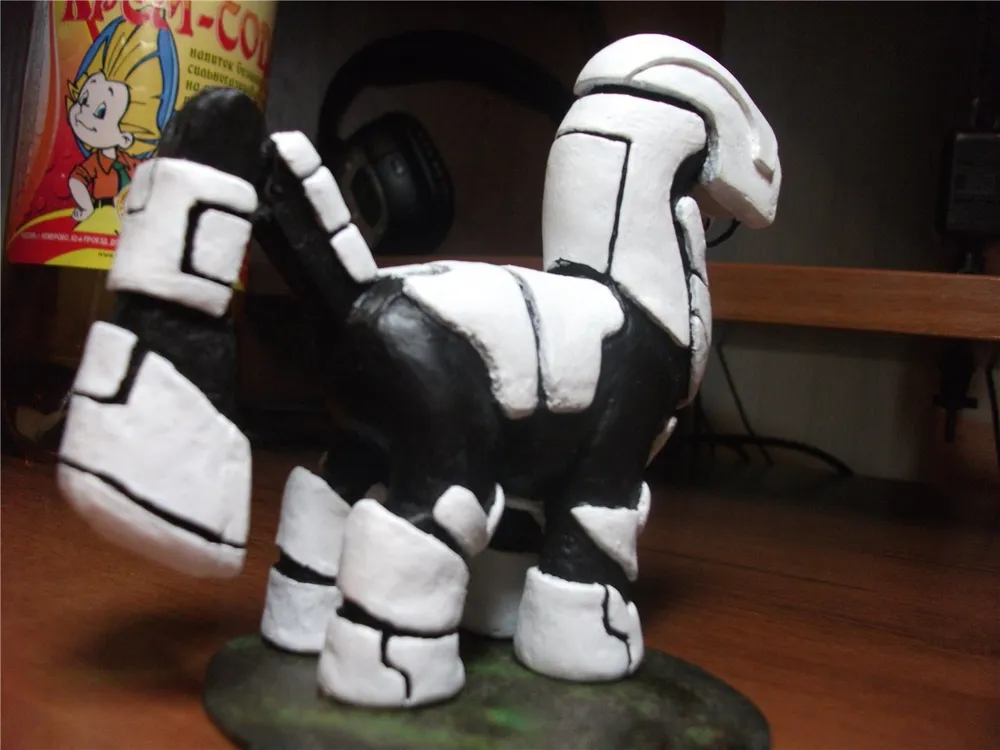
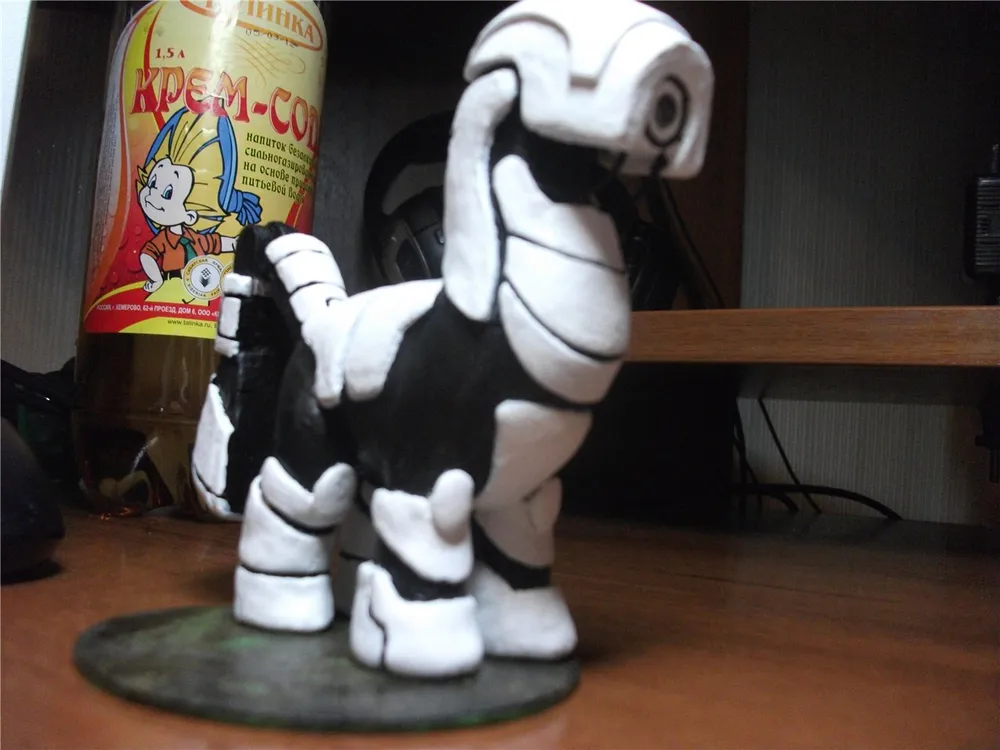

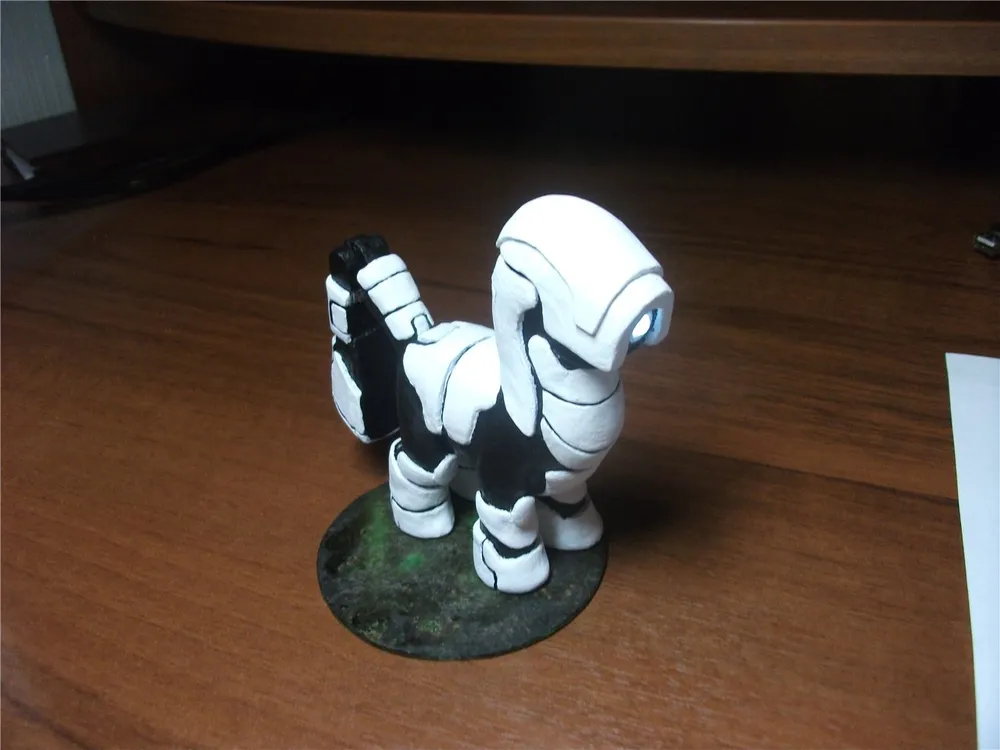
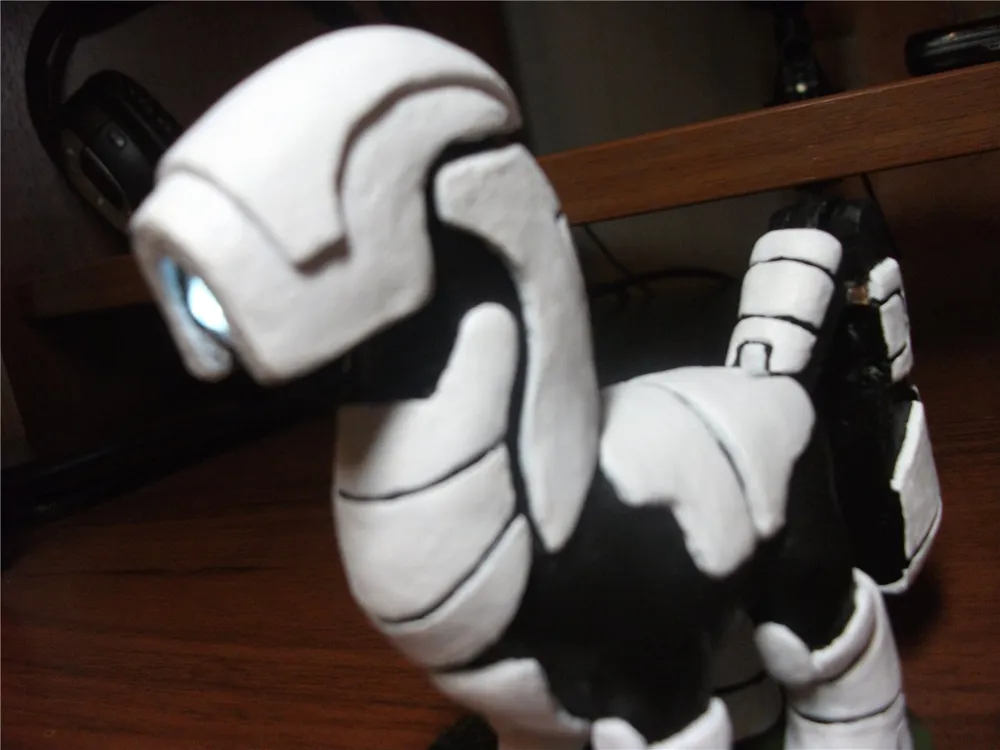
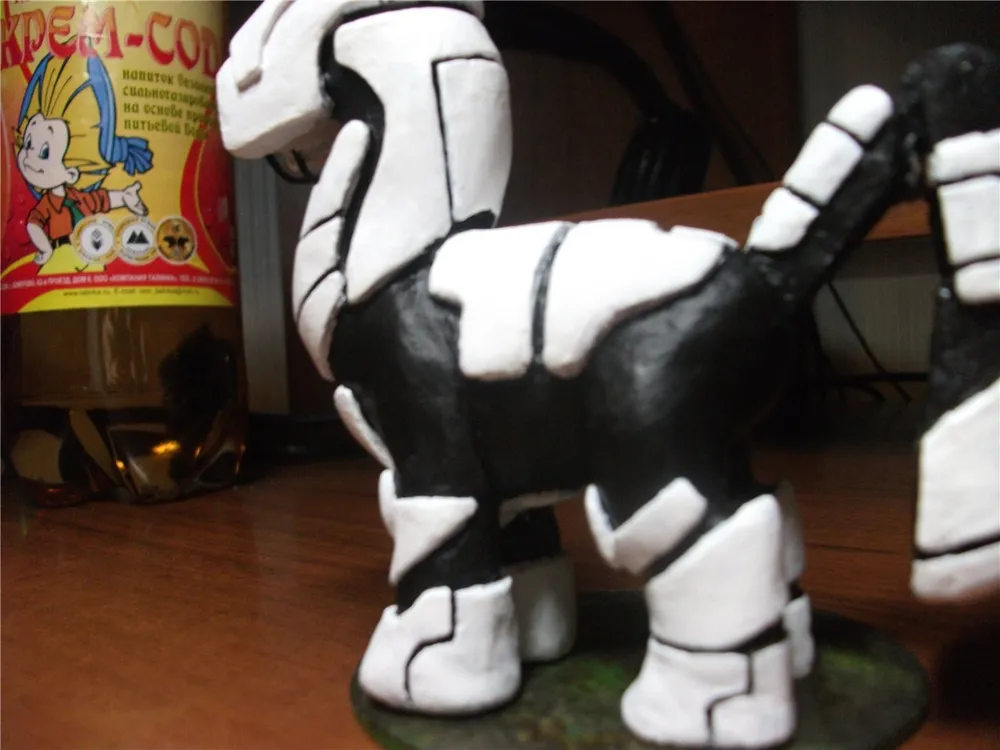
By the way, the round gray-black-green object the pony is standing on will appear in another post for the next month... Intrigued? Here's the answer to what it will become:
My previous works: