
My Own Portal Gun
Portal Gun at Home
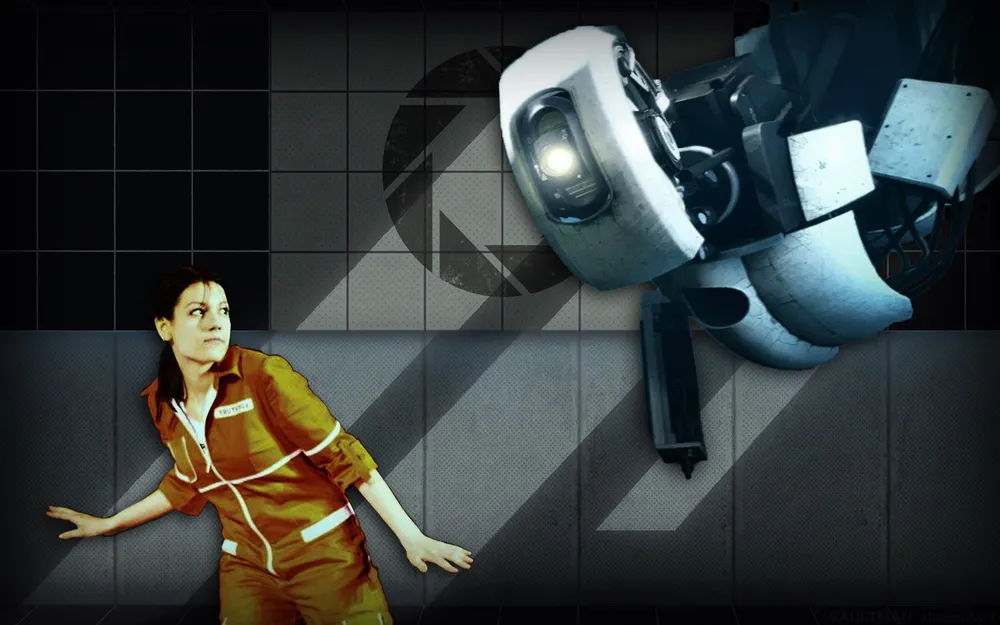
I waited two months for the day when I could present to you the creation of my hands. And this day has come. By the way, this is the first detailed tutorial on assembling a Portal gun in English, just so you know! Enjoy ヾ(´∀`)ノ
**For the construction, we will need:**
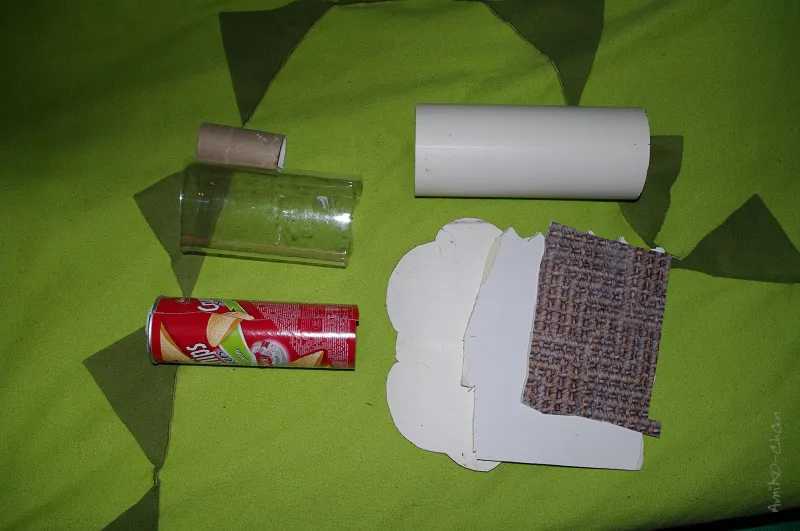
Two packs of Pringles – 180 rubles;
A one-liter water bottle. To be precise, just the bottle – 30 rubles;
Air duct pipe with a diameter of 10 cm – 270 rubles;
A toilet paper roll - priceless;
3 mm cardboard – 20 rubles;
7 mm cardboard – 50 rubles;
Linoleum – was lying on the balcony.
For building, you will need:
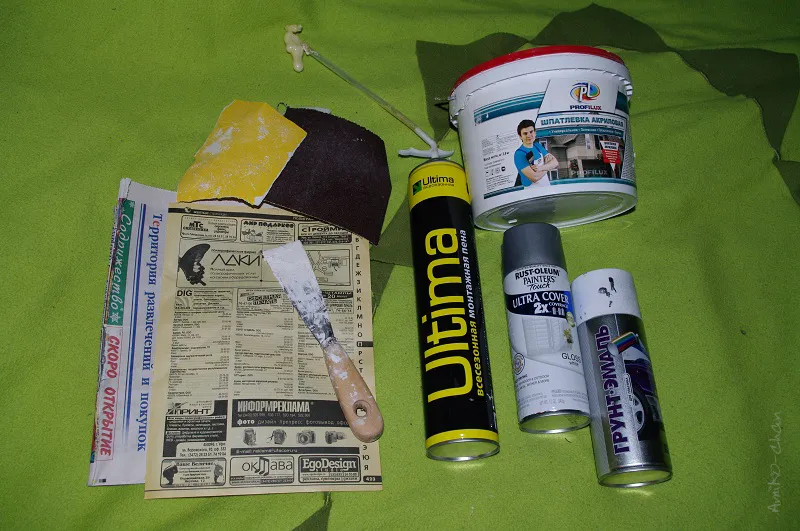
Mounting foam – 150 rubles;
Trowel – 40 rubles;
Newspapers – free;
White spray paint – 270 rubles;
Black matte enamel primer – 150 rubles;
Acrylic putty – 3.6 kg – 350 rubles. I used about a third;
Sandpaper – from 10 rubles. 3 types of coarseness.
Additionally:
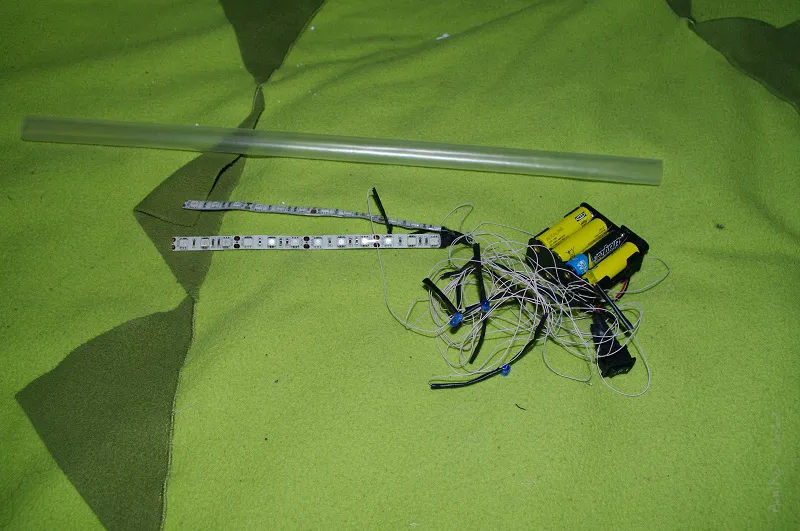
A bunch of LEDs. To be honest, I just went to the electronics store and said, "Make it work"
A tube for the LEDs. I searched for a long time and found it at the same electronics store. But it would be better if it were a bit denser and more matte.
Let's get started
Step 1

First, I made the front nozzle of the portal gun from the toilet tube. I shaped it by wrapping it with pieces of linoleum. The front edge was just filled with putty. So, in a sense, I built it up with putty.
Step 2
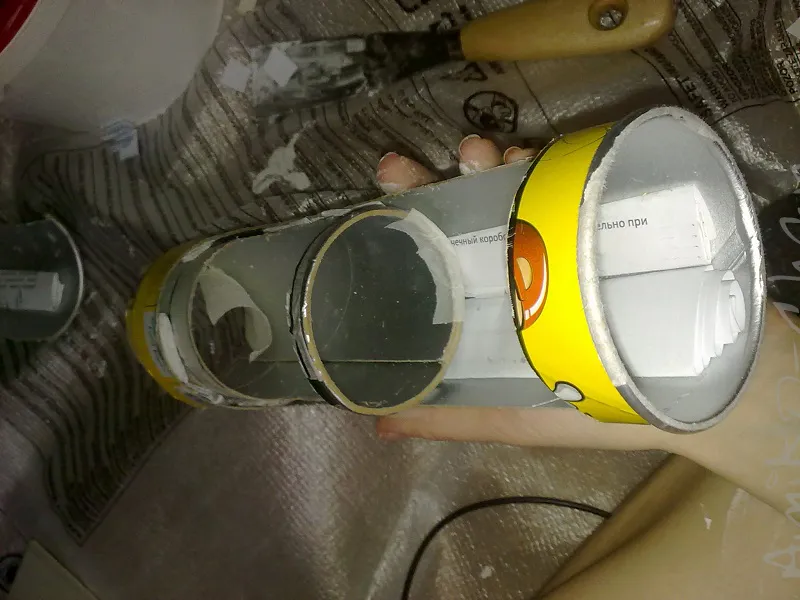
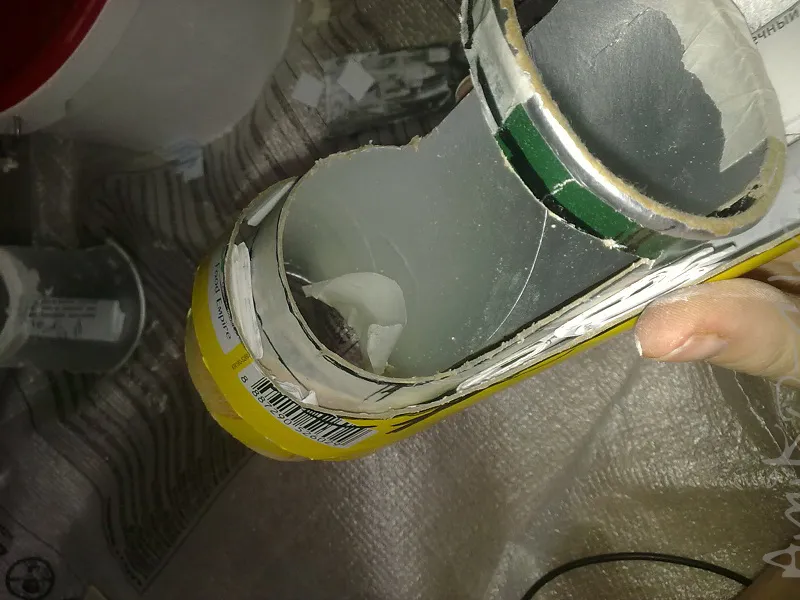
Cut the bottom off the Pringles package and cut a hole as shown in the picture. Insert a smaller-diameter Pringles pack inside. For this, cut the pack vertically and roll it into a tube, thereby reducing the diameter. Secure it with construction tape. There should be a small space left between both packages.
Step 3
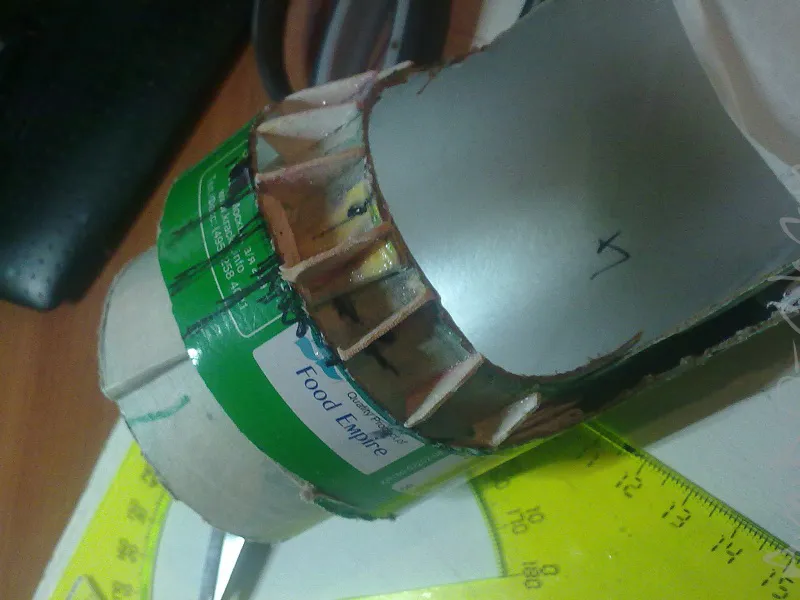
Make the ribs of rigidity. These are just small triangles made of cardboard.
Step 4

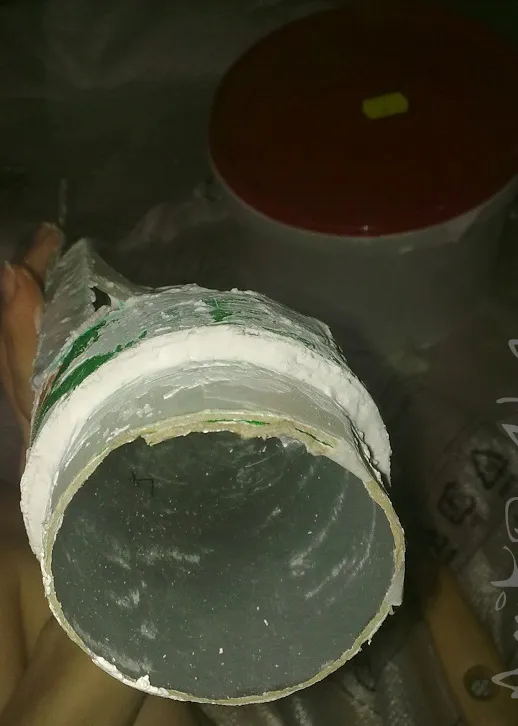
Fill all the empty spaces with putty. In short, look at the images of the portal gun and do the same. Wait for it to dry and sand it down to exhaustion.
Step 5
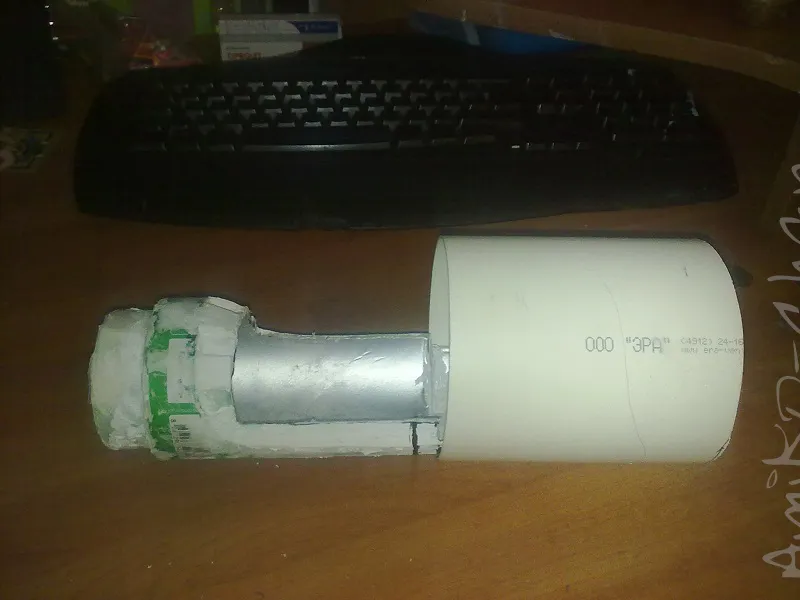
Cut a piece of the air duct pipe 11 cm long. And glue it to our version of the portal gun made from Pringles. For example, using "Moment" glue.
Step 6
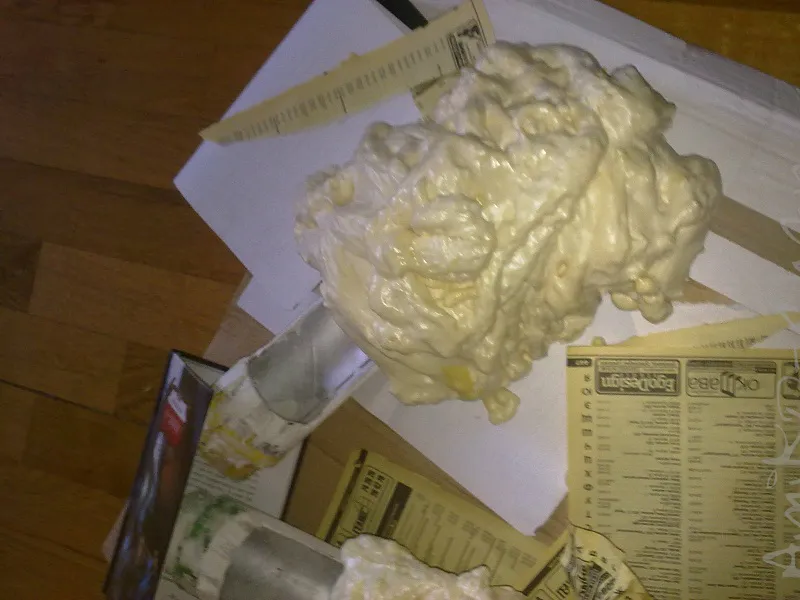
Apply mounting foam to the air duct pipe. Wait for it to rise. This takes about half a day. The main thing is not to overdo it like I did. This part of the portal gun grew so large that I had to trim it for a long time. It took about three weeks, I think.
Step 7
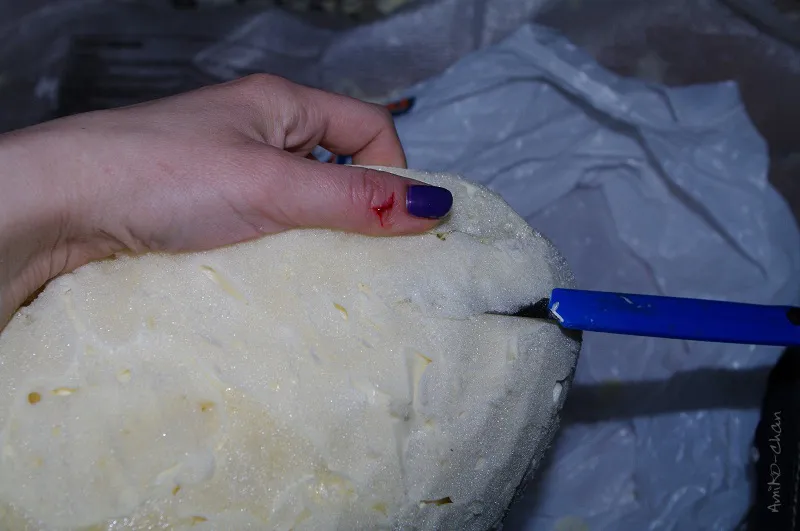
Trim the excess pieces of foam. The portal gun should resemble a portal gun. I felt like a true sculptor as I slowly cut piece by piece with a utility knife. Hmm, it feels like I just described a butcher's work %) Don’t forget to cut a hole on top and a slot.
Step 8
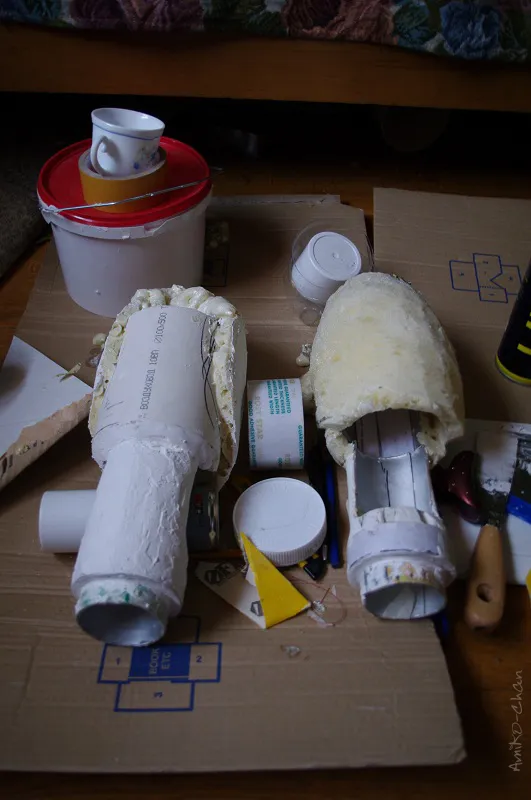
Putty the mounting foam, which by this time should resemble the back part of the portal gun. Putty, let it dry, sand it, putty, dry, sand, putty, dry, sand. And this continues for many, many days in a row.
Step 9
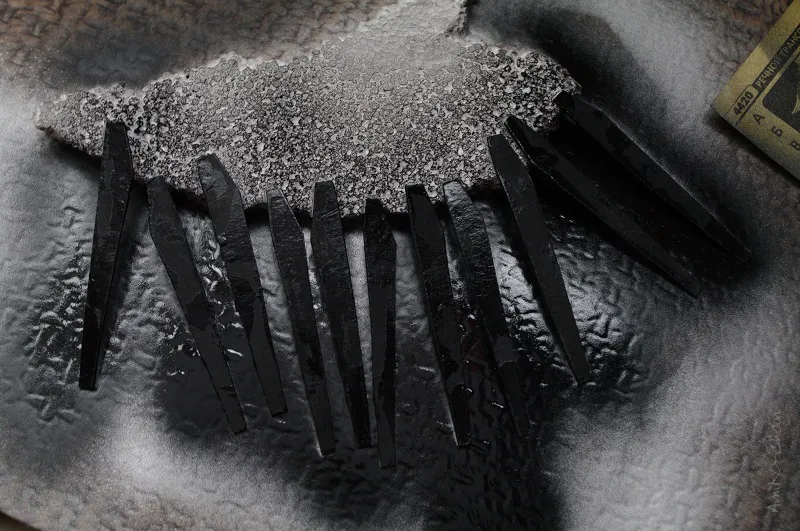
Repeat steps 6-8 with the lower front part of the portal gun.
Step 10
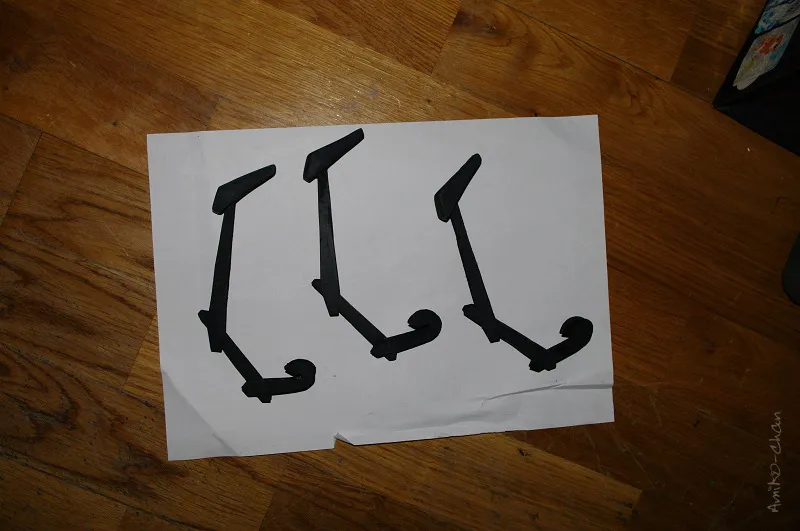
Make the antennae. Print the template in the spoiler, cut it out, place it on cardboard, and cut out the cardboard antennae. Paint and assemble together.
Step 11
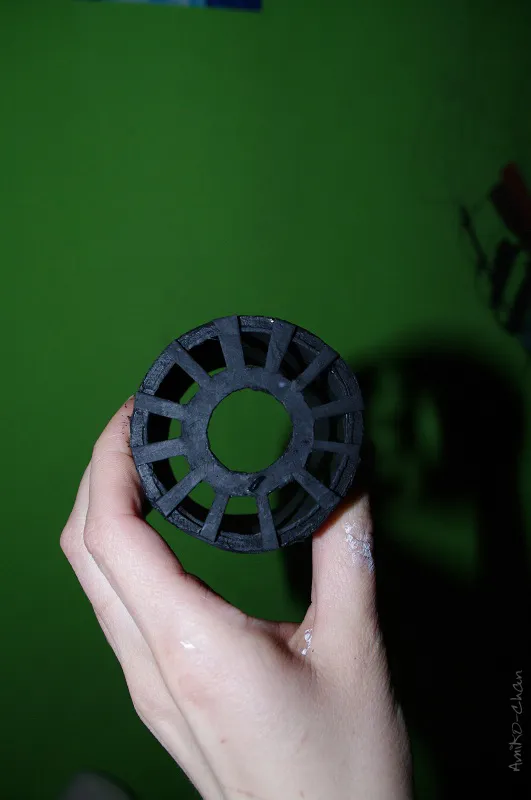
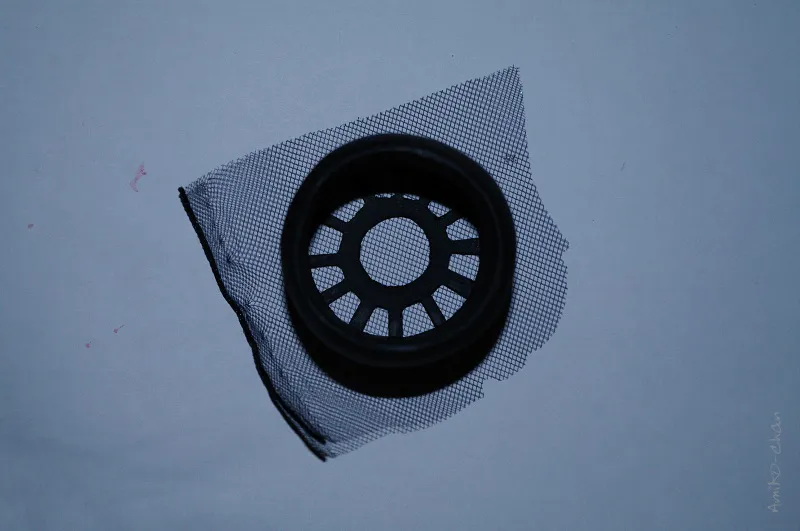
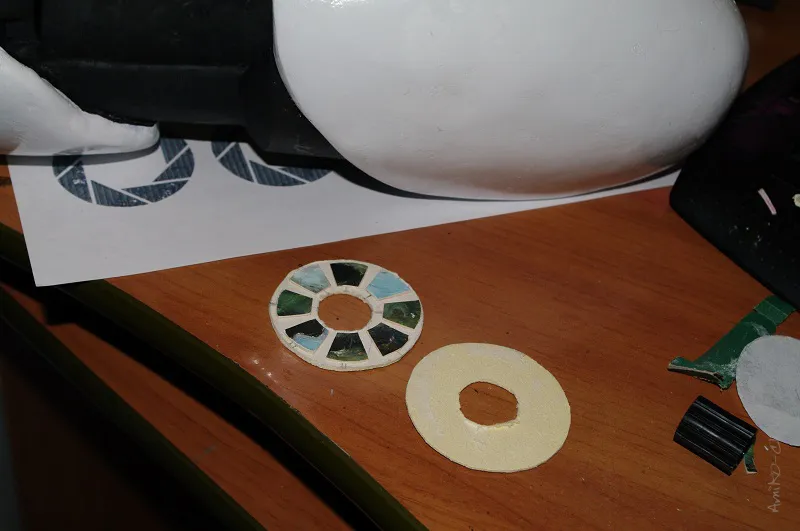
The partition inside the front part of the portal gun is also made of cardboard. Cut out a sun-like shape and paint it black. The sun has 12 rays :3 The diameter of the hole in the sun should equal (be slightly larger than) the diameter of the matte tube. Glue a black mesh over the sun. A regular fabric mesh. In addition to the front partition, there are also two more. The back and middle ones. The template in the spoiler can be printed and cut out. And then, based on it, it's easy to make the necessary partitions.
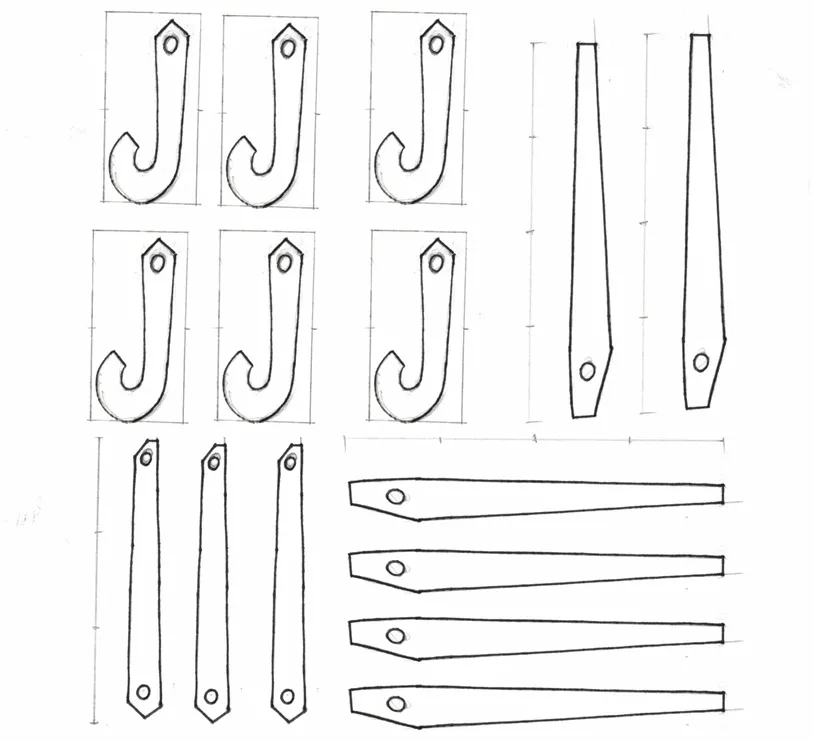
Step 12
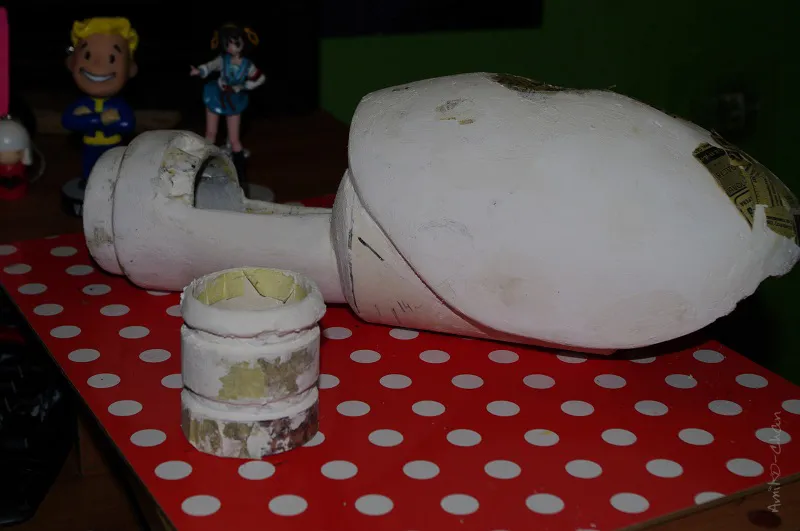
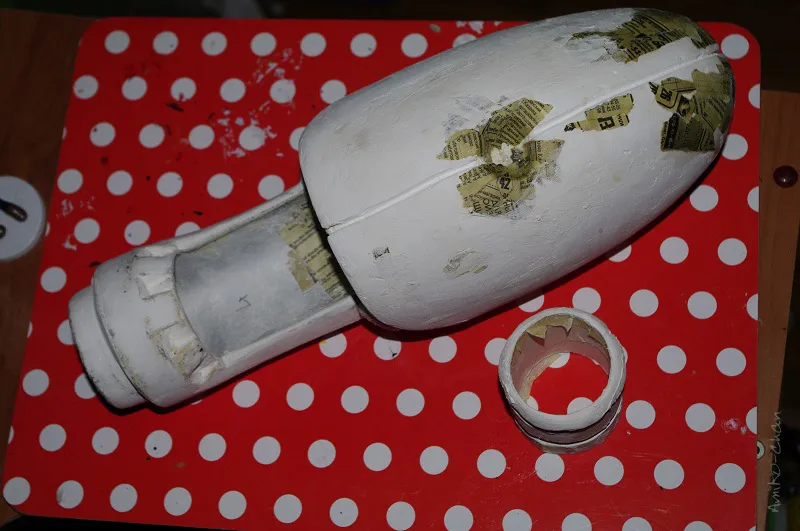
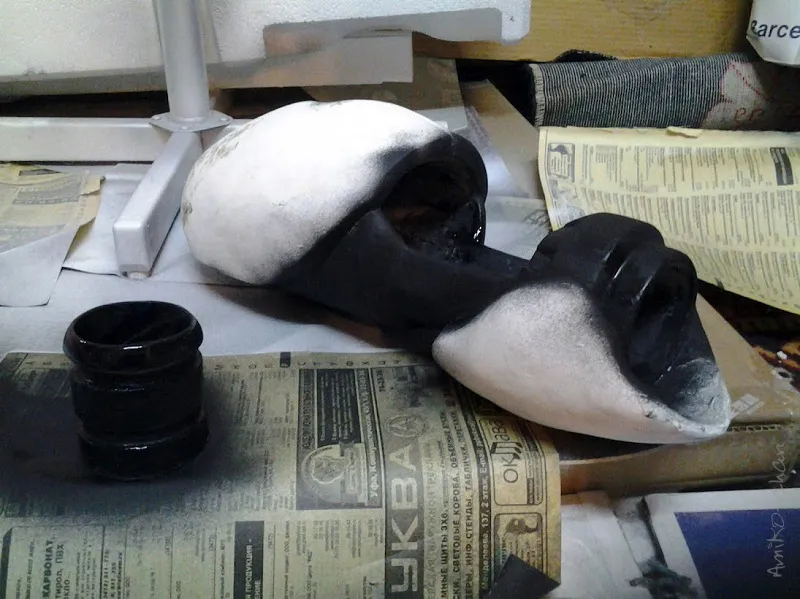
Paint the portal gun. First in black. Wait a day and then paint it white, previously covering the black areas with construction tape.
Step 13
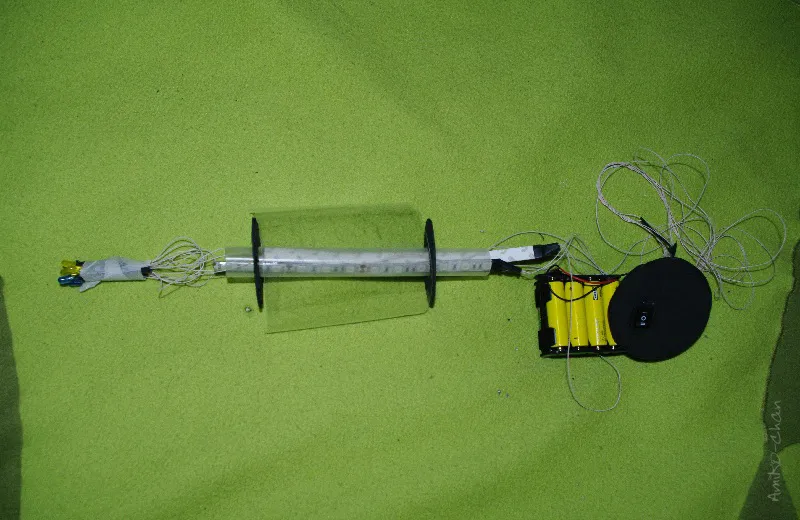
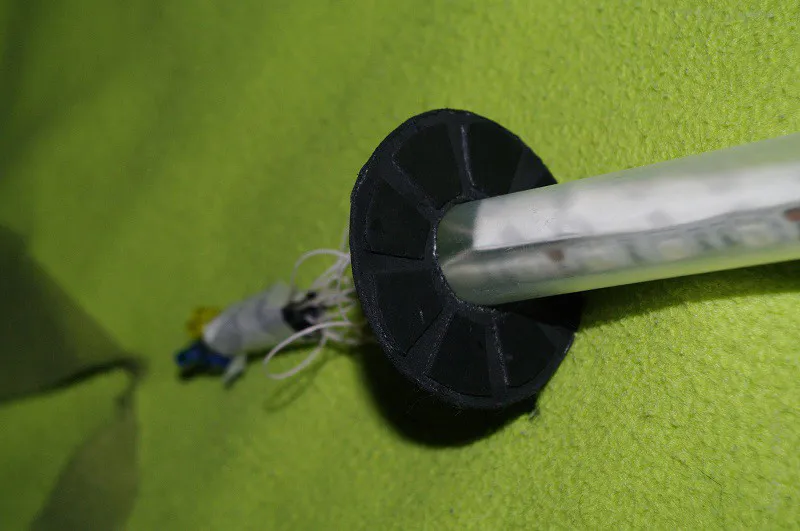
Assemble the LEDs together with the partitions and the lid, and stuff all this wealth into the portal gun. I must mention that the middle partition is textured. This is shown in the template in the spoiler.
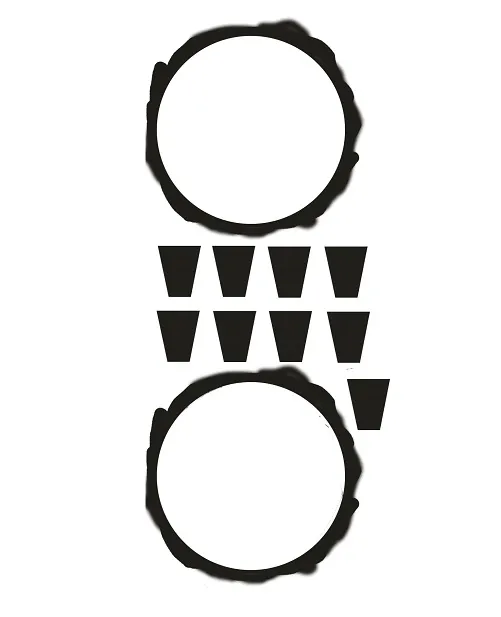
Glue the antennae and voila!
The most challenging part for me was the never-ending sanding of the portal gun. It really drives you crazy %)
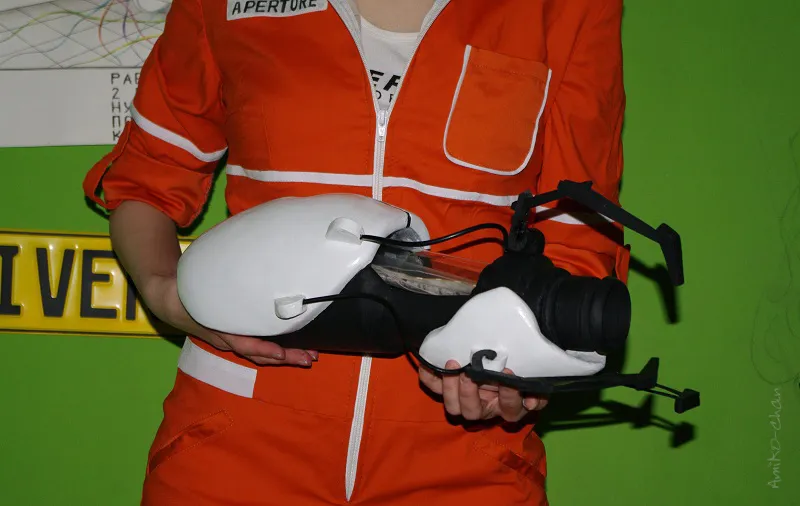
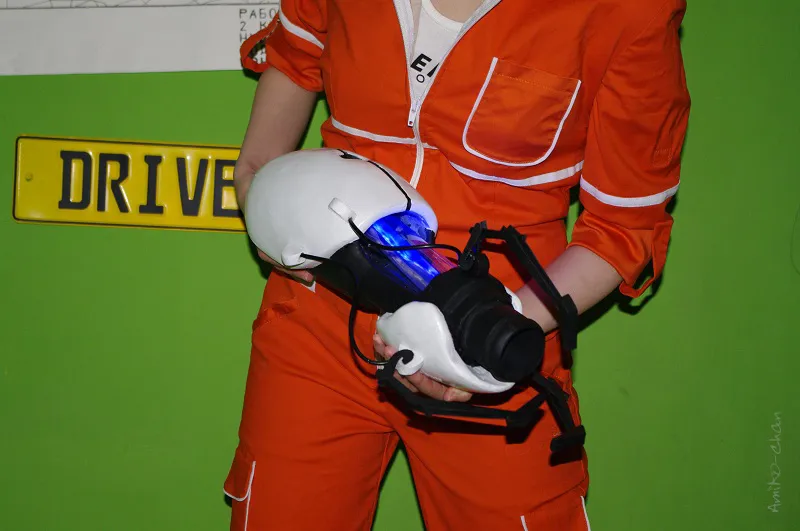
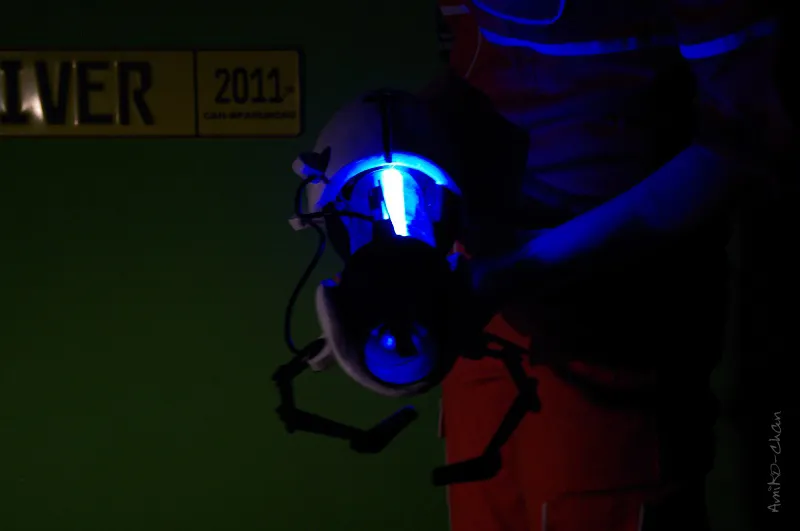
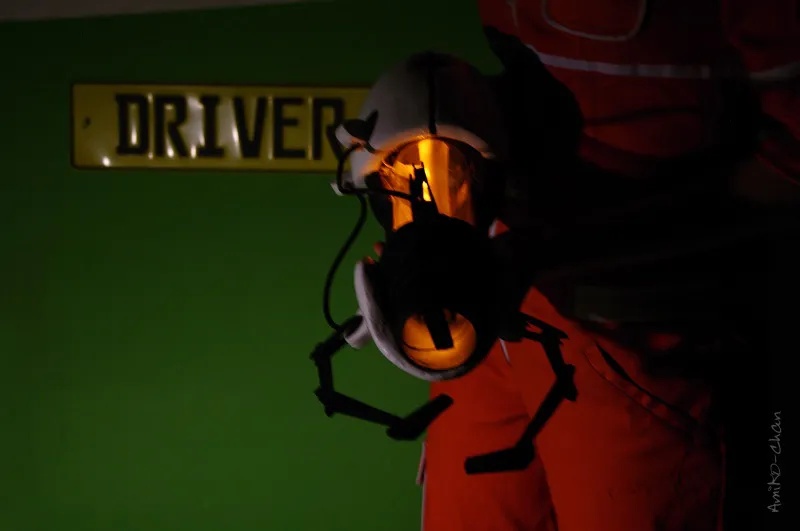
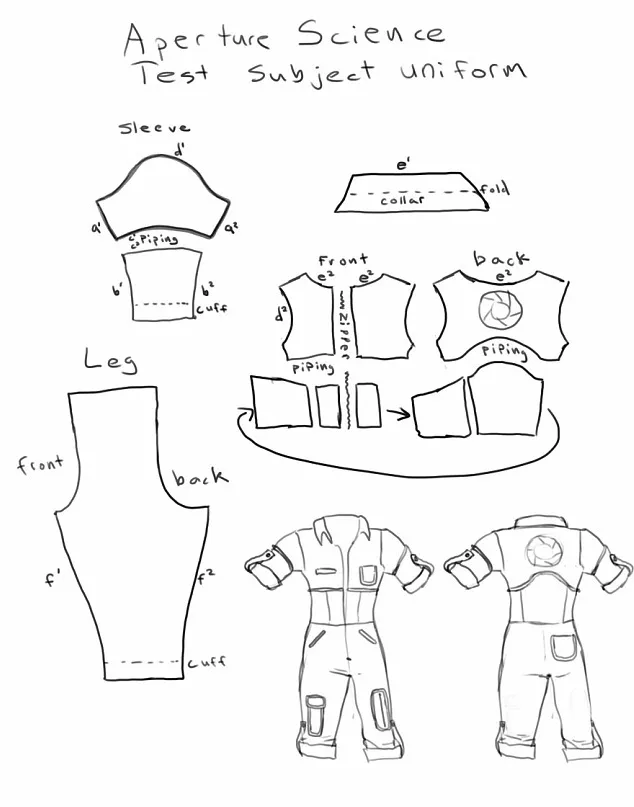
You can sew a jumpsuit using this example:


Amiko with cute things
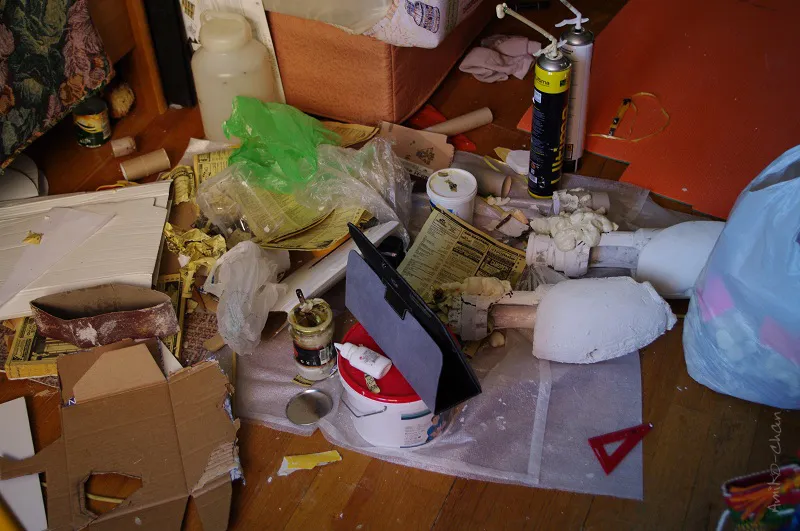
And this is a small example of what your cozy room will turn into while crafting. Finally, this is over T_T
See you soon,
your Amiko (▽)
The original post was published here link