
Cute mushimu from polymer clay ^_^
I was browsing the forum and came across this post, and in it, there was this cute little mushroom creature:

And then I wanted to sculpt it \_
First, I made sure that I had everything I needed on hand.

After that, I molded the base from regular clay (in the bag in the photo):
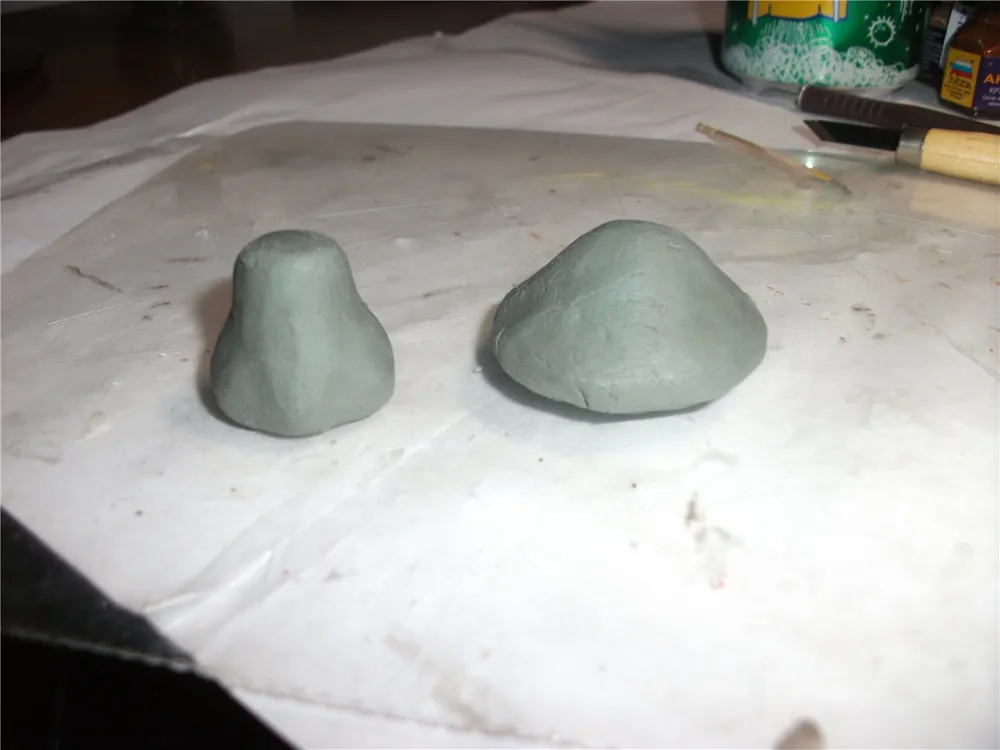
You can also use foil for the base, but I find clay more convenient; it’s a matter of taste :)
While the clay was drying, I decided to look at some photos and concluded that it was high time to wipe down the table...
I covered the dried clay with a layer of polymer clay:
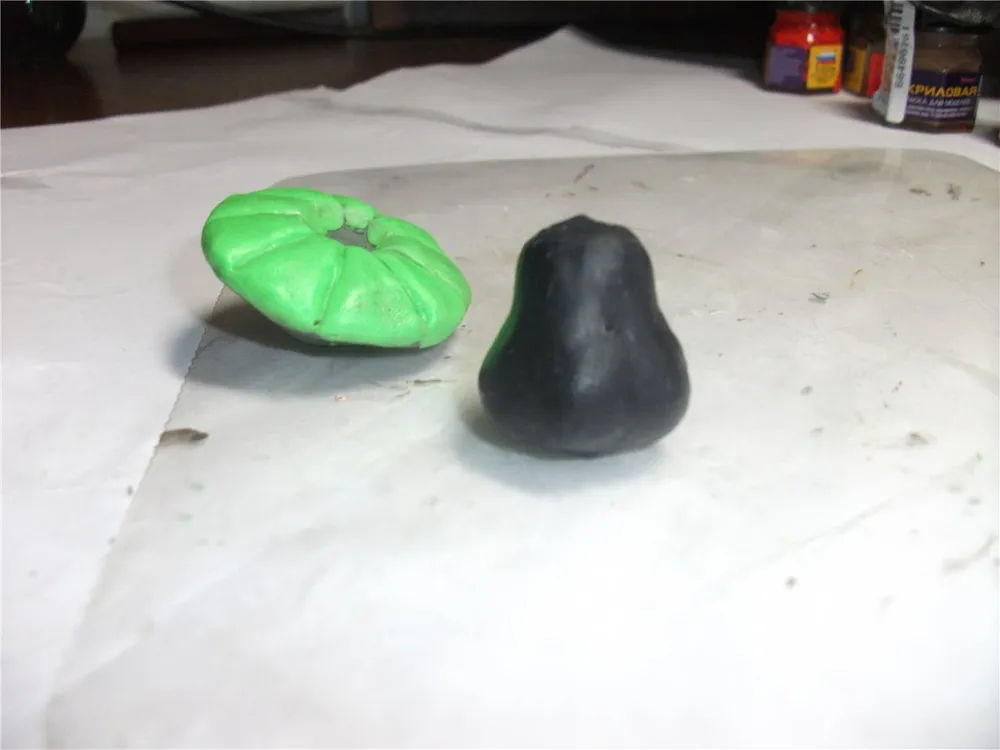
Then I punctured the mushroom with a thick, long needle and sent it to the oven to bake...

After baking, I added eyes, cheeks, carved the mouth, and stuck spikes on the cap, then stuffed it back into the oven :)

While the body was baking, I sculpted the legs:

The mushroom was baked and stood firmly on all 4 legs \_
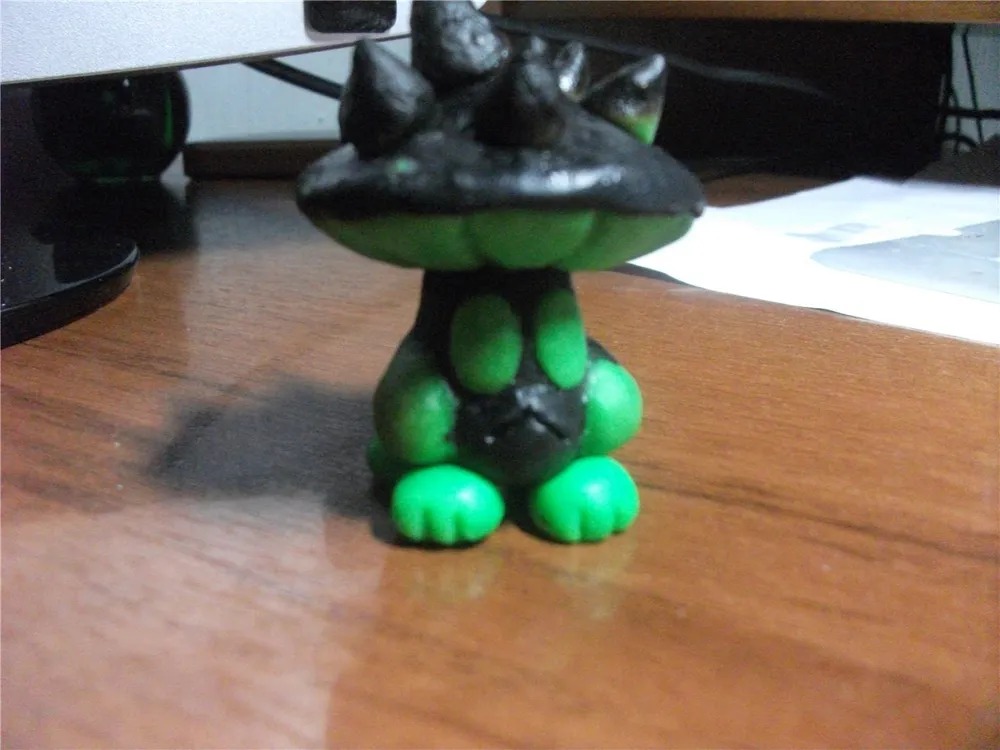
Now we bake it completely and prepare for painting...
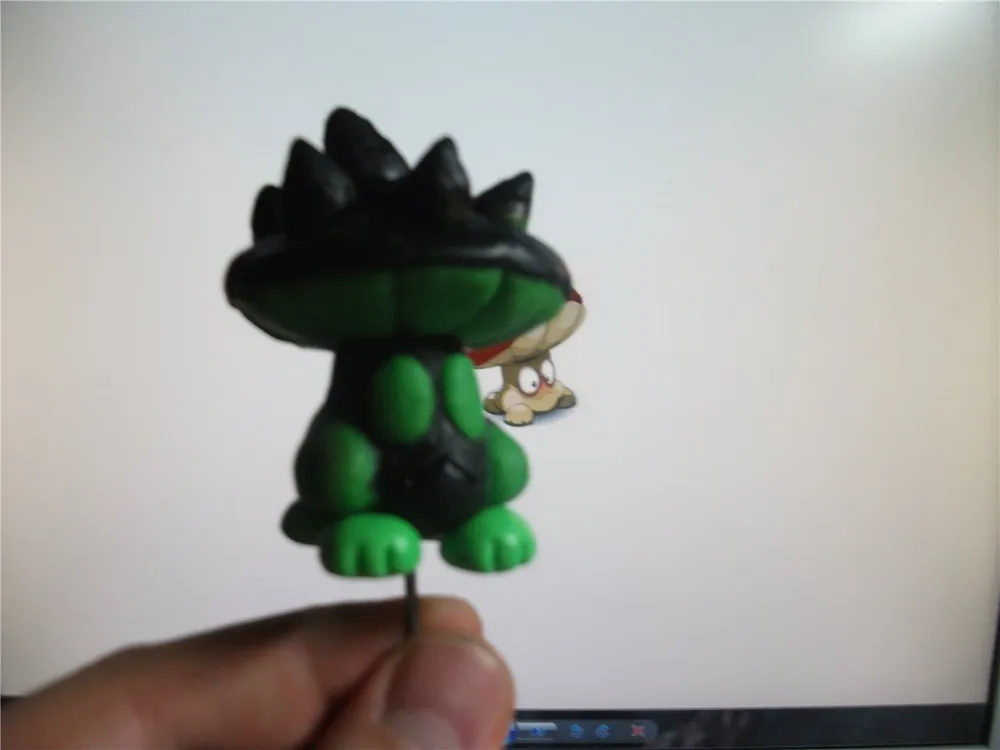
For painting, you will need:
- Gloss varnish
(I’m providing links to Ozon for those who decide to try working with polymer clay but don’t know where to buy it. The clay can be bought here; I recommend getting white as it’s easier to paint, I molded from black and green since there was no white available at the time. Regular clay can be bought here; one pack will last a long time).
Well, the mushroom has baked, cooled down, and it’s time to paint. I recommend starting with painting the body and legs, then paint the spikes and eyes, and lastly the cap:
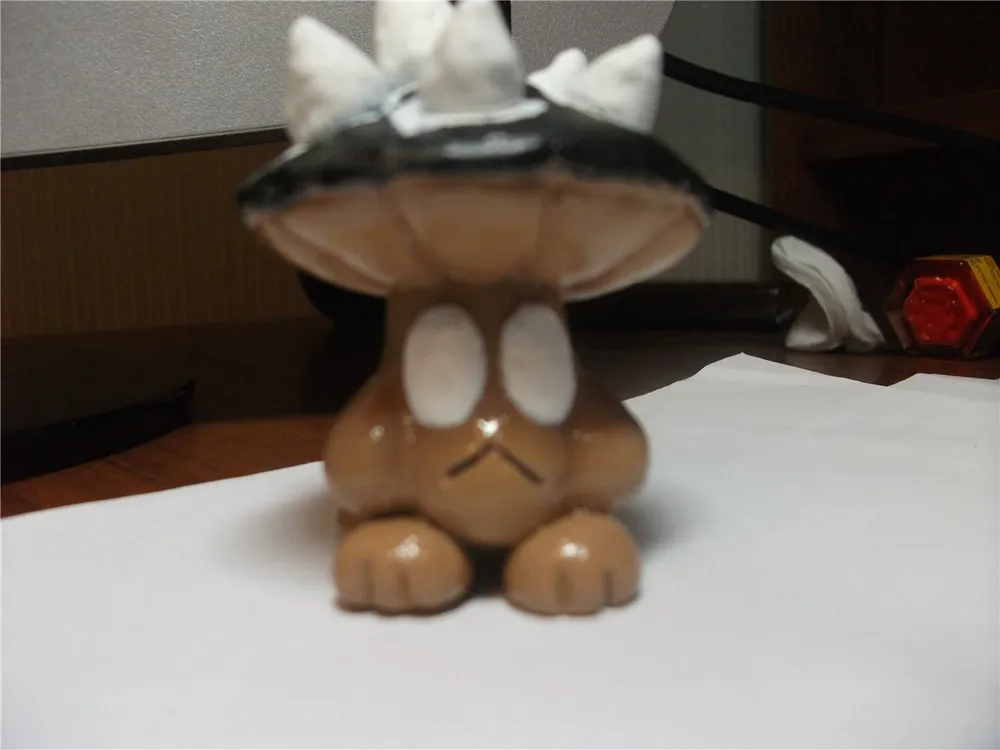
And now I’ll steal a picture from Pre_historik:

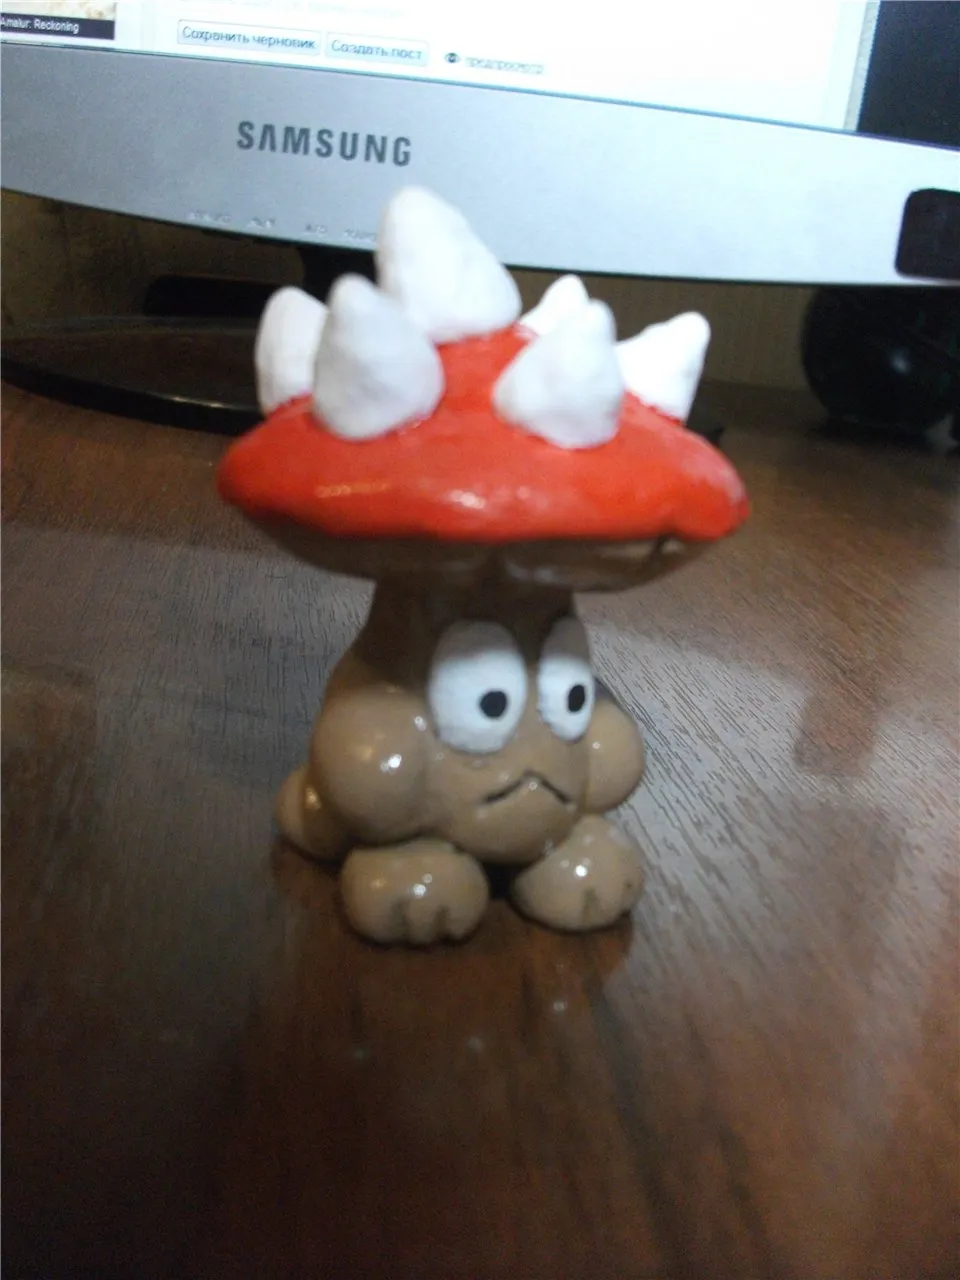
And it’s ready:

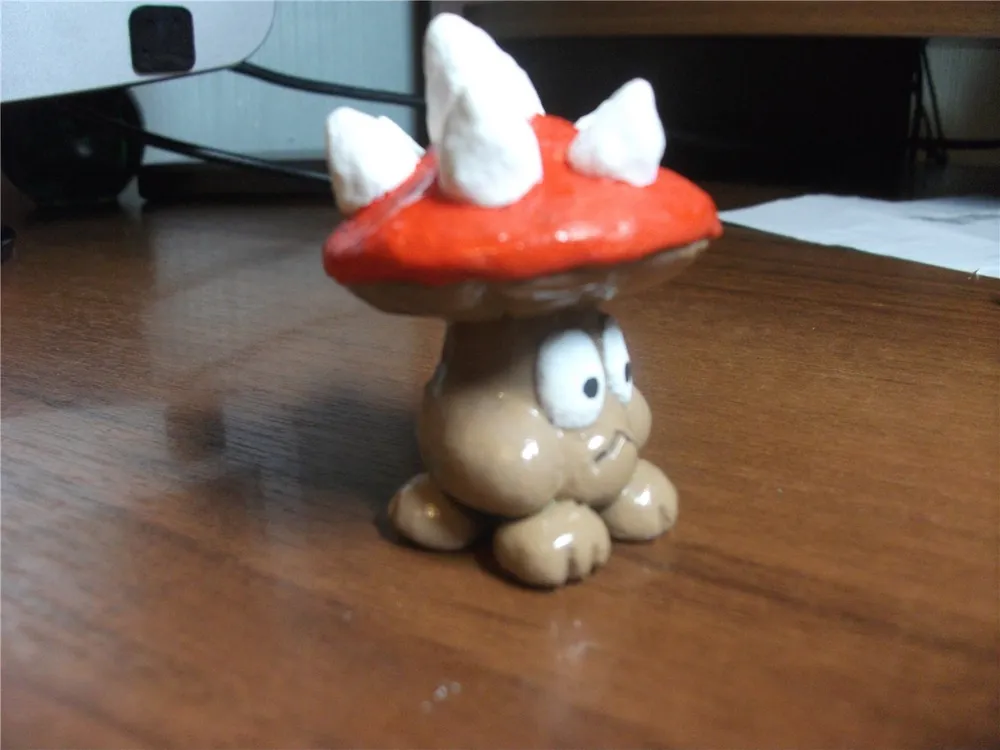
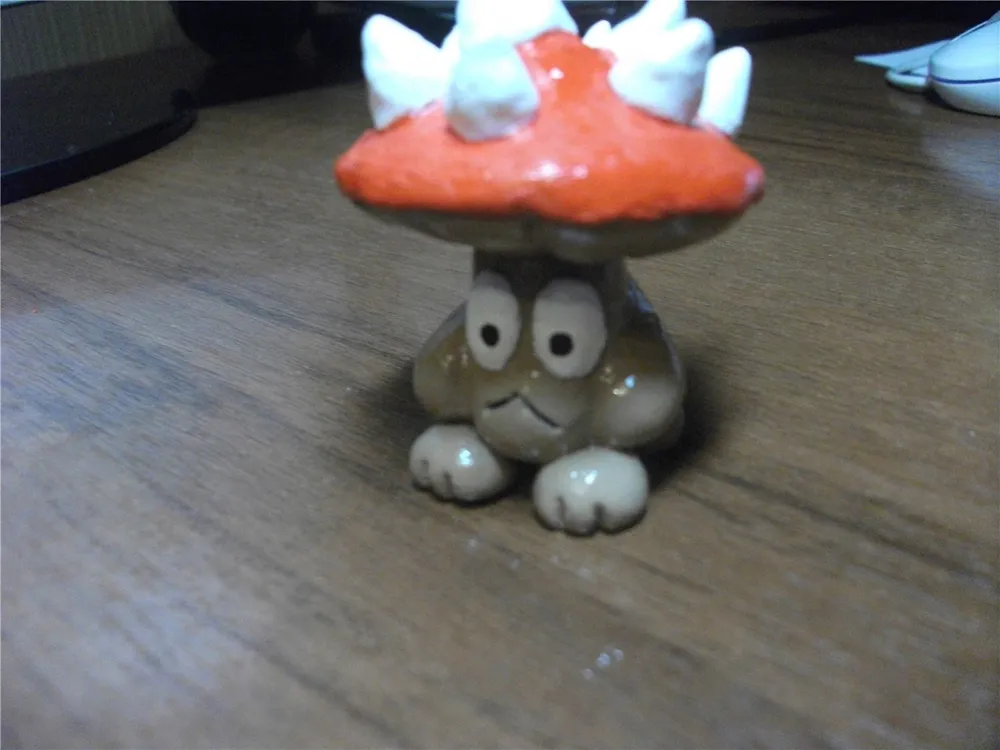
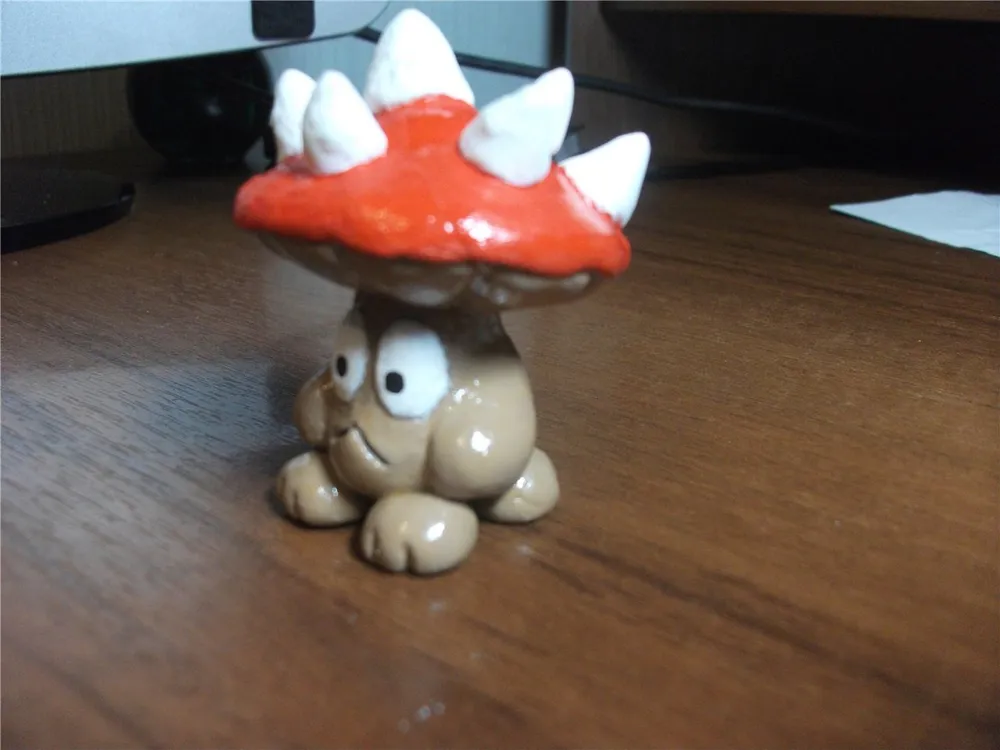
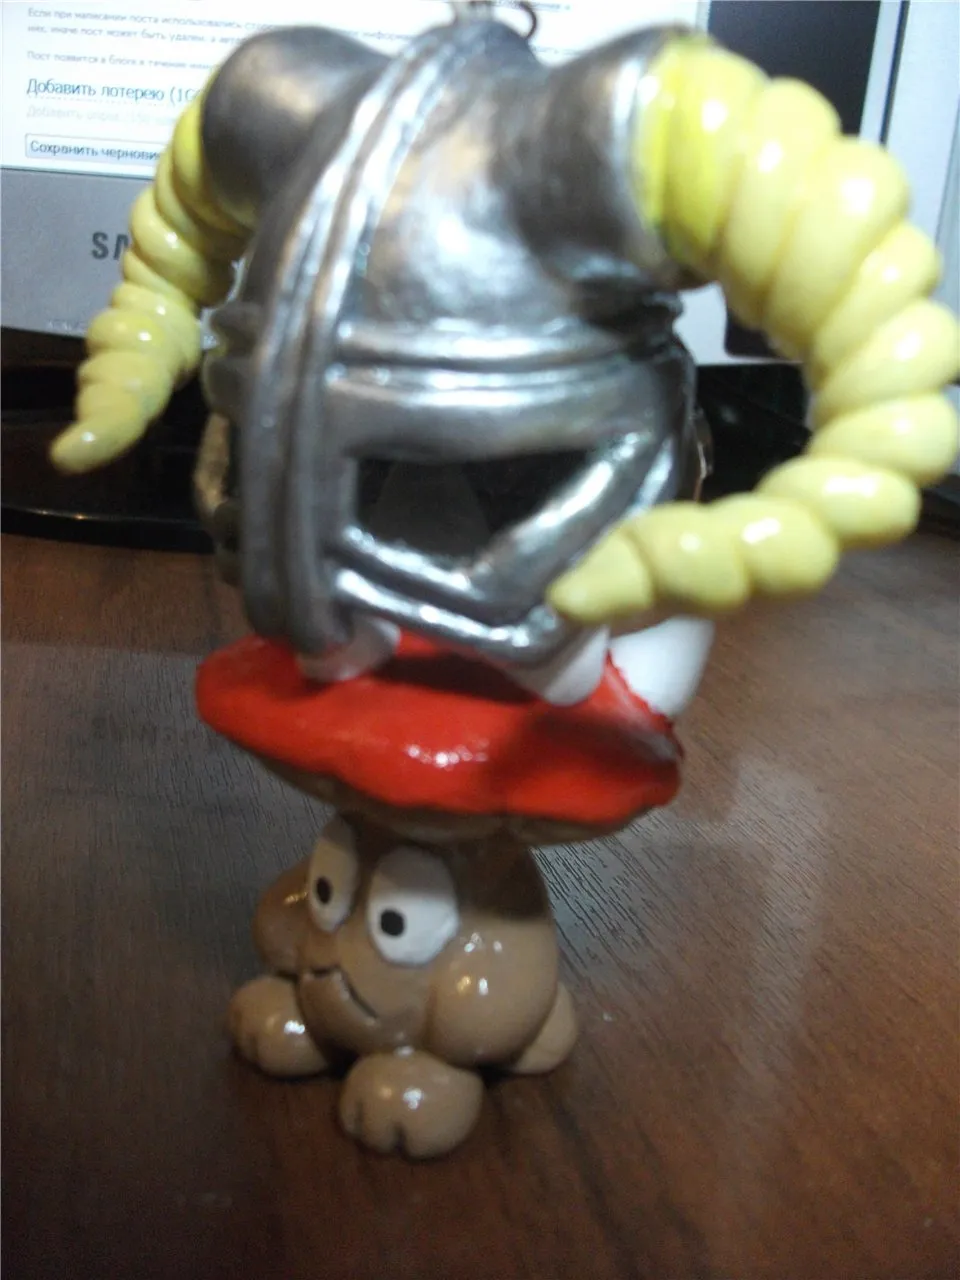
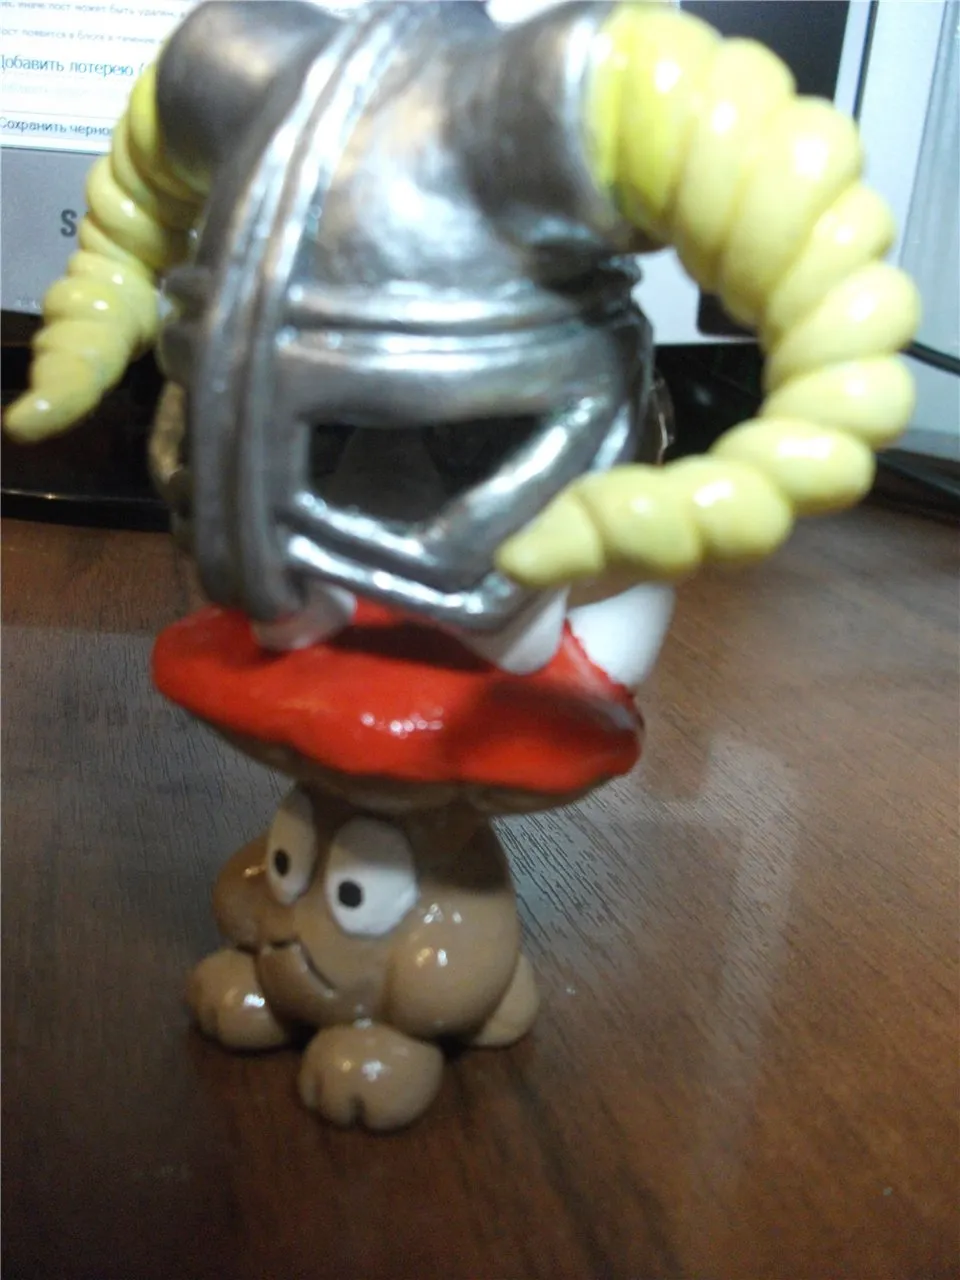
And here’s the dovahkiin mushroom, with a helmet from my previous work:
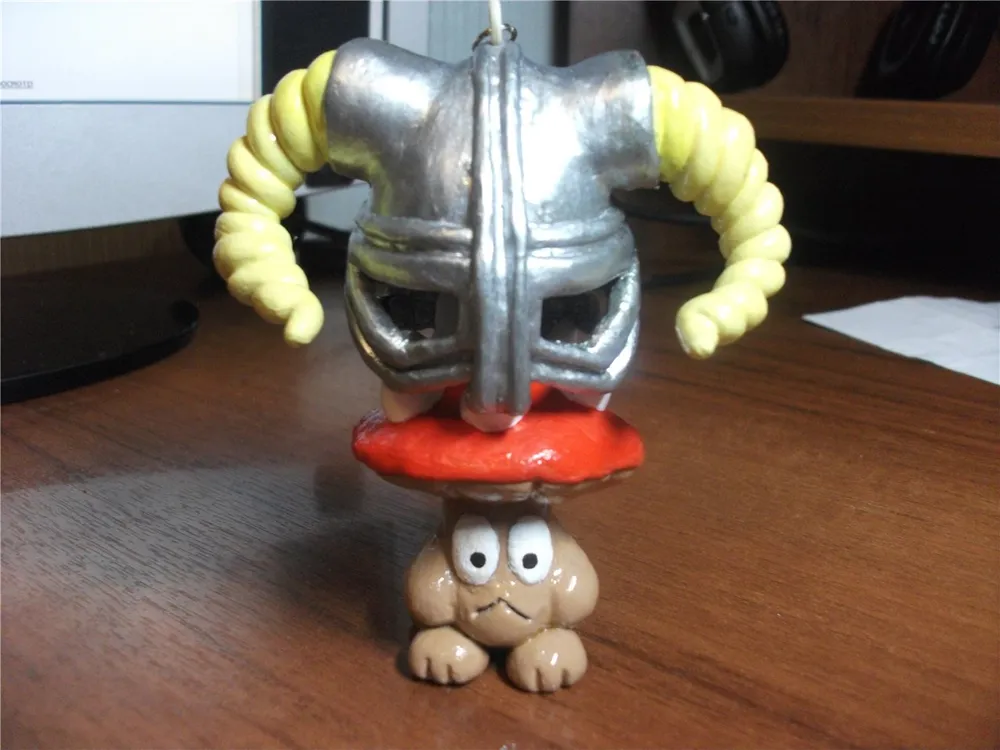
So, that’s how it went :)
If anyone is interested in my creativity, feel free to write to me in private messages or to the email listed in my profile \_