Red Logic Minecraft Lessons. Lesson Zero: Basics
Let’s get down to business. And not just any kind of business, but something quite complex, interesting and... well... moderately amusing, perhaps, opening the game from a new perspective. You didn’t really think that Minecraft is just "swing an axe – gather wood"? Who said "isn’t that right"? \points finger at a person** You? My dear, keep digging, we won’t disturb you. To everyone else – welcome below the cut.
By the way, there’s a ton of images under the cut, watch your traffic...
[cut]
Part Zero. Introduction.
The conversation today (and not only today) will be about that mysterious Redstone (hereafter – "redstone", it may not sound as beautiful, but it’s easier to write), which many of you have stumbled upon in your numerous cave raids. Perhaps some of you even "planted" this redstone on the floor, then walked around it for a couple of minutes, unable to figure out how to use it. Someone may have even gone online and read that it's actually really cool, watched a YouTube video, got inspired and... then came the part with huge schematics, incomprehensible words, zeros, ones... Brrr...
This improvised manual is for those who understood that it's cool but didn't get how to actually make it cool. I will break it down into lessons, and first, like in any textbook, you’ll have to endure all sorts of definitions and primitive schemes. However, later (and I promise you this) we will tackle more serious and complex mechanisms. Perhaps some will find this lesson quite enough, and everything will become clear and distinct. Well, that's why this is being written. I’ll be immensely glad about that. =)
So. I think I forgot nothing. Let’s go!
Part One. Images.
Let’s start simple – with images. Yes-yes, with images. I will show you those elements of redstone circuits (the ones we will build in the future), which will be used by us.

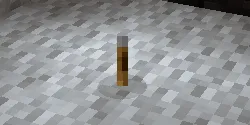
The most important element is red sand (Redstone Dust), also known as wire (Redstone Wire). In circuits, it plays the role of connection wires. To lay down the wire, you simply need to right-click on the floor. It can only be placed on the tops of blocks.

Red torch (Redstone Torch). It also plays a huge role in redstone circuits. It is used as a power source, as an indicator, and in inverter circuits (more on that later).
A torch, as a signal source, always sends "1" into the circuit. The following elements act as switches and send one when they are turned on/pressed.
Lever – in the on position, sends a one to the connected wire. In the off position, it sends a "zero" accordingly.

Button – connects only to a wall. After being pressed, it sends a signal lasting 0.9 seconds, then returns to its unpressed state.
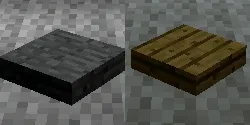
Stone and wooden pressure plates – unlike the simple button, these plates (you won't believe it!) are mounted only on the floor and trigger when someone steps on them. After you step off, the signal stops being sent. There is a significant difference between buttons, but for now, we won't clutter our minds with it.
Actually, for this lesson, these elements will be sufficient. Let's move on to theory, the least pleasant part of today's lesson...
Part Two. Discrete Mathematics.
Whoever's jaw just locked at the sound of this phrase, to the point where we can hear the grinding of teeth? Ah, I suppose you recalled huge formulas and proofs from this science. No, there won’t be any of that here; everything will be much simpler. Much, much simpler.
To understand the fundamentals of how redstone circuits work, one must at least have a notion of what's happening in them (the circuits). So, each wire and circuit element can have two states – 0 or 1 ("off" or "on" respectively, although the terms "negative" and "positive" are more commonly used). Depending on the state, conductive elements will either glow brightly or not.
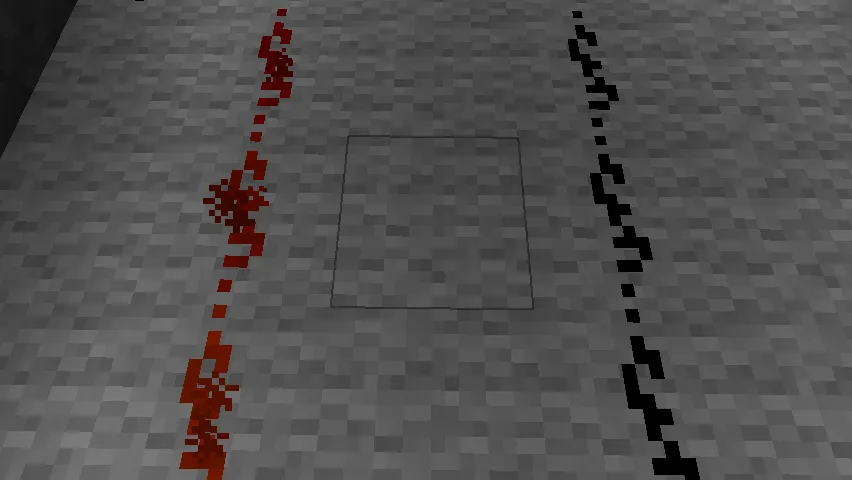
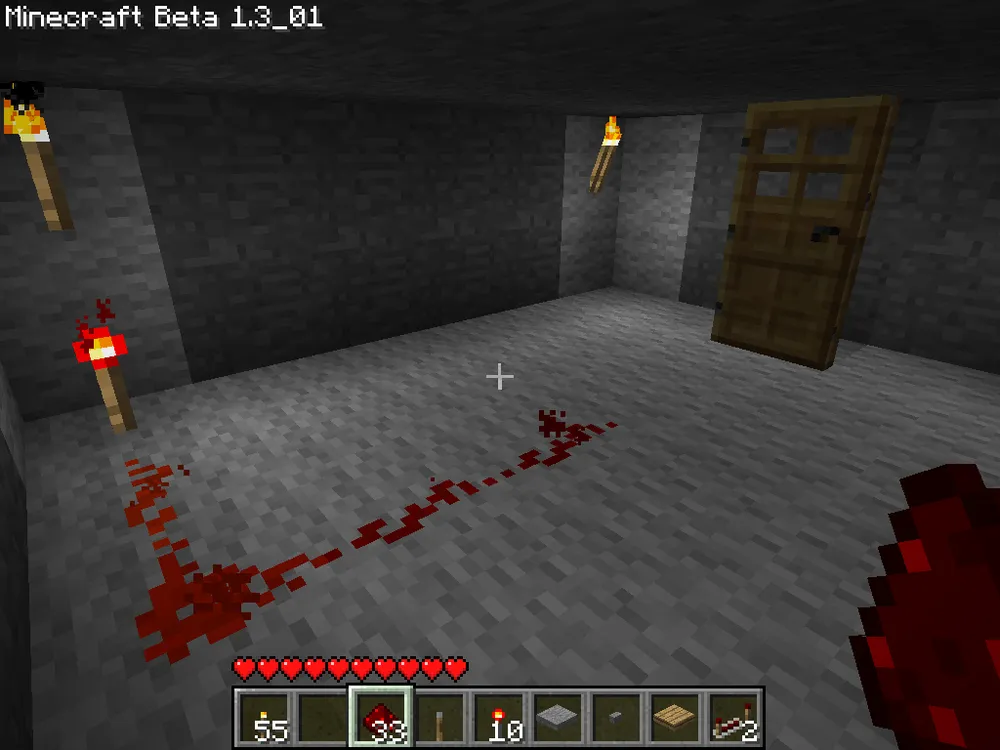
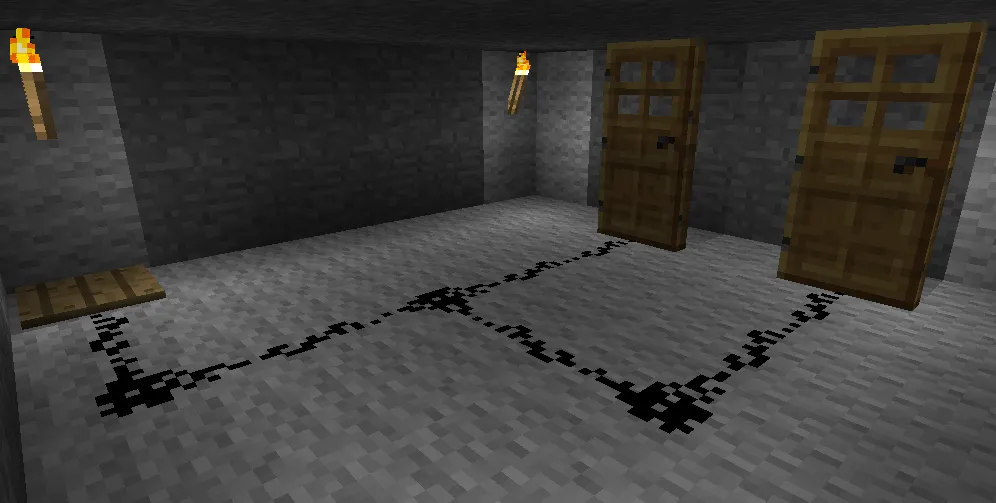
Currently, a signal is running along the left wire, while the right one is devoid of such attention.

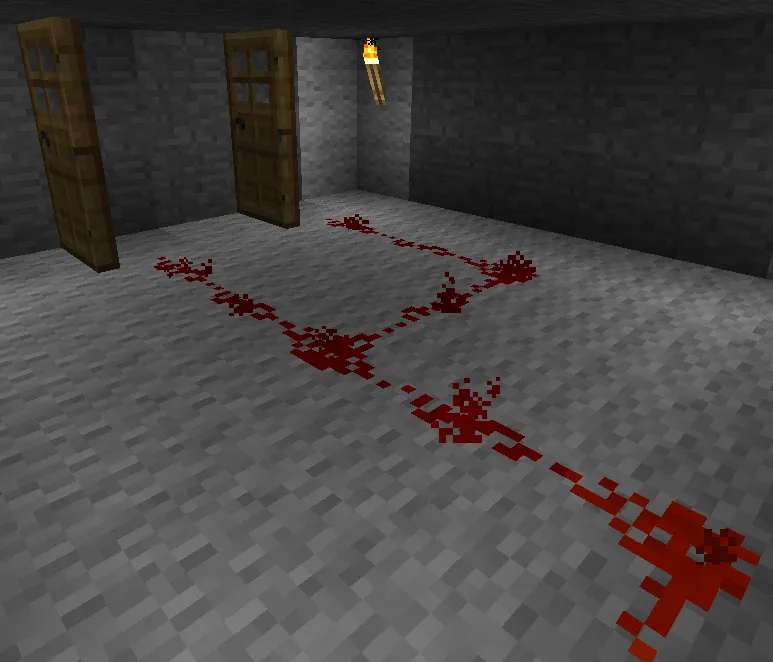
The right torch currently has a signal, while the left one does not.
There are nodes in circuits that perform specific functions. The term "nodes" refers to the aforementioned elements that affect the signal: torches, inverters, sync signal generators, and more. They combine into larger nodes to perform more complex functions. Logically enough.
What, then, can wires be connected to, if there’s not a single electrical device in the world of Minecraft? The answer is simple: to doors, liquids (in a very cunning way, but it's possible), railway tracks, dispensers, and note blocks.
That’s it. Little, and I hope, clear. Let's start creating...
Part Three. How does it all work?
Elementary. Grab some red sand and click a couple of times on the floor. You should get something like this:

That’s the wire, along which the signal will run later. It doesn’t have to be laid in perfectly straight lines; such a layout will suffice:

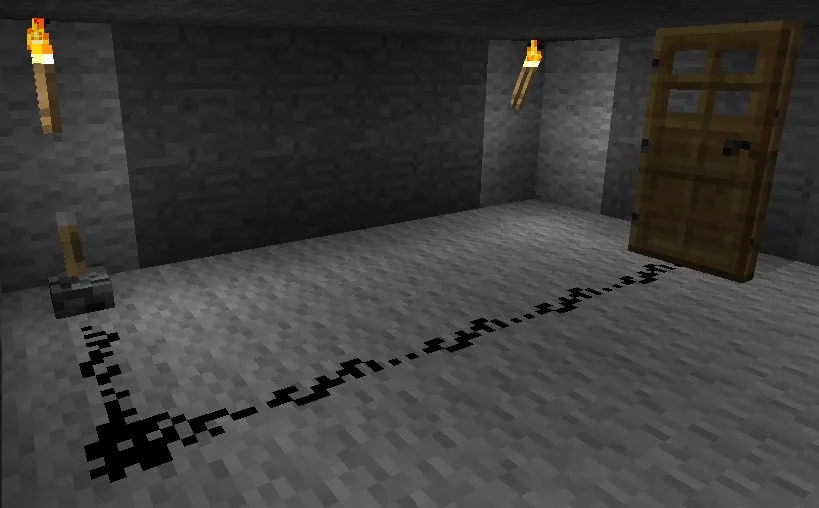
That’s it, you can erase (or rather, remove) the wires, remember this phrase for the future. Now let’s place the signal source. Grab a torch and stick it in the ground. We get this:
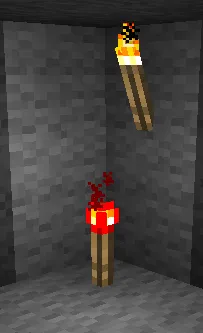
On the top – a regular torch, below – a torch crafted from redstone. The difference is obvious.
Now let’s connect the torch to a door. Craft a door, place it, and pull the wire.
Before we connect the wire to the door, it will be closed:
After connecting it to the torch, it will open:

Cool, isn’t it? No? Ah, well, why would we need a constantly open door... Okay. Let’s remove the torch and replace it with a lever, like this:
Now we can control the door by pulling the lever. Flip it and enjoy the moment when the door opens:
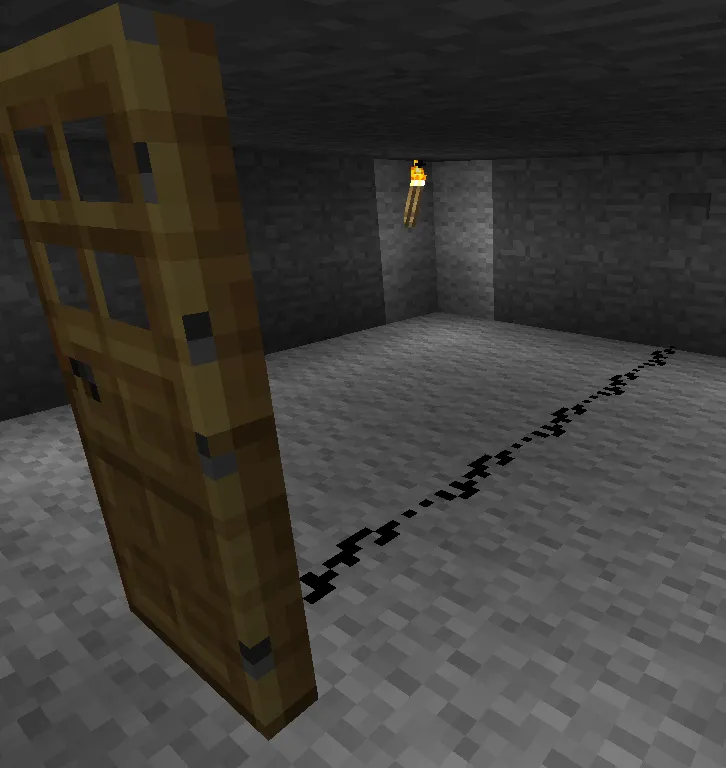
With the lever, it's very easy to see that the door is open when the wire glows bright red ("1", signal is present), and closed when the wire is black ("0", no signal).
The next element of our day is the pressure plate. Let’s install it instead of the lever:
Now step on it:
Voila! The door opened. You can open it not just with your weight, but also with other items, for example, any block thrown from your hands:

For those who doubt:
A block pressed the button, everything is fair and square.
Let’s now set a wall button:
Approach it and press. Count 0.9 seconds and see how the door will close.
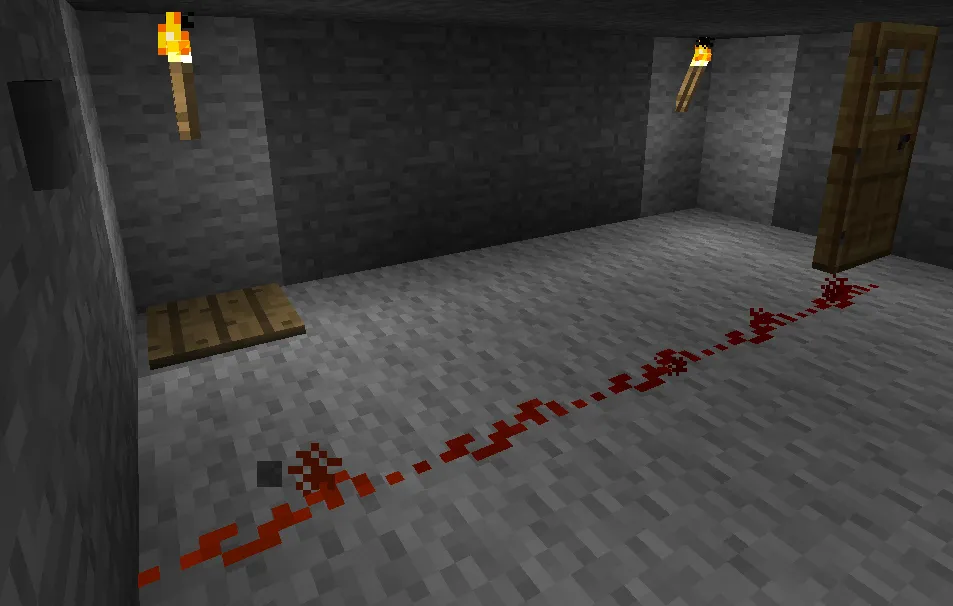
And, honestly, why are we wasting energy? Let’s connect two doors and open both by pressing the pressure plate:
And everything would be wonderful...
Part Four. It was all fine on paper...
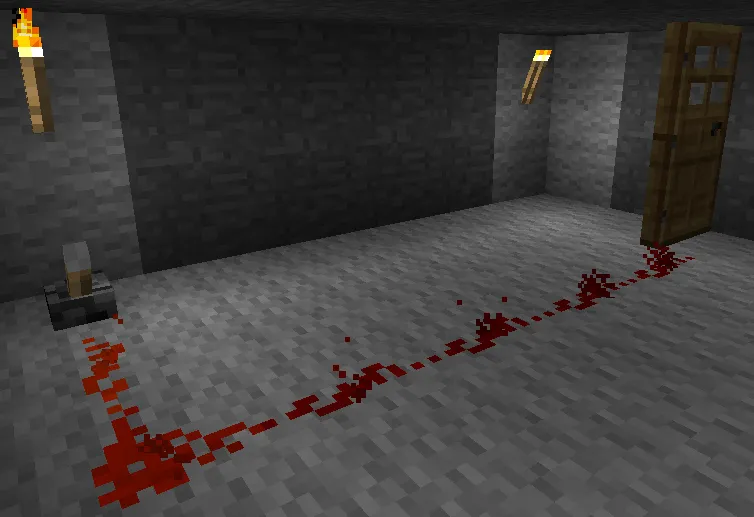
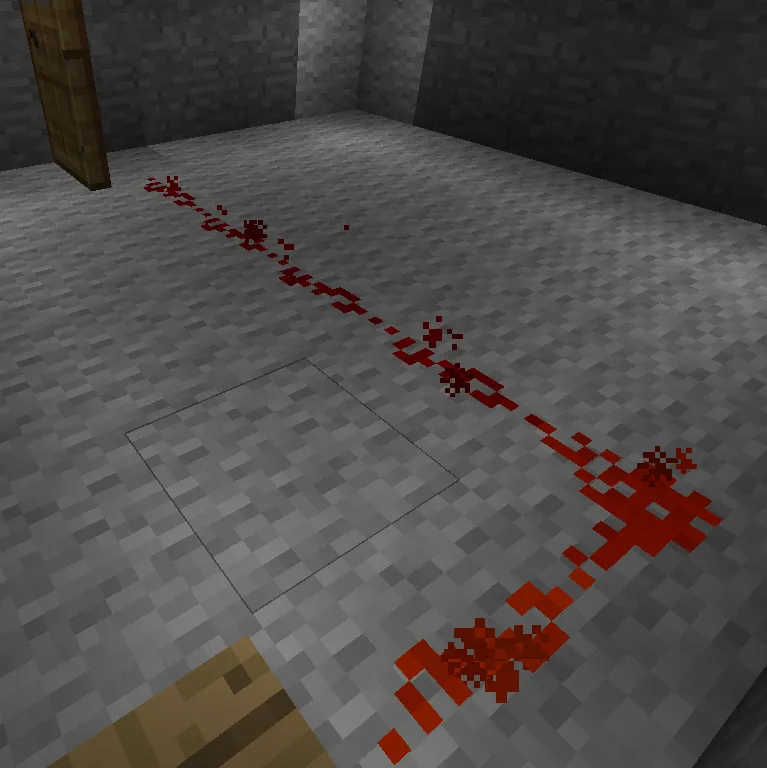
...if the signal didn’t fade as it propagates through the wires. How? Just like this:
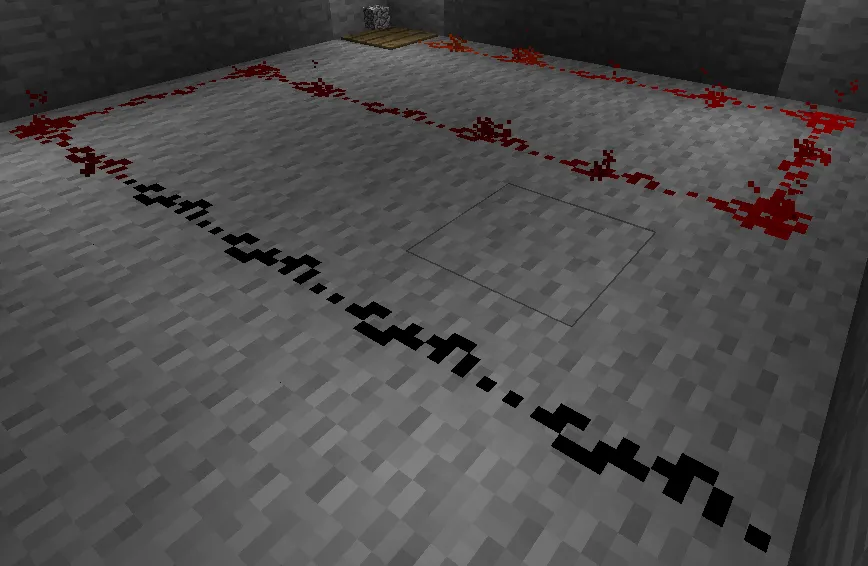
Note. In versions prior to Beta 1.3, wires with a signal were always red. Now the wire color approaches black as it moves away from the source.
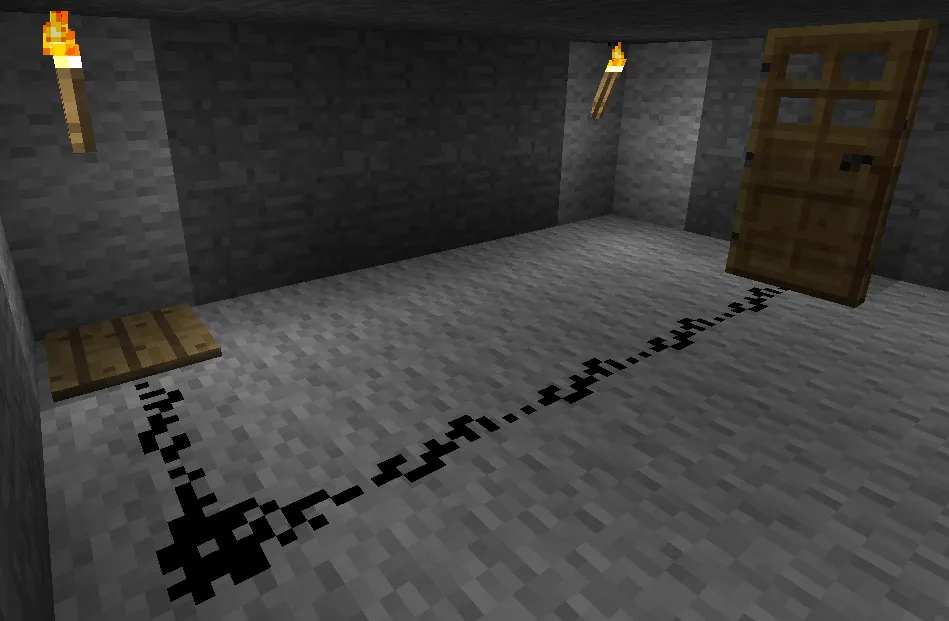
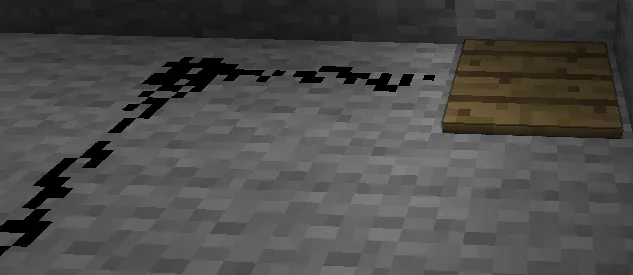
Remember the simple Fifteen Rule: A signal propagates only 15 blocks from the source. It’s easy to verify:

The door on the 16th block is closed, meaning the signal is not reaching it (reminder: the door opens at a "1" signal).
What to do then? Limit ourselves to circuits of 15 blocks? Pfft... That's not our method. Let’s learn to extend the signal (it would sound smart as