
Walking through 'Limbo'

Great game guide for limbo
"Limbo" – a cool and awesome game, so I made a walkthrough for it. I'm also cool and awesome.
[cut]
Part One

We get up, go right, slide down the slope, and then, carefully falling off the fallen tree, we jump over the pit with spikes.
Wrong path – at the very beginning, go left and pick up the glowing egg.
Part Two
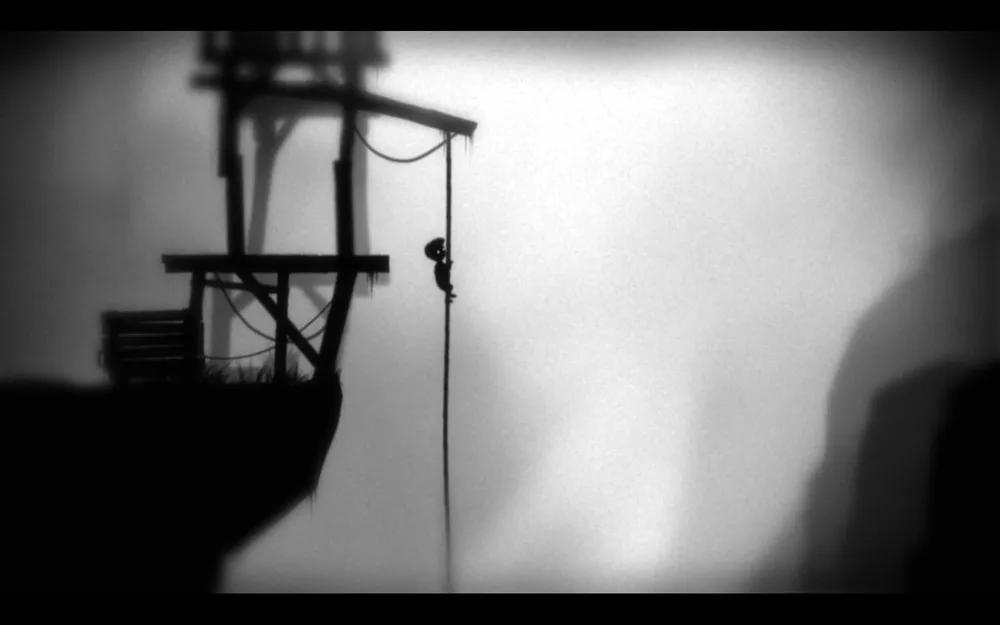
We continue going right and stumble upon a small construction with a rope. To descend, we pull the cart standing below back ("Ctrl" for interacting with objects). We jump onto the platform, and from there to the rope, sliding down. We jump off another platform. If we jump left, we need to jump over a pit with water; if we jump right, we won't need to do anything. We go further and then jump into the boat. We sail.
Part Three
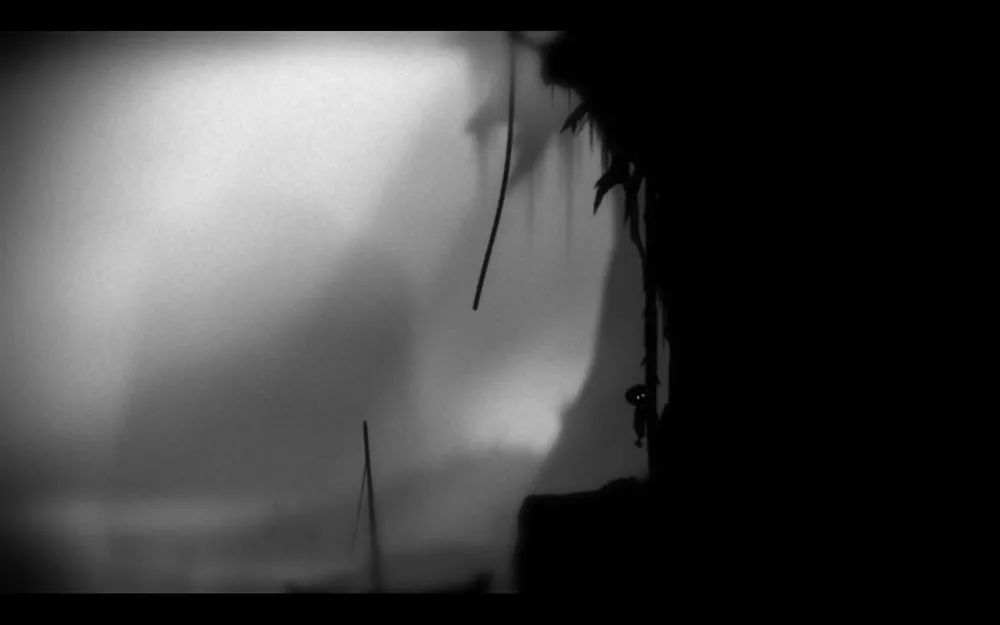
After landing on the shore, we see that we cannot climb onto the ledge. To do this, we need to drag the boat to it. We do this exactly as we did with the cart. After we climb up, we jump onto the grapevine and climb it, and then we jump onto the rope. We climb up and continue walking.
Be careful: along the way, you will encounter a couple of traps stacked together (they cannot be jumped over). To proceed, you need to drag the first trap further away from the second. After that, passing this place should not be difficult for you.
Going further, we see the remains of a human body hanging on the rope. We need to climb to the next ledge using the rope, but since the body is heavy, when we jump, the rope drops too low, and we cannot jump over. To solve this problem, we need to place the trap that peacefully lies in the shade under the body, and then jump onto the rope and climb up (so we don't become a victim of the trap ourselves). The body will fall into the trap, thereby reducing the load on the rope. We calmly jump onto the ledge and continue.
Part Four
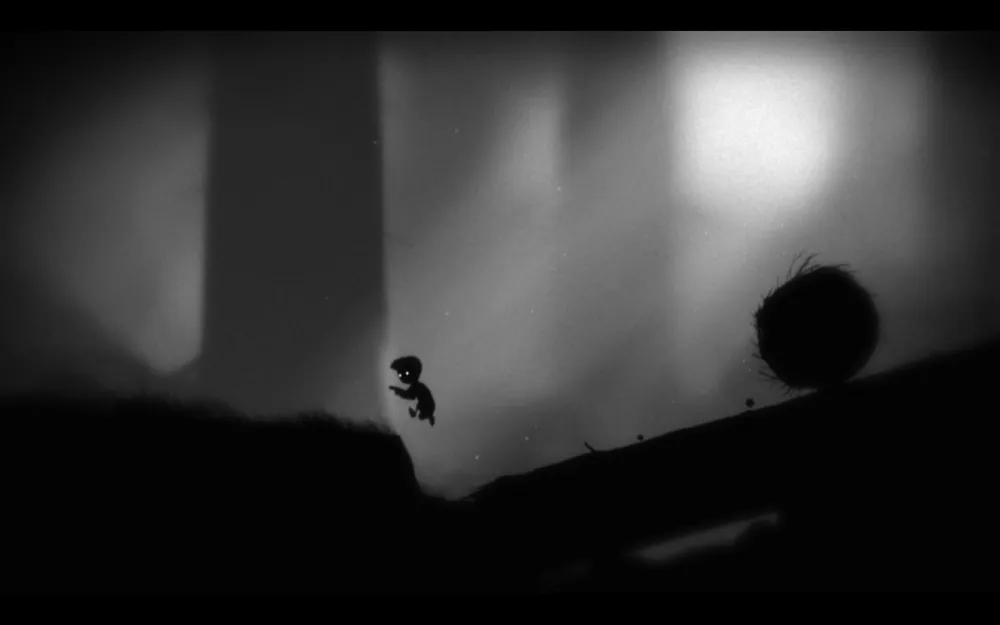
We see a fallen tree. After you jump onto it, you need to jump back immediately, as a huge piece of rock will roll down the trunk. After waiting for it to fall, we continue walking.
Passing, we see a small body of water; bathing in it could kill us. To avoid this, we need to drag the box back and jump onto the rope (placing the box under it, of course). We need to jump onto the branch to the right. To do this, we swing the rope left and right, and after getting some good swing, we jump. Next, you will face a trio of jumps on branches, where at the end you need to push down a nearly broken piece of tree trunk (just push it, but be careful not to fall afterwards).

Don’t joke with heights – after you knock down the log, you can take another glowing egg. To do this, you need to jump onto the rope on the left (it's barely visible), swing, and jump to another branch.
Carefully jump down the branches and head towards the body of water. We push the already fallen log into the water, then jump onto it and leap to the shore. Some push the box for safety as well, but I was fine with just the log.
On the way forward, notice the trap on the tree; it will come in handy later.
Part Five
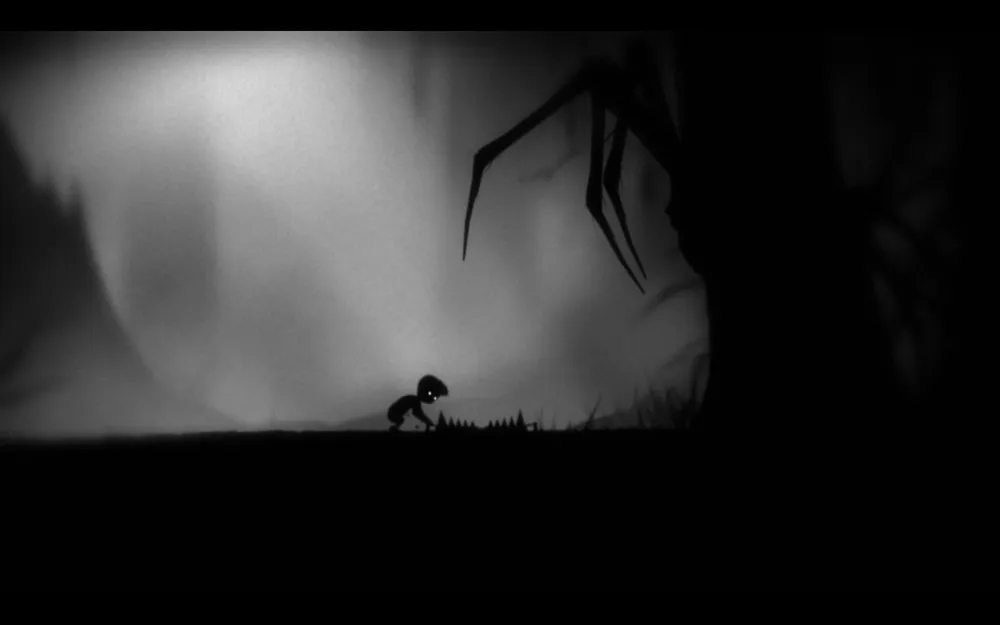
After going a little further past the tree, we meet a spider that blocks our way. Remember the trap. For it to fall, the spider must hit the ground three times. The first blow happens automatically, but be careful not to get caught! For the second and third, you need to provoke it, just stand under its leg, and when it raises its leg, step back. So, the trap falls. We drag it to the spider. To proceed further, we need to tear off its legs. To do this, we hold the trap and approach the spider closer, making it lift its leg. After that, calculate where it will land and quickly step back. Do this two more times to make the spider crawl away, and then pass.
After going just a little further, we find ourselves in a web from which escape is impossible. You can, of course, make pathetic attempts to break free while the spider crawls, but in the end, it will catch you and wrap you in a cocoon. When it leaves, start thrashing in all directions, tearing the web, and now we're free, though covered in white. We jump further.
Part Six
Jump down the slope, after which carefully jump over the chasms. Upon reaching a small clearing, we see that we need to knock down a sapling; for this, we push a stone lying nearby. Be careful, don’t stand under the falling tree – it’s dangerous for your life. After waiting for it to fall, we jump forward.
Part Seven
After going a little further, we see a huge boulder. After jumping on it, it will start moving. Be careful and balance while jumping back, as if you fall you will die. Once on the stone and riding it more than halfway across the gap, we notice our old friend, who is apparently upset that we ran away from him. So get ready to jump when the boulder is close enough to the ledge. Then we slide down the hill, during the commotion, the web will tear, and we will become free.
Continuing on, we notice a girl sitting and crying; we approach her. BANG! The girl was dead, and we fell down. Going further, we see a rope, but don’t rush to jump on it; better to look up. What’s there? Right, a trap. To prevent your head from being blown off after jumping on the rope, immediately jump off it forward so that the trap falls to the ground, and then you can jump to the ledge.
Part Eight
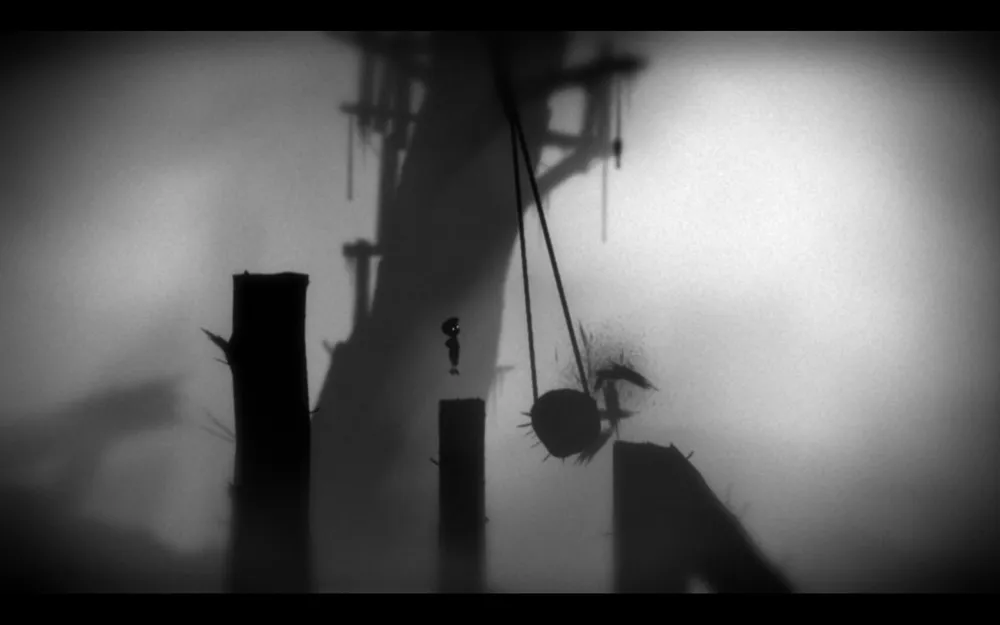
Ahead of you are stumps and an abyss. Jump across the stumps until you see a piece of wood propping up a stick. Be cautious and don’t jump on it right away; carefully climb up and then make a sharp jump from its upper part. The result: the stick breaks, the tree falls, and you have seconds to jump back. After this, jump once again across the stumps, but when you see two medium stumps and one short one between them – get ready to jump up while jumping on it, as another trap will fly at you (a killing ball on a rope). Wait until it flies to you and jump over it, then carefully roll down the hill and jump at the right time to the ledge.
We run into a spider… A metal one. Its mechanical leg will not let us pass, but it can’t kill us either. Just wait until it rises again and run through. Some strange human silhouette will hide in the shadows.
Part Nine

Jump over the chasm. Be ready for a burning wheel to roll down, and you need to run back. When the wheel falls into the pit, run immediately. On the way, a small rock will try to fall on you, but jumping over it should not be difficult. We see that confused natives, noticing they failed to kill us, flee in panic. We climb the stairs to pass towards their next trap.
Part Ten
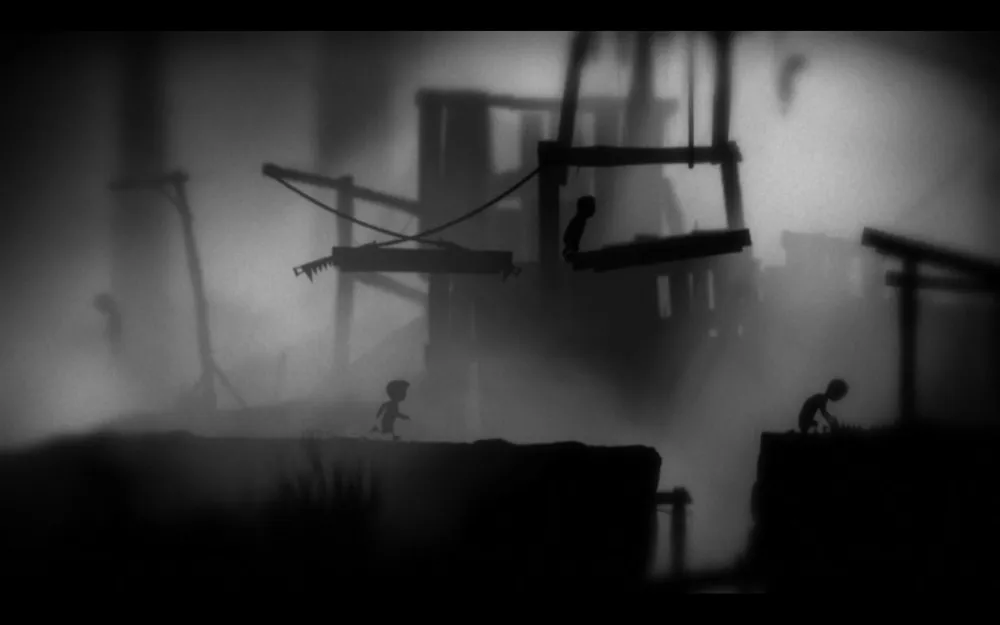
We see a clever contraption built by the natives. First, we need to disable two traps that are suspended on one of the platforms. To do this, you need to calculate when the first trap will fall (just walk a little further than it). After that, quickly go left; another trap will fall. Run quickly to the right. All done, they are neutralized, and the rope that remains will come in handy. We climb up it to the platform and then jump to the opposite shore.
Part Eleven
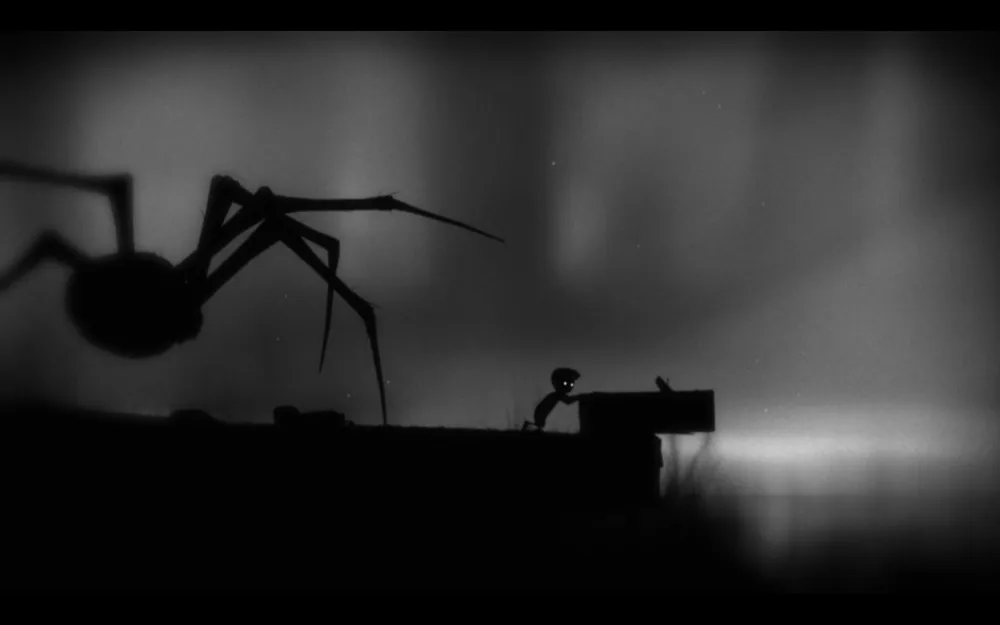
The spider is pursuing us again. Once more we run away from it, push the log that lies right in front of the body of water, wait for it to stop, then jump on it and run to the shore. Running further, we see a kind of swing made of another fallen tree. We stand on its right part and wait for the spider to place its leg on the left. As soon as the tree rises, immediately speed up and jump (you need to jump somewhere in the middle of the roots, not right away). Next, we knock down a small sapling and jump onto the ledge. The spider falls into the abyss.
Going further, we see a boulder that supports a stick; jump onto it to break it, and then run to where the spider fell; now it will try to return. You need to stand right below the ledge (close to it) from which the stone will fall. The main thing is not to get crushed. Well, now the spider is definitely dead?
After a long run, we stumble upon a pit with spikes, on the other shore of which our "friends"-natives stand. They are already raising their spears to kill us when suddenly something frightens them. The spider… again. However, the poor creature has only one leg left, but be vigilant and prepare to dodge when it tries to deliver its final blow. After its miss, tear off its leg ("Ctrl" + right). Then roll the body to the pit. After dropping it, you can skip to the other shore.
Part Twelve
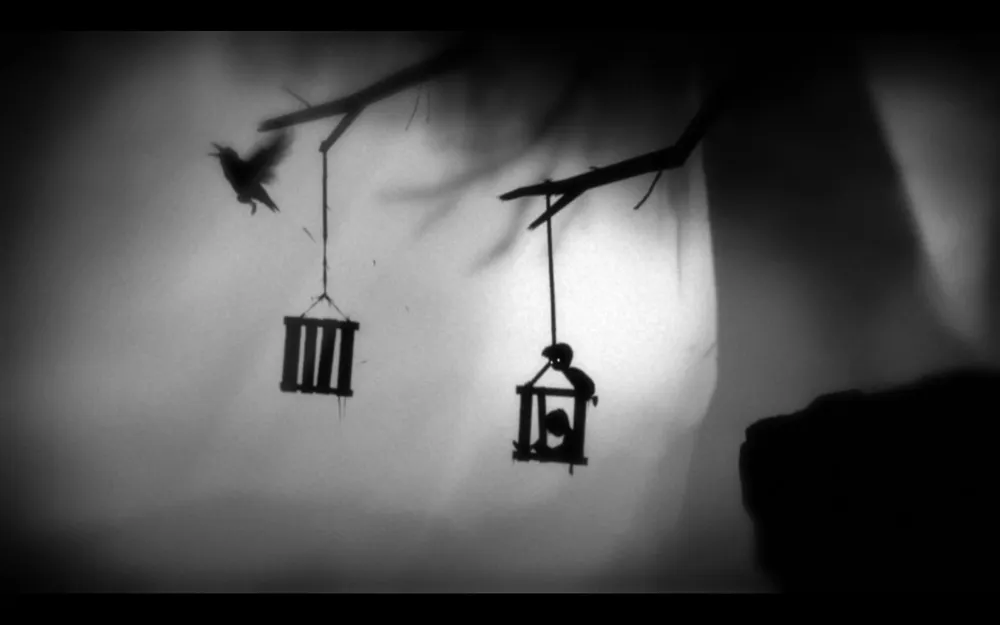
Going a little further, we see cages: one of them will come in handy for us. There’s another insurmountable ledge ahead. To overcome it, we climb the ladder. After climbing, we run left, where we jump onto the cage, which is empty. After you jump on it a couple of times, it will fall. Roll it toward the ledge and freely jump onto it.
Part Thirteen
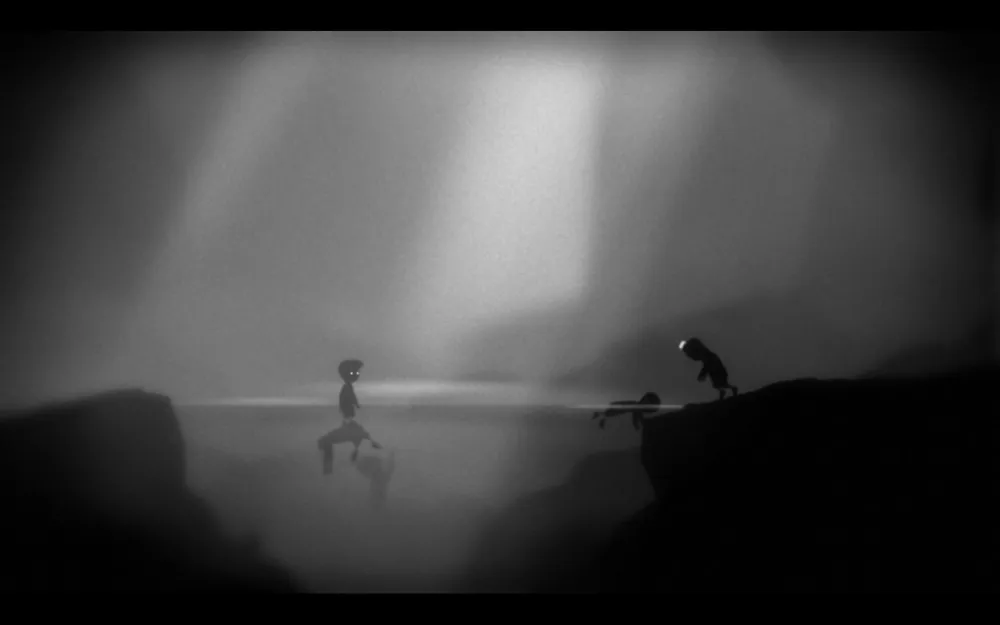
We stumble upon a lake filled with corpses, jumping onto one; you cannot reach the second yet, but we see a new corpse walker approaching the lake. As soon as it swims close enough for a jump – jump, then to the next corpse. That’s it; you’re on the shore. Pull the last body from the river and drag it – it will still come in handy.
Notice the trap that will fall after something/someone touches the thread at the bottom of the gorge? Here our corpse will come in handy; it doesn’t care anymore.
Part Fourteen
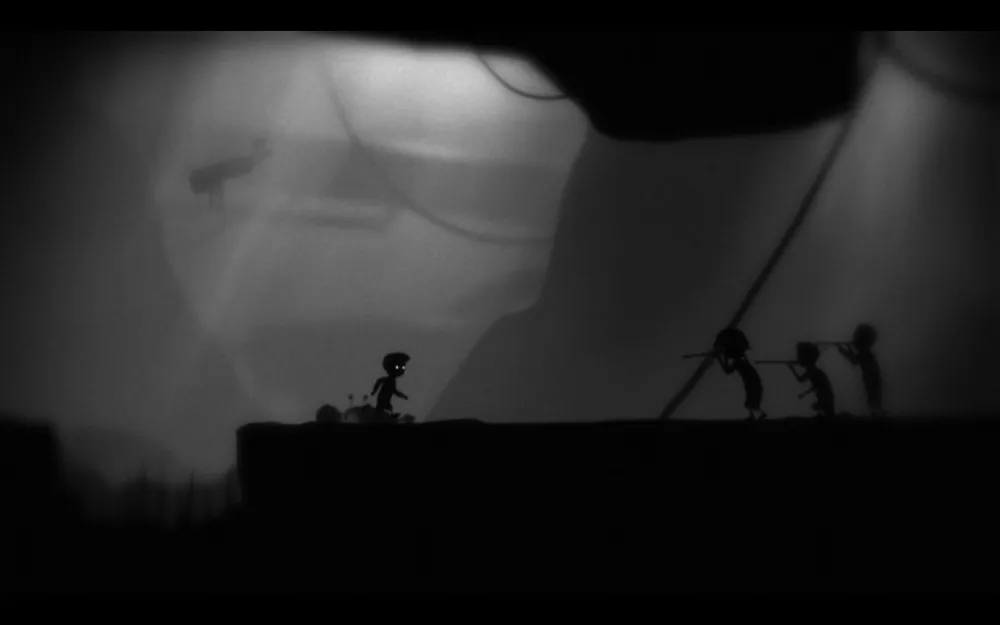
Before us are two presses. The first activates if you stand on the ground (jump on the button), and the second, conversely: it triggers if you stand on the button. We jump over the pit with spikes; on the other side, three natives with poisonous arrows await us, so we go back. The first one cannot jump the pit, while the second and third will be crushed by the press, just make sure you don’t get caught.
Part Fifteen
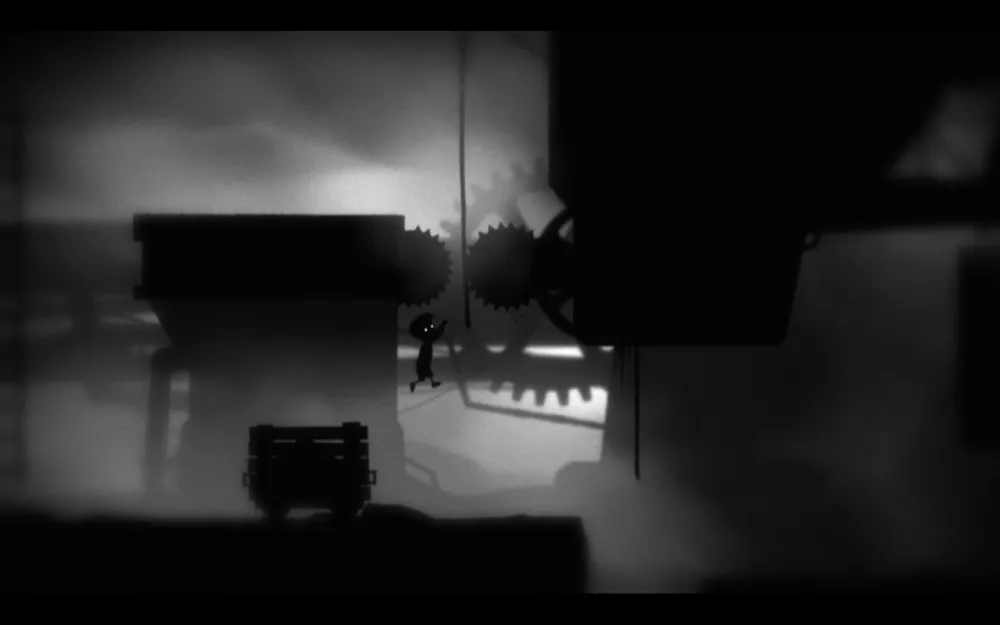
So, we run into a clever contraption: there are two ropes, two blades, a cart, and two blocks that obstruct our passage. First, push the cart until it presses against a stone. Then, climb the stairs and jump onto the rope. Under our weight, it drops, so don't forget to climb up (now we are raising the first block). As soon as the rope stops descending – quickly run to the cart, jump on it, and then back onto the same rope. You must grab the end of it before it drops all the way. Next, you need to lift the second block. For this, drop off the first rope and jump onto the second; don’t forget to climb up. The first block will start to lower at this time, wait for them to line up, and at that moment run.
Part Sixteen
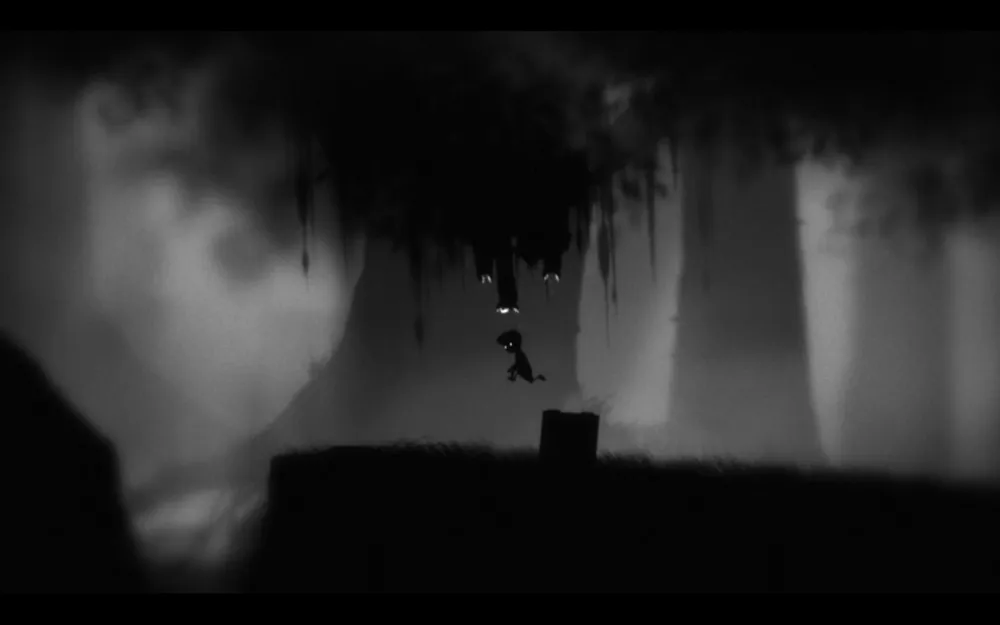
A glowing brain slug falls on our head, under the control of which we can only go in one direction, and if we get into the light it clearly doesn’t like, we’ll turn to the other. First, you will go back, but there will be a bright spot that will flip you over. Carefully slide down the hill, noticing that carnivorous plants above are clearly eager to eat, but can’t reach us. We jump over a box, reach the lighted area, and head toward the box left behind, pushing it toward the plants; after which we jump onto it, and the slug ends up in the jaws of hungry flowers.
Tip: If you can’t manage to do something, press the movement key in the opposite direction; this will slow down the boy's movement.
We are free, continuing our movement.
Part Seventeen
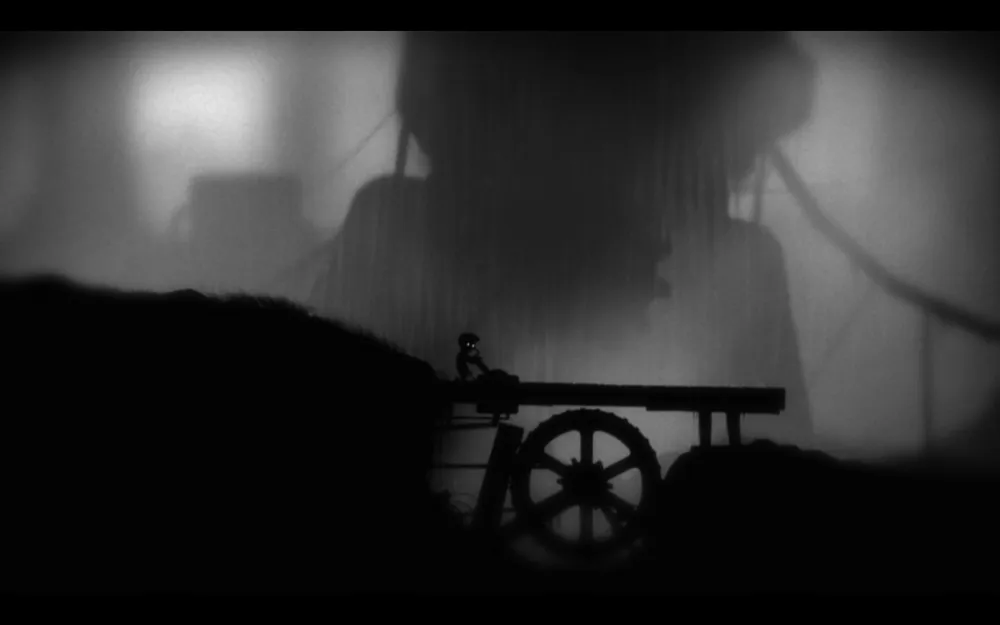
We pass by a strange mechanism and see some odd creature trying to get itself a bite to eat, and when we try to approach, it bolts away. We climb onto the platform where mushrooms grow and jump there. The creature scents food and comes out to eat. As soon as it starts eating – jump and make it run towards the mechanism (to the left). After that, run to the lever, pull it to the left, and hold it until it begins to rain. Strange mechanism, isn’t it?
Going further, we see a pit which isn’t crossable yet. We go down and drag the log somewhere in the middle; after that, we jump onto the pipe and climb. We jump onto the chain so that one of the pipes connects to the entire line, and the water rushes. Once the pit is completely filled with water, jump onto the log and then to the other shore.
Next, you will see a large body of water with some weird sticky liquid; don’t jump into that. Climb up the hanging plant.
Part Eighteen
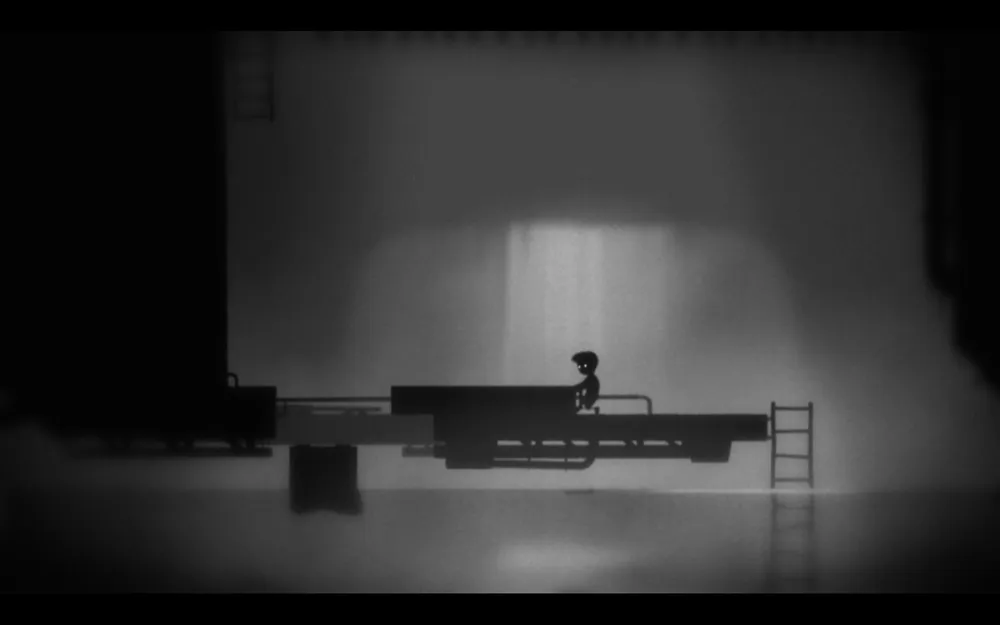
As soon as you slide down the hill, pay attention to the box. Push it to the right until you see the platform. Place the box under the sliding platform (there's a handle on it) so that it sits close to the stairs when it rises. The gist is that by turning the lever, you will block the water. It will start to rise; during this time, you need to quickly climb up the first ladder and move the platform so that the box floats at the water level. Once it rises to you, jump onto it and wait for the moment it gets close to the second ladder; jump onto it.
Tip: If you don’t manage to move the platform after activating the lever, do it in advance.
After you climb up the second ladder, direct your attention to the black box; you need to move it so that, while standing on it, you can jump to the ledge as soon as the water rises you to a sufficient height, but bear in mind that this box is heavier than usual, and don’t delay.
Continuing our path, we slide down the hill and jump onto the second platform. Notice the ball tied to the chain; it will come in handy later. Approach the sliding platform and open it, so when the water reaches the level of the ball, it drops from the chain and launches up, and you will leave it there. So, as soon as it is above the platform, immediately slide it and roll the ball to the right. Don’t push it all the way, just wait for the slope; it will roll off by itself. After that, quickly climb onto the upper platform using the stairs and stand on the box. The ball will land in it, and when the water reaches the ball with the box, they will start to rise up. We latch onto the ledge and run to the right.
We encounter two water tanks. We activate the lever on the right side of the stairs, thus filling the first tank. Deactivate the lever as soon as both tanks have the same amount of water. After this, we climb the stairs, jump onto the box to the lever that separates both tanks, and activate it. If you did everything correctly, a huge block will lower into the second tank, and jumping on it, you will then be able to reach the box and jump to the other shore.
Part Nineteen

Noticed another brain slug on the ceiling? Don’t rush to catch it on your head. Wait until it swings to the right, and drag the box to the place from where you came, all the way to the end (to the left). Forward, to the slug. Its will will want us to go left, and there the box is ready. Jump onto it and leap to the ledge; there is light, great, change direction. We head towards the stairs, jumping onto the first one. If no trash falls from the upper pipe, leap to the second one and jump immediately to the right. We make our way along the pipes to a new lighted area, we flip over, and the water starts to rise again. We return to the box and the very first lit area, turn left again. We need to reach the very top of the second ladder, where a pipe will rise due to the water. But be careful, don’t jump onto it until it passes the spikes; you’re still under the slug’s control, and being pierced is clearly not what you want. As soon as the pipe raises higher, jump onto it, and from there to the ledge where the carnivorous creatures will eat our slug (don’t forget to jump). Run to the stairs and climb up if you don’t need the achievement.
Stuck – stand near the ladder and wait. Don’t worry, the water will stop. Return to the spot where you jumped from the pipe to the ledge. It should be floating in the water near the shore. Grab it and pull it to the ladder, or rather, a bit to the right. Noticed an inconspicuous rope and pipe? As soon as you hang on it, another egg will roll out of the pipe. But be careful; if it falls into the water, you won’t be able to retrieve it. To avoid that situation, you need to place the pipe so that both you can jump to the rope (with a run, of course) and the egg can fall onto its surface.
Part Twenty
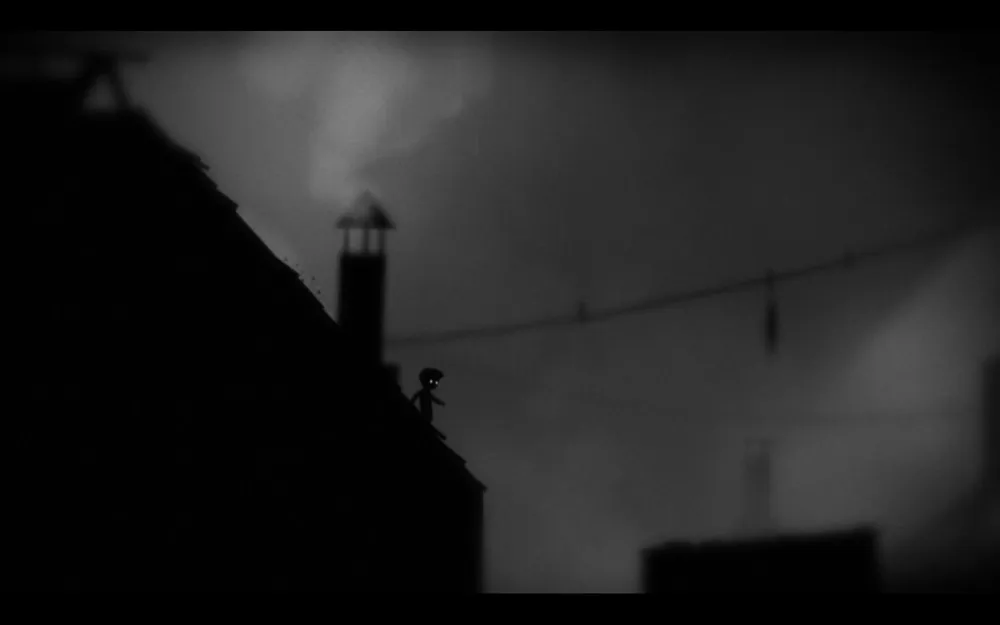
After you climbed up the ladder, head to the right. You have a walk through the ruined city ahead. Jump over a pit, then another one, and to top it off, climb up a drainpipe.
Part Twenty-One
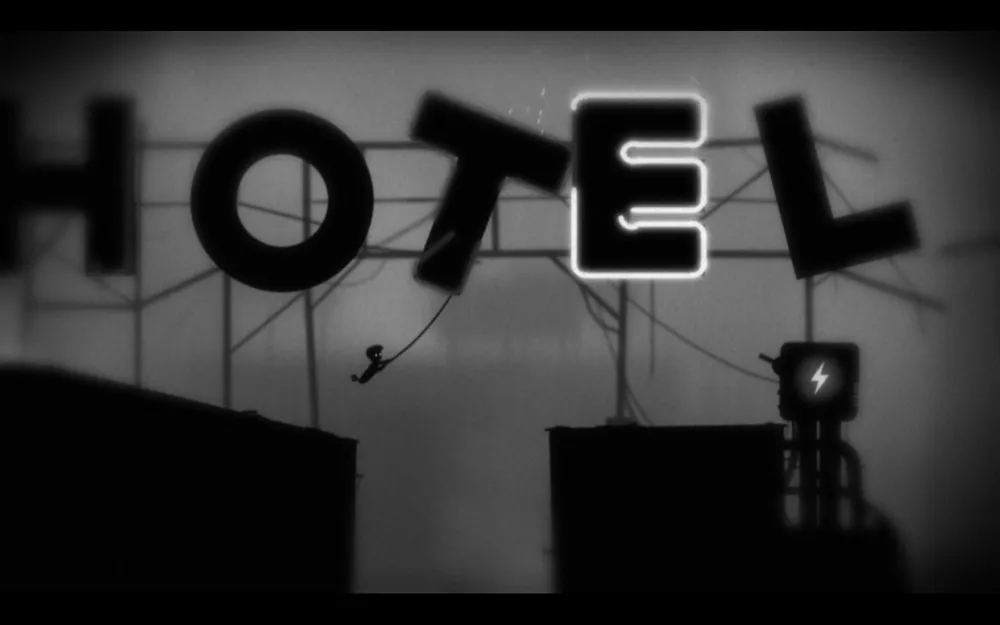
We reach a huge sign saying "HOTEL". Some letters are electrified, which can quickly kill us. To turn it off, we need to first jump onto the letter "H", then onto "O", which will knock down "T" and a rope will fall out of it. We go down, leap over the gap, and successfully turn off the switch that controls the electricity supply.
Tip: "N" lights up for 4 seconds. Start your run about a second after it lights up, so you’ll jump onto the letter at just the moment when the electricity cuts off. You can’t delay at this moment, especially if you are already on the letter.
We climb up the pipe, calmly jumping across all the letters to another roof and continue moving.
Part Twenty-Two
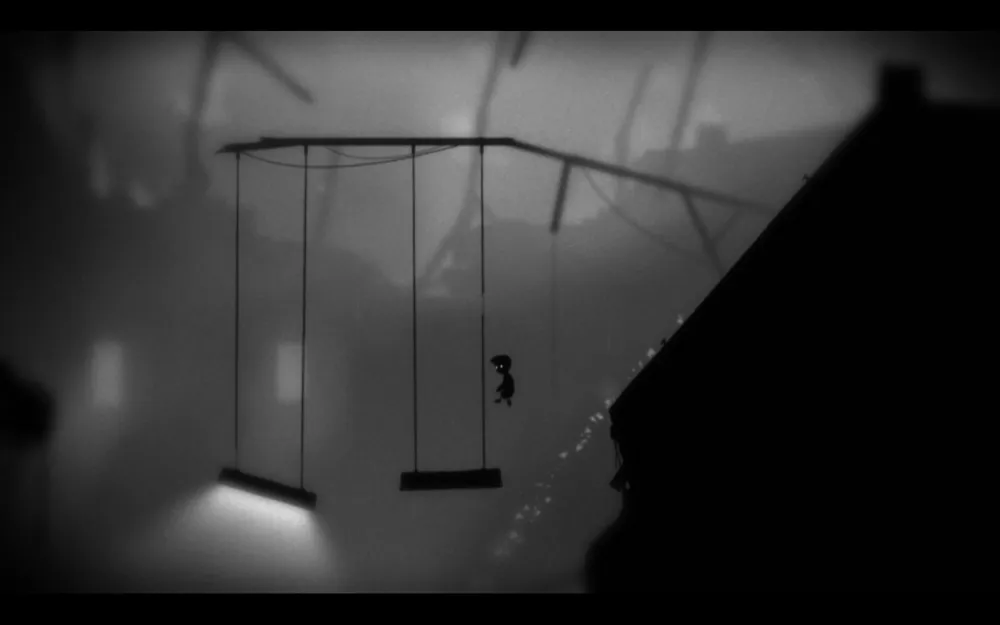
Run across the glass roof and go right; there you will see a ladder on a cart. Push it and climb the ladder. Once the cart rolls up to the roof, jump down boldly and break the glass. You will face two jumps across lamps and then descend on a rope.
Go left and break down a small contraption, just be careful not to get hit yourself. Then head right; you will meet the brain slug that will lead you just to where we visited previously. If we hadn’t destroyed this structure, we would have been buried.
Grab the slug, head to the right, get under the light, change direction. Now we have a long way ahead. We pass by some strange elevator that does not concern us for now as we need to get rid of the infection.
Part Twenty-Three

Now we have a run across swinging platforms. Nothing complicated about it.
After you stand on solid ground, notice a button on the ground. What does it do? It activates a blade and releases a box from its grasp. You need to slow your step since the box doesn’t fall that quickly. After it falls, climb onto it and wait for the blade to come closer. Jump over, and then finally give this slug to the hungry plants! Now we need to go back.
Jump over the blade and head to the platforms. Jumping onto the first one, you will realize that the way back won’t be as simple as it seemed. You need to swing the platform. For this, first stand on the left side, then run to the right, then back to the left. And only after doing this, stay in place (on the left side) and prepare to jump with a run after your side of the platform raises to a sufficient height for jumping. Once you manage to get onto the next platform, notice the handle on the adjacent one. Grab it and pull it all the way to the right; after that, jump, and you’ll be very close to the ledge. We head back to the lift.
Part Twenty-Four
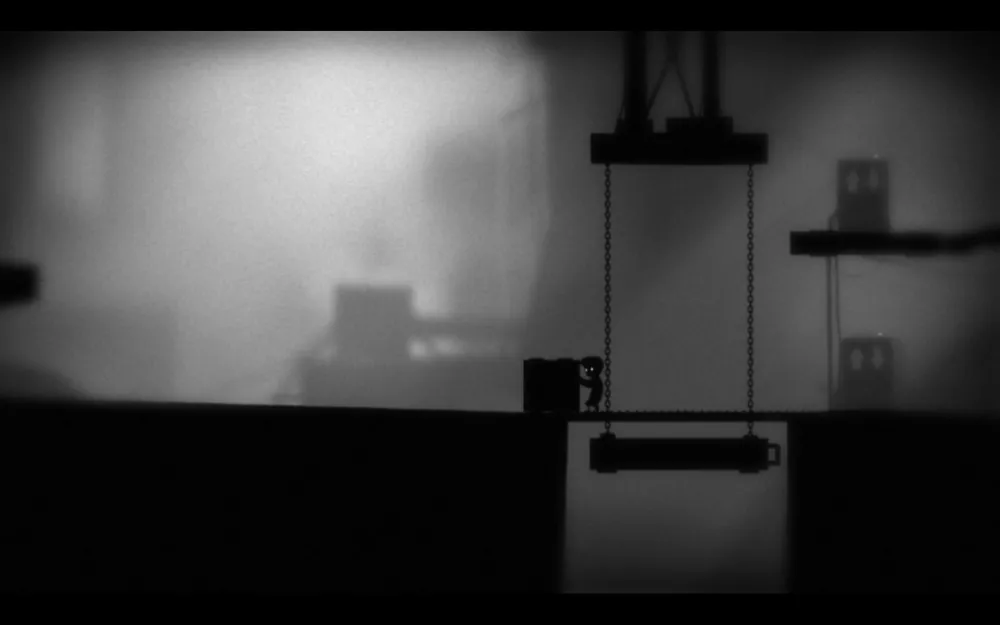
To begin, drag the box on the left of the lift. You need to bring it up anyway, so just place it on the platform and activate the switch. However, after you’ve brought it up, you can find and take another glowing egg.
Urban exploration – after bringing the box up to the second floor, place it at the edge and let the lift go down. As soon as it descends, stand on the box and launch the lift again by activating the switch. After that, jump onto the lift’s roof right away. Notice an inconspicuous rope to your left? You need to jump onto it, but keep in mind that if you delay even a little, you might get crushed. Hang on it for a bit; after this, an egg will roll out of the pipe. Carefully jump onto the lift and then collect it.
Now we need to roll the box forward, but the swing platform is preventing this. First, position the box somewhere in the middle, then pay attention to the fact that there is a handle on the lower platform of the lift. You need to activate the drop button and at the same time grab the handle and pull the platform all the way to the right. This way, you will block the swing platform and be able to pull the box further.
We need to get up, for this, pull the lever – a rope will come down to us. Place the box under it and then go to the lever and turn it to make it start rising again. Run quickly to the box, then jump onto the rope. You will rise up to the top and jump to the right.
Part Twenty-Five
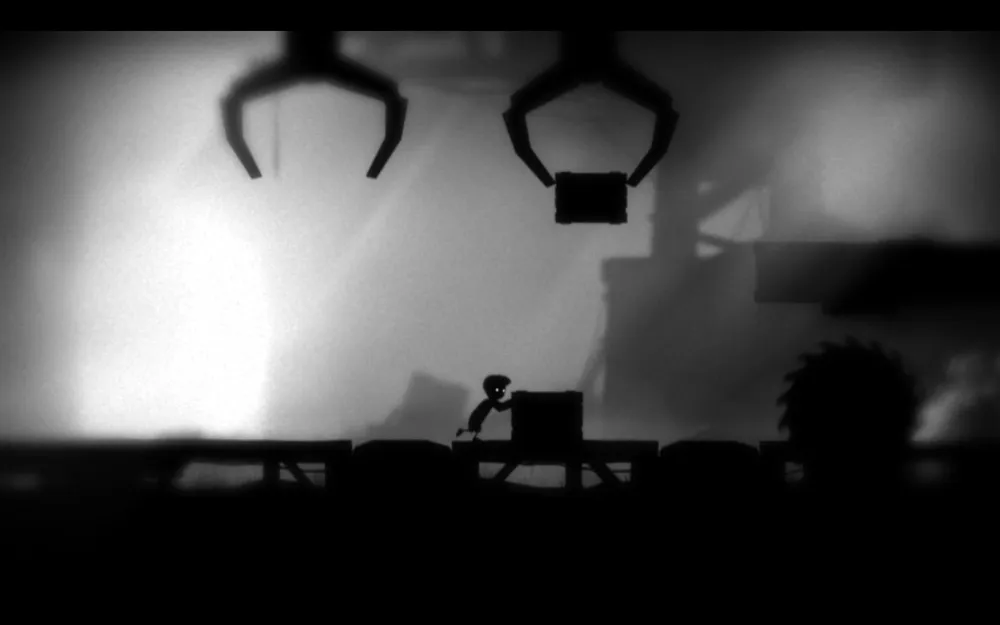
So, we see two buttons, two boxes, and a blade. The first button activates the blade and frees the nearer box, and the second, of course, frees the farther one. Our task is to climb onto the ledge, but for this, we need to place one box onto the second. I did it this way: I stood on the first button, then counted 4-5 seconds, and ran to the second, then returned to the first box, which by that time would have already been freed from the grasp, and placed it directly under the second. Then I just climbed up and jumped; that’s it. We continue walking further. If you have already reached the stairs, know that another egg can be found now.

Alone in the dark – just enter the darkness located to the right of the stairs. As soon as you hear the splash of water – jump and continue moving. Very soon you will find an egg. By the way, this is where you can access the secret level. You will be let in when all the candles are lit (1 candle = 1 collected egg).
Part Twenty-Six
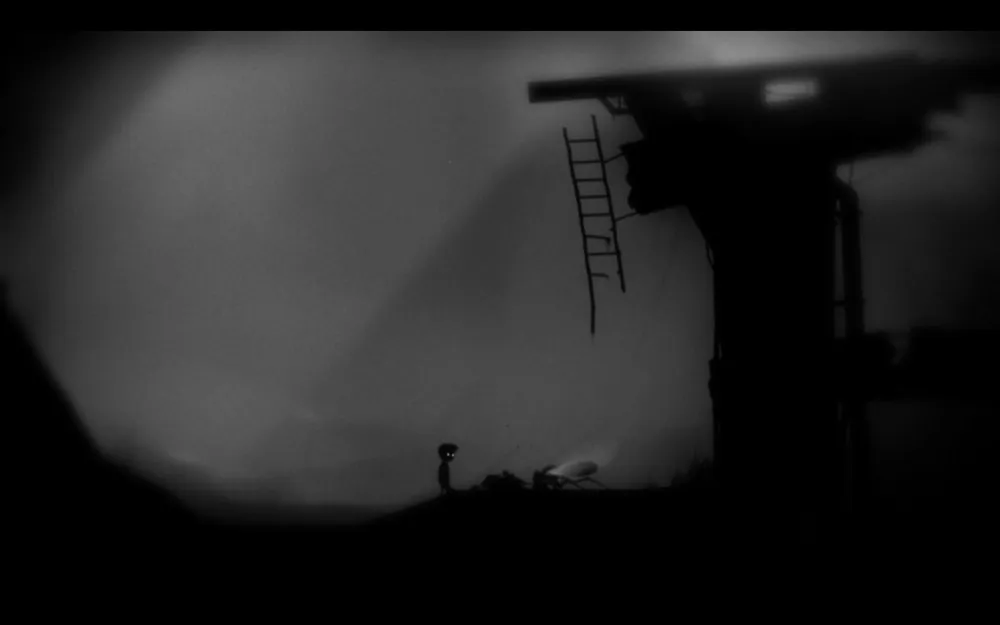
Go down into a small pond where a huge mosquito sits on the shore, devouring someone’s corpse. Any sudden movement will scare it away, so move carefully, taking small steps. You need to jump onto it. Personally, I manage to do this from the place where a human hand lies.
Tip: Focus on the mosquito’s head. As soon as it raises it, know that it may just fly away. To avoid this, just stand still.
After a short flight, the mosquito flies away displeased with our insolence, and we continue moving.
Part Twenty-Seven
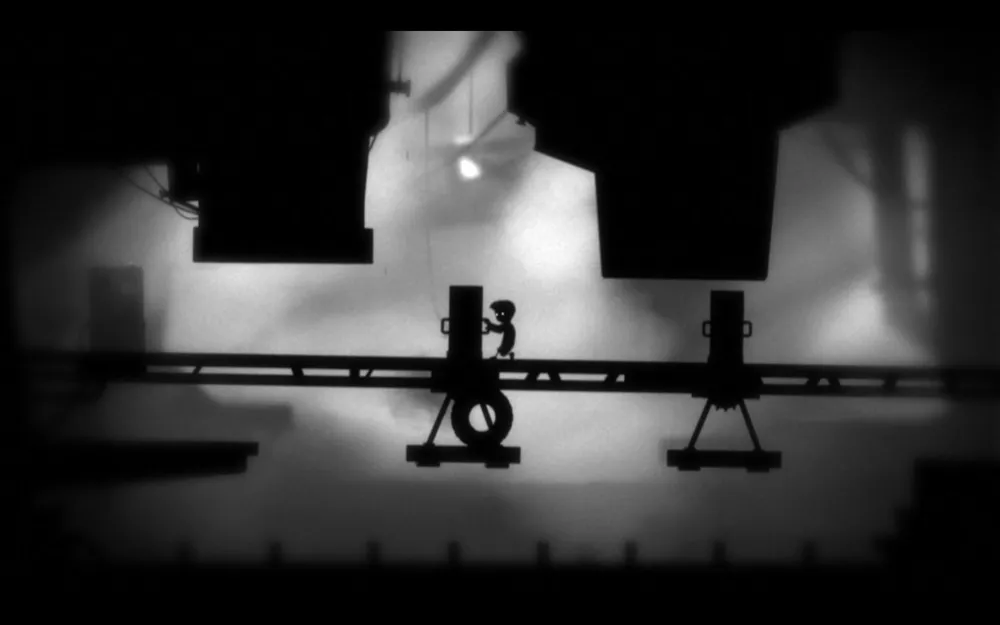
Having passed by some mechanisms and a button that opens the door, you will finally see a huge gear and, accordingly, a lever that will start it: that’s what we need. We go back and climb the first ladder. We need to move the box so that you can climb the ladder, and also place the box under the opening door.
Climbing up the second ladder, we see two hanging platforms. To begin with, we need to get over the first one; for this, we pull it to the right, move to the other side, and then pull it back (to where you are now) as far as possible. The second platform should not be touched; just get to the generator and start the mechanism. Don’t hesitate, run to the first (now) platform, jump over it, and push it as far left as possible, as now a wheel will appear, and you need to drag it so that it doesn’t fall on the conveyor. Push the first platform to the second and immediately jump onto it. If you did everything correctly, the wheel should fall onto the button that opened/closed the door. We go down there.
Now our task is to block the door with a box, thereby later dragging it to the lever that will activate the gear. Just know that you need to put the box against the door itself, then raise the wheel up the hill to the maximum. Then run forward (in front of the wheels), don’t be afraid; it won’t crush you. Run straight to the door; it should happen so that at the moment of your jump the wheel lands on the button, and the door will open. You have a couple of seconds to place the box in the spot where the door opens. That’s it, it’s blocked; we move the box to the left so it falls into the lower passage. We roll it to the platform and climb to the lever. If you have already completed the achievement with the egg or are just ready to go further, pull the lever to activate the gear, but after that don’t walk right on it; go down and push the box onto it, as it will also be needed.
Climbing the gear – to find this egg, you need to not start the gear, but simply jump from the platform with the lever onto one of the teeth. We rise, descend, and find the egg.
After you pass the gear, climb up the ladder. Have you noticed another box? We need to drop it down, for this, just push it over the teeth. To return, either use the wheel or the ladder.
Tip: You can jump onto the box right away; just stand on one of the gear’s teeth and jump with a run.
So, what we have: two boxes and a button that activates the lift platform. We place one of the boxes on the platform, and after we are ready, we place the second on the button. We quickly jump onto the lift platform, rise, and then with the help of the box, we latch onto the ledge.
Going further, we see a power block that will cause a chain hanging over the electrified pipe to move. First, go to the chain and swing it as far as possible; as soon as it reaches the left side (where the block is), jump and run to turn it on. The chain will start moving, now your task is to hurry but cleverly. Simply catching the chain and jumping onto it won’t work because it will pull away from you right before the edge. So, prepare for a jump with a run as soon as it returns. Carefully jump onto the free platform, swinging in advance. Then descend to the huge mechanism.
Part Twenty-Eight
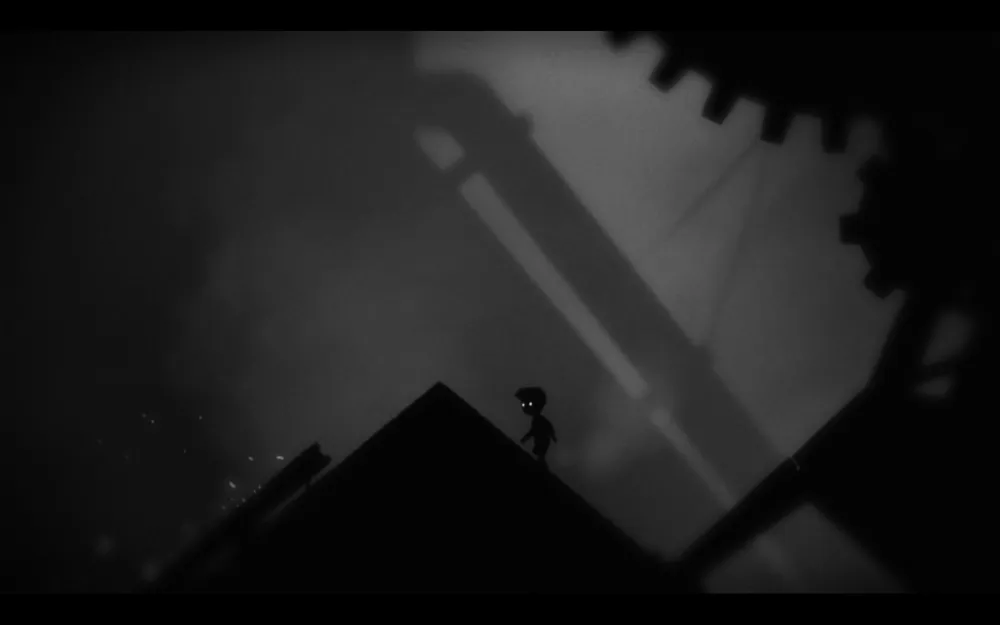
We start the huge gear by inserting one small one into it. Now everything begins to rotate. Wait a bit, stand on the ground, and back away to the edge; a considerable stick might fall on you soon. As soon as it falls, jump onto another gear and, having climbed to the top, jump to the left.
See the switch? You don’t need it for now. Jump down and approach the box, which is still immovable (it stands on a magnet conveyor that activates when light falls on it). To shift it, activate the switch marked with a magnet and after this, move the box to the right till it’s all the way. After that, immediately run back and press the button again, so you’ll fix the box exactly in the spot where you can jump onto the ladder. We climb up, activate the upper switch, the door opens. We drop onto the box and jump off it onto the ladder, where we successfully pass through another open door.
Another gravity puzzle. Before you pull the lever, place the box directly under the rope. Now you can activate it. Immediately jump onto the rope using the box we previously placed under it. Don’t dare fall down, as there’s an electrified floor beneath you! Just wait for the box to slide down to you, and then jump onto it. Be prepared to leap over the blade at the moment the box is close to it. And don’t forget to get a running start, or you won’t reach the chain. Now just wait for the room to stop rotating and slide down the hill.
Part Twenty-Nine
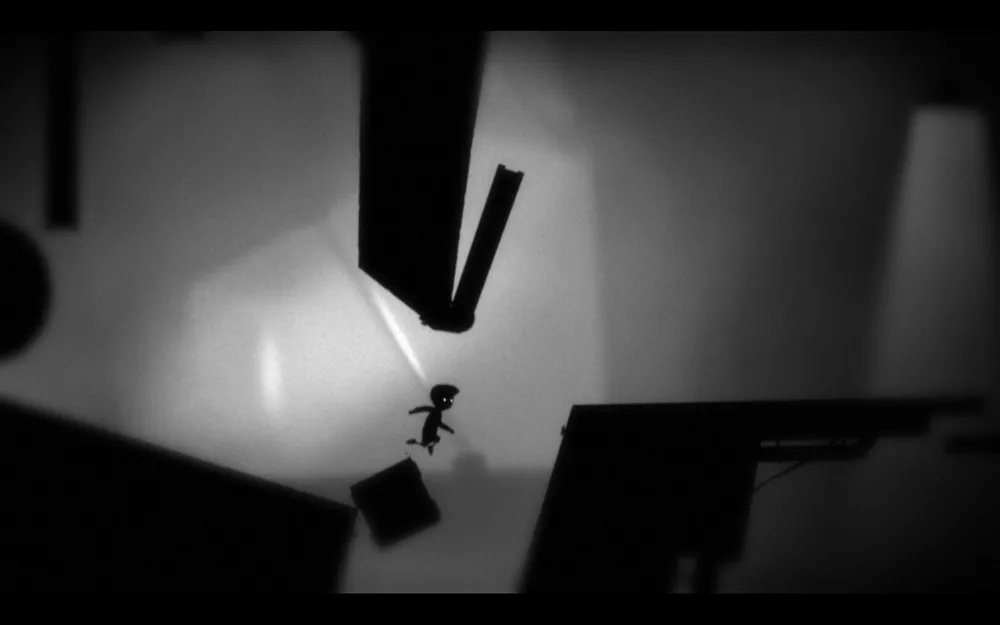
Jump over the pit with the boulder; it may cause us trouble later if we delay. Activate the lever again, and the world starts to turn upside down. Wait next to the lever until the box drops, and as soon as it falls, start moving it to the right. Stop near the chasm, then jump onto it, and cling to the ledge. Slow ones will be crushed by the stone. We proceed calmly, thankfully, the room has stopped moving.
Moving further, we see a small girl sitting and crying. But our attempts to approach her are in vain — down falls the brain slug, and we go back. We jump across the gear to the lamp we’ve passed before. But after moving across the gear, we find we are no longer on the clearing with the girl, but in some kind of factory.
Part Thirty
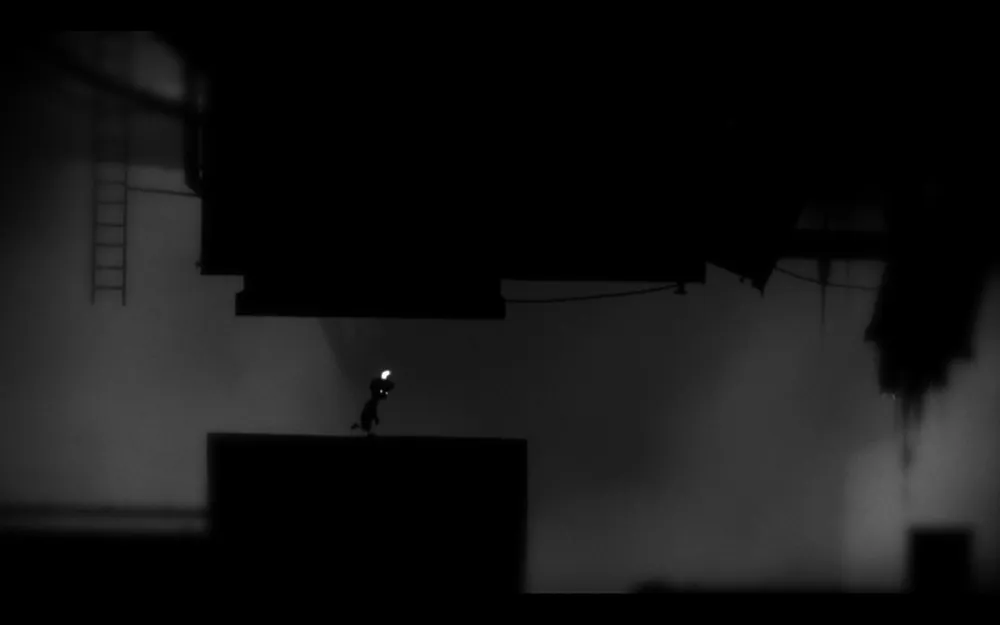
We pass along the conveyor, waiting for the crusher to rise and quickly run by. We’re back on the conveyor, but now the second crusher works differently. Wait until it goes down and grab its edge, but don’t lift up; otherwise, you won’t have time to run. However, as soon as it starts to descend again, a space will open for you, and then pull yourself up and run. On the third conveyor, keep an eye out for the carnivorous plants on the ceiling; wait until a box rolls by near them, jump onto it, and feed the flowers. If you don’t need the egg, jump onto the gear and from it leap onto the ladder.
Return — remember the ladder near the second conveyor? That’s where we need to go back. To do this, you’ll have to jump onto the crusher, but do not lift up. To do this, you’ll need to slow the box down on the third belt until the press drops. After that, we jump, wait, run over, wait, jump, find the egg.
So, you’ve taken the egg/risen and are standing near a lever. We need to pull it at the moment when one of the teeth is at a distance so we can jump to it and then from it to the ladder. But hurry, as soon afterward, this gear will move down. Once you’re on the ladder, leap to the second gear, which now spins counterclockwise, jump onto one of the teeth and cling to the ledge.
Part Thirty-One
We head right until we see a cart. Place it directly under the lever above and return to the ladder on the cart that we have already met. Each of the levers activates an electric floor, but the second one (the one in the air) also starts the cart and opens the gates, and that’s the one we need. First, we need to speed up the ladder. Just push it all the way to the right, then jump off it to the lever. Now wait until the ladder moves to the right; when it begins to move away from the left part (where you are), activate the switch and jump onto it. The platform will rise, and at the same time, you should climb up the ladder and jump onto the upper platform. We run to the second lever, jump onto it, fall onto the cart, and ride.
Driving through the dark tunnel on the cart, you’ll notice a ladder. Jump onto it and run. Along the way, you’ll encounter a blade that would have killed you if you had stayed in your previous place. But it’s not all that easy: the saw cuts away the surface behind it, so you need to jump right onto the cart. Now for the tricky part. You reach your destination and see the platform, but don’t jump on it, as when the cart crashes into the button, the floor will electrify. You’ll need to somehow run across the floor, and you can do so… Push the cart back slightly, climb onto it, and when you’re about to reach the edge of the platform where you’s going to get thrown off, press the down and right movement buttons at the moment the second half of the cart passes underneath the platform. You’ll be wedging against the wall as the cart moves backward. As soon as you run out of space to stand, jump and run!
Part Thirty-Two
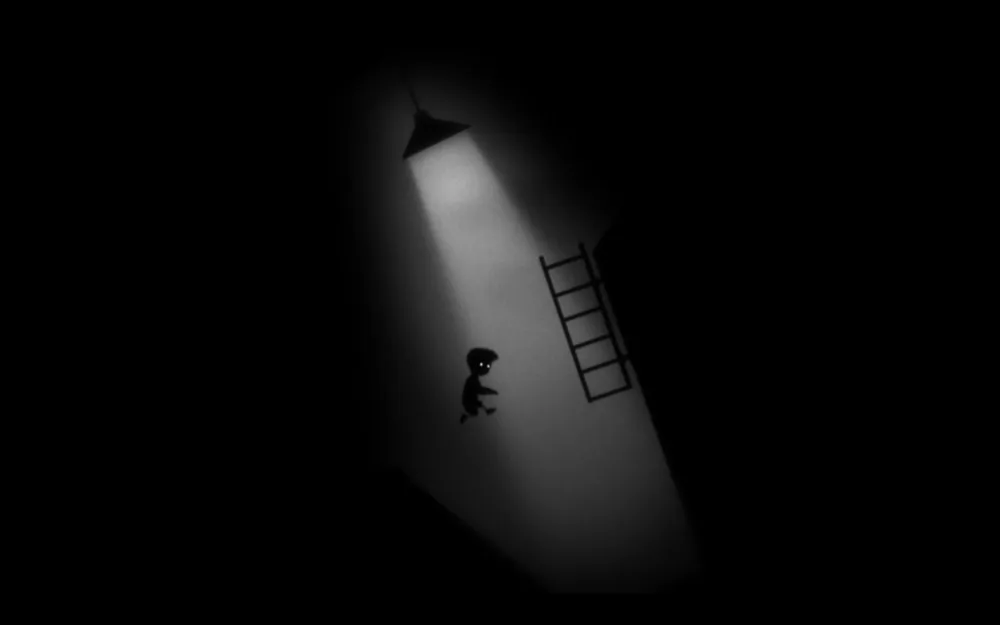
It’s time for another gravity puzzle. After activating the lever, our path will only be illuminated by a hanging lamp. Jump onto the massive boulder, wait until they allow us to pass right, and quickly go there. But don’t rush to slide down the hill; wait until the lamp lights the staircase for us. Gain speed and jump onto it. After you’ve climbed the stairs, stay in the same spot, and when the world turns horizontal, jump onto the other platform. Don’t confuse it with the lower one, as the floor is electrified there. Noticed another electrified floor that we’re about to fall into? Boom! A box falls, and the world’s rotation stops. To proceed, you need to drop the box onto the electrified floor below you, but there’s also another egg to be found.
Go to the light – instead of pushing the box down, place it against the electric wall, and after that, climbing onto it, jump to the left, where there will be a ledge. From it, jump to the wall under electricity. There you’ll find the egg.
Part Thirty-Three
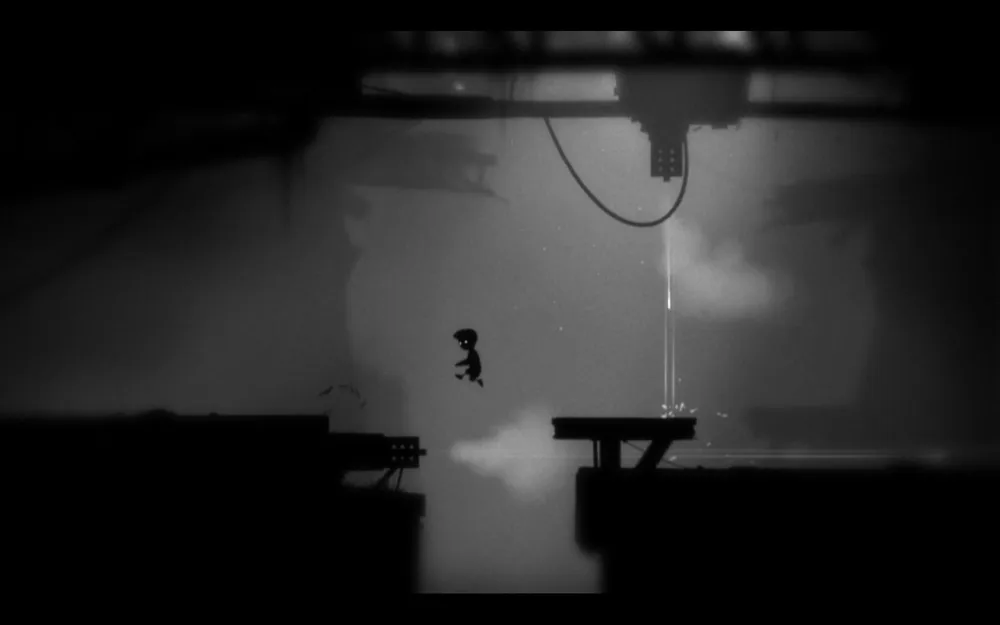
We see two laser turrets. To proceed, we need to eliminate the one that is positioned horizontally. To do this, we need to jump under the beam of the one hanging above and run to the first one. The second turret will stop directly under the first; stand under the laser one more time. The horizontal turret has one more shot left, repeat your feat and walk ahead calmly.
We run past a small stairway and find ourselves near another button, at which point gravitational force will change for a certain amount of time. Place the first box right at the edge (to the left), and raise the second one up the hill, but wait until the button isn’t activated. Let go of the second box and run to the first, jump onto it, and wait until the one rolling down the hill lands on the button. Once that happens, the first box will soar, and when the effect of gravity ends, it won’t fall. Place it under the stairs and climb up. Go right until you see the ladder. Jump onto it. Now you can move around where you were before. Again, roll the box, which is now near the button, up the hill, let it go, and jump onto the ladder. You need to pull the box that helped you climb up, as it will ascend due to the gravity effect. Notice when the button is activated; the huge door also rises, through which we need to pass. To do this, place the box under the platform that is below the door so it doesn’t rise before it’s time, and you yourself descend the ladder and force the box near the button to roll down the slope again. While this is happening, return and push the box so that when it flies up, you’ll be level with the door. And yes, be careful and jump early, as the box will overturn in the air, and if you hit the ceiling, you’ll have to start all over again.
Part Thirty-Four

Underground – when you’re near the lift, don’t start it; just jump down; there will be an egg. You can climb back up via the chain hanging from the cabin.
We call the lift, activate it, and immediately jump into it. We exit on the second level; we need to knock down a box. To do this, lower the lift and then call it again and jump in. We get caught under the turret's laser and drop down. The rope the box hangs on breaks from the shots, and it falls. Now let’s put the fallen box on the roof of the lift, first lowering it. Activate the lift and hide behind the box so the turret doesn’t shoot us. We jump onto the protrusion next to the turret and start the generator. After it starts, another box falls; we need to toss it to our side. To do this, we play with the generator: turn it on and off. We drag it to the turret until it bumps against the protrusion. We leave it there and go to the first box. We roll it further and see another turret. We pull the box forward while covering ourselves from the turret’s fire. We climb the ladder.
Before us are two generators that allow us to change gravity. We activate the lower one. A box that was near the ladder flies to us. You can drag it to the right part so you won’t have to run in the future; then go left, where the very box awaits us that we damaged by switching gravity. Push it to the first box. Now pay attention to the slab that moves back and forth. One box needs to be placed against the ledge, while the second needs to be where the slab stops for a few seconds. Approach the gravity generator and turn it off as the slab begins to exit the ledge. Run to the first box, and use it to jump onto the slab. The second one should be waiting for you there to use it to grab onto the ledge. We proceed further.
Part Thirty-Five
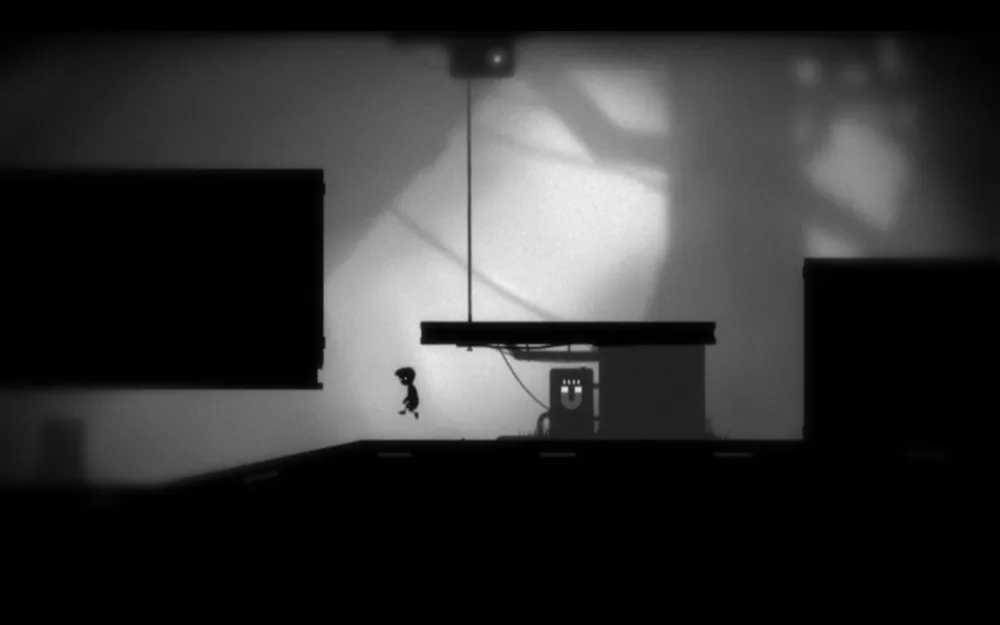
We come to the place with two generators: gravity and magnetic fields. First, we activate the second one, which is further ahead. This way we activate the magnet on the ceiling. We return to the gravity generator. Note that when it’s activated, two blocks rise, one of which (the first) is higher, meaning it will touch the ceiling first. That’s what we need. Activate the generator, and as soon as the first block (directly above you) touches the ceiling, or maybe even earlier, immediately turn off the generator. The second block will not get magnetized (such a position of the blocks is what we need: the left one is magnetized to the ceiling, and the second lies on the ground). Calmly jump across the platforms.
Part Thirty-Six
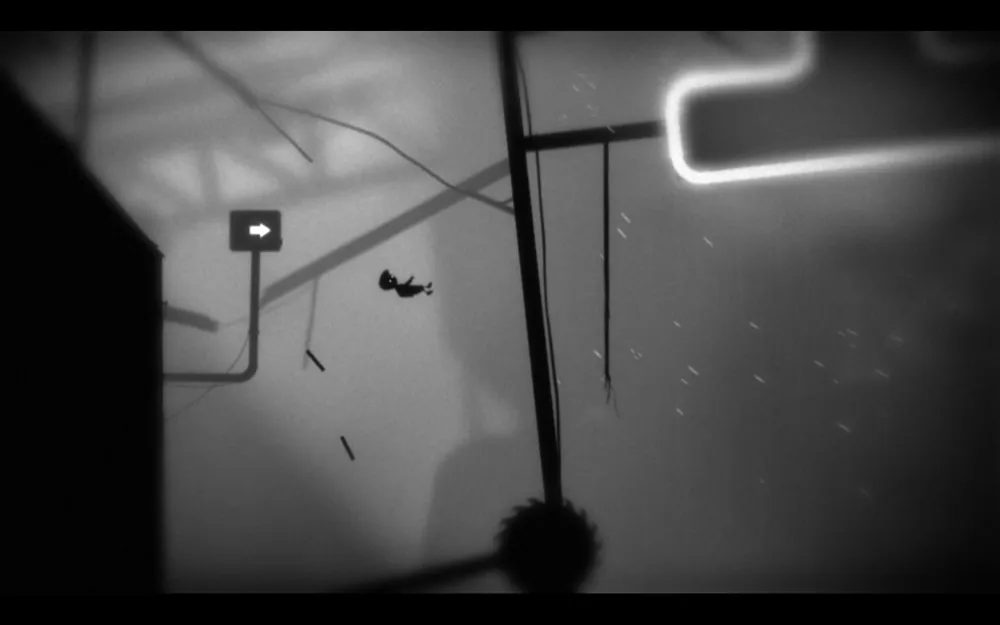
We’re back near two gravity generators. After activating the lower one, an elevator will come to us. As soon as it is in the middle of the monorail, turn off the upper generator and run to the elevator; grab the rope and ride it down. But be prepared to leap onto the roof of the building a little earlier because if you go all the way, you’ll land on spikes.
We slide down the roof, jump, and while in the jump, we need to hit the sign with the arrow. The world will flip, and we will run vertically.
Part Thirty-Seven
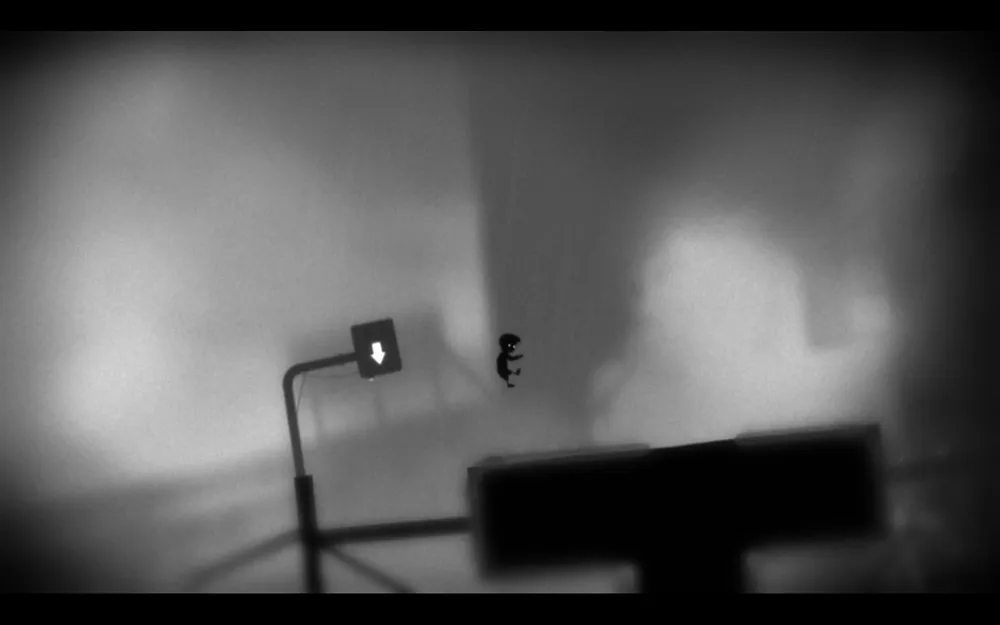
We move across a vertical surface, jump again, and activate another sign. We encounter the familiar letter "H". We need to traverse it. After activating the sign, quickly run to the non-electrified platform. Wait, jump to the pipe below. Then again onto the letter, and from there, we descend to the "O" on the rope. We continue moving.
Part Thirty-Eight
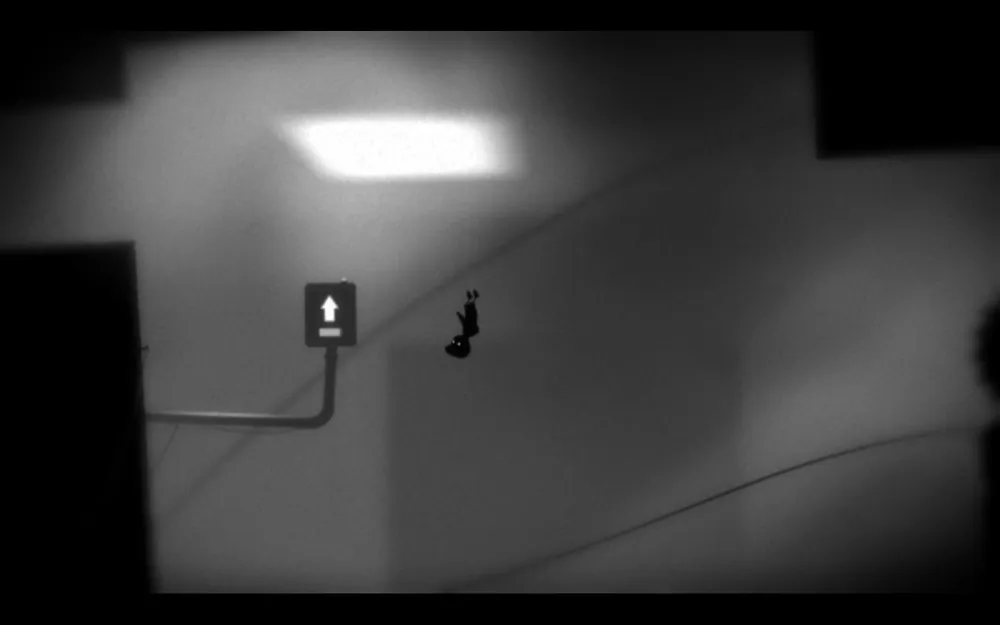
Up – activate the gravitational field, ignore the box, jumping over it. We run left across the ceiling and jump/fall into a secret room, where we see a small block with a handle in the wall. We grab it and pull it; from the box, an egg falls out. Do everything quickly – and the egg is yours.
We jump and activate the gravitational field (the sign) – we are pulled to the ceiling. A little later, a box will fly in, strive to drag it to the middle and quickly return, as the gravitational force is not eternal. Later we do the same but now push the box all the way and climb onto the platform. We run past the blade located below us. We slide down the hill, jump, and in the air we activate another generator-sign.
Now the generator activates automatically with an interval of about five seconds. Stand next to the turret, wait for three seconds to pass, then run to activate the magnet generator. You need to do this and then fly to the ceiling, ignoring the turret's fire. After that, move all the way to the right. In the end, you’ll fall, and a huge block will rise right next to you. Pull up and quickly pass over it.
In the end, you should stop on a small platform. Notice the turret below. You need to jump to the ground two seconds before you get pulled up. After this, just stand on that block you recently rushed past. You will ride down the slope. Next, you need to calculate the moment when you’ll be thrown towards the ceiling. Only then jump into the blade’s pit.
Part Thirty-Nine
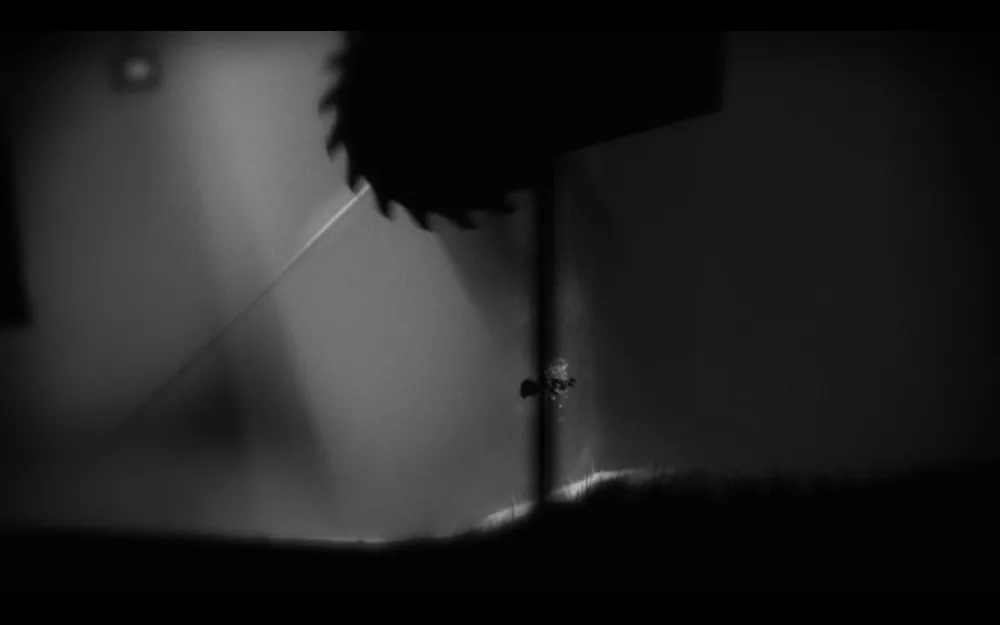
First, wait until you are thrown towards the ceiling, and immediately jump up, but don’t press the sign! You need to fly above it and stop near the blade; after this, gravity will shut off and you will start to fall. Now confidently press the sign and enjoy the ending.
Part Forty (if all eggs are collected)

You can enter the secret level from part 25, by completing it to the end, or from 26, just by going back and descending the stairs. I remind you that you need to go into the dark; if you have collected all the eggs, the gates will be open. This level is one of the most challenging, but that doesn’t make it boring or uninteresting.
Tip: Turn the sound on the speakers up.
Just move forward until you see a flashlight. Stop here for a moment. As soon as you jump off the ledge, you might be caught by the fire of the turret, so jump down, sprint through, and climb onto the turret before it starts firing. Continue moving until a brain slug falls on your head.
At first, you’ll run back to the turret. You've been there before, so just follow the flashlight, and backtrack in the same way. Soon you will find another flashlight; know that to the left of it is a box and carnivorous plants. To avoid going back and forth with this parasite, just move the box all the way to the left, then climb onto it and feed the plants. Head to the right.
Now you need to climb up two ladders – it’s quite easy. Quickly ascend the first one; somewhere in the middle, the turret will start shooting. After you’ve jumped to the second, go down a bit and wait until the turret finishes its work. There you go, climb up.
Now you’ll encounter a circular saw. Hang on the ledge and wait for it to pass by you, jump to the other side and hang again, as the saw will return with ferocious speed. Now run away.
Next, we need to pass through two saws. We’ll get past the first in the light of the lamp; on the second, it will break at the most critical moment, and the third saw will await us in the dark.
Tip: Listen to the sounds of the approach and retreat of the saw on its first instance.
And then we find a huge glowing egg. The light goes out, the sound of the mosquito is heard, the sound of the laser… The turrets are operational! To our left and right are two moving turrets, and at the beginning we just need to keep moving forward, but later, unforgettable jumps await us in darkness over ledges. Miss = death.
Tip: Watch the fire of the first turret, as the bullets will outline all the objects for you.
After climbing the stairs, don’t rush to start it; wait for the line of fire from the second turret to reach your level and only then start the lift. Calmly ascend.
Now it’s really the end…