Walkthrough: Village of Haven
PLOT QUESTS
The quest is given in Lothering, after talking to Ser Donall at the church, or to the arlessa Isolde and the bann Teagan in Redcliffe. You will learn the first details about Brother Genitivi while searching the body of a dead knight at the entrance to Lothering. It is also possible to obtain the quest by entering the house of Brother Genitivi in Denerim.
[cut]
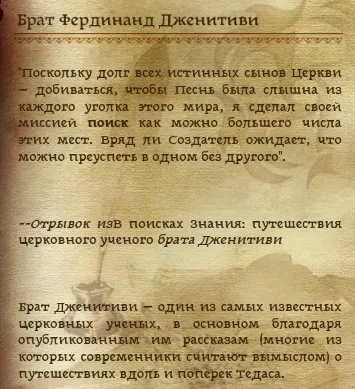
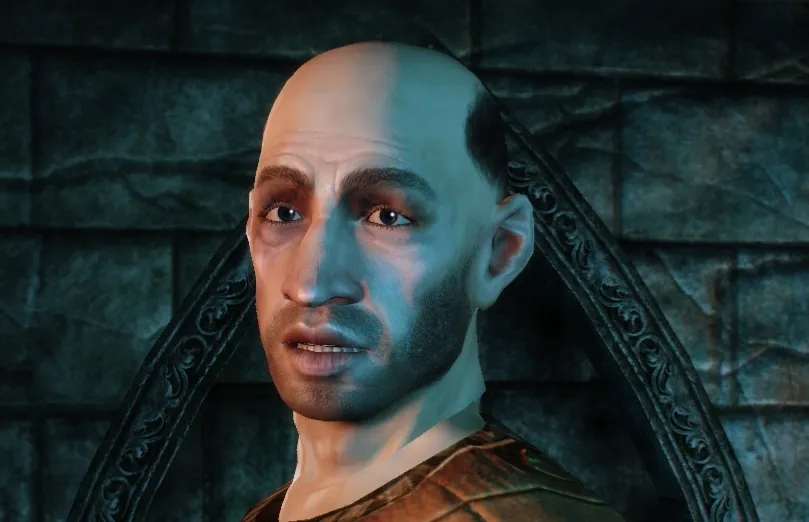
This church scholar lives in the merchant quarter opposite the "Battered Noble" tavern and has dedicated his life to studying legends about the Ashes of Andraste and searching for the location of this relic. However, Brother Genitivi will not be at home; instead, his assistant, Weylon, will be there. You can then proceed with the plot in the following ways:
- take from Weylon a confession that Brother Genitivi planned to go to Lake Calenhad. There, at the "Spoiled Princess" tavern, the uneasy innkeeper can be persuaded to tell that he is being disturbed by some dark characters hanging around, demanding that he tells all curious people all sorts of nonsense. When you leave the tavern, you will have to fight a formidable squad of strange individuals. If you lure them to the dock, templar Carol can help you deal with them. Then you only need to return to Denerim and demand a report from Weylon.
- interrogate Weylon for quite a while to catch him on discrepancies and mistakes (high Cunning is desired), and then corner him. As a result, Weylon will attack you, and you won’t need to go to Lake Calenhad.
- start searching the house, and Weylon will immediately forbid you to do so. If you continue, he will attack you.
As a result of the search, you will find in the back room the real Weylon's body (and realize that you spoke with an impostor) as well as Brother Genitivi's journal, which will update your quest and give you a new marker on the map, which is where you need to go.
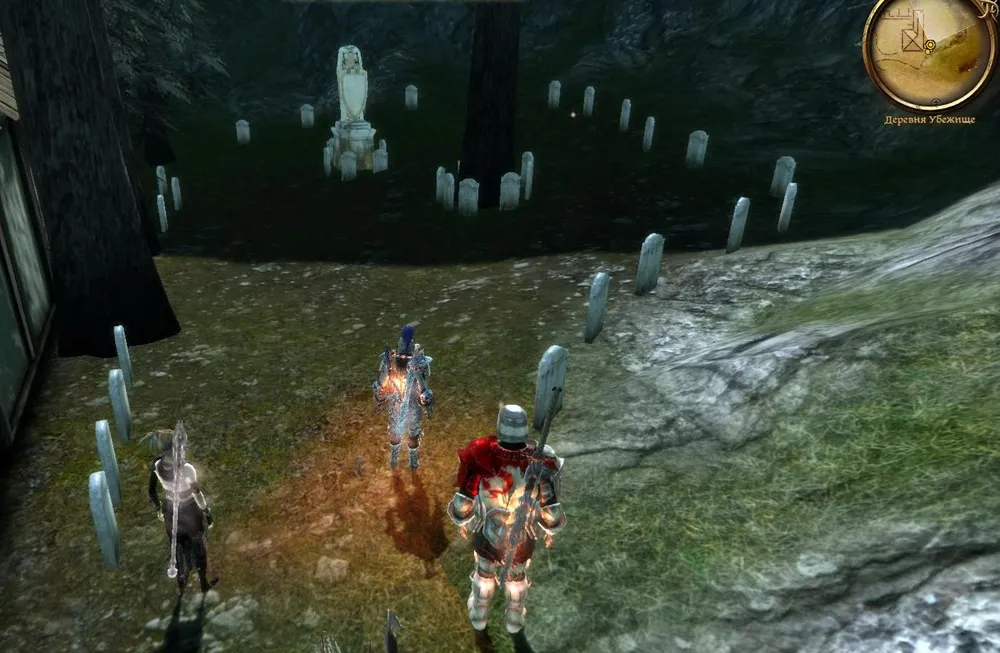
Village of Haven

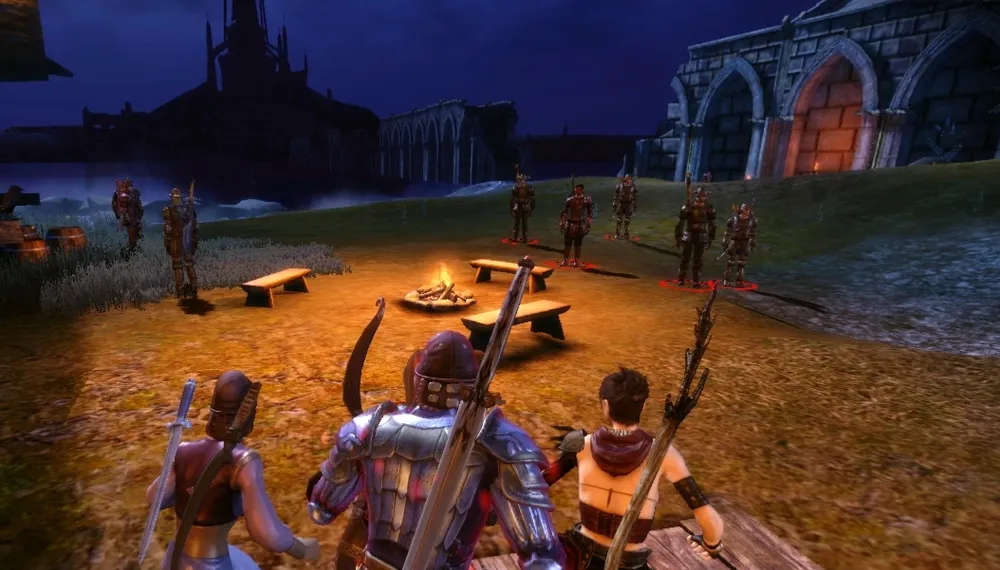
Upon arriving in the village, you will find it small, and the few inhabitants will only grumble gloomily for outsiders to leave, as they do not belong here. Thoughts of the strange happenings in the village will be prompted by the bloody altar in one of the village houses and a boy who, after a short conversation, demonstrates a human finger. Soon, the locals will run out of patience and will take up arms. This can happen if you talk to the local leader Eric in the church on the top of the hill about Brother Genitivi or if you try to rush into the back room of the shop and kill the shopkeeper.

After that, you will only need to kill all the villagers who have taken up arms against you. You need to take a special medallion from Eric's body, and then inspect the church for secret passages. One such passage will reveal a previously hidden room where Brother Genitivi will be, who will tell you about this place, his troubles, and how to proceed to the Temple of Andraste, where the Ashes are kept.
If you started right away by heading to the church, you can go outside and cleanse the village of cultists; otherwise, you will be immediately transported to the temple, and bringing Genitivi along is not necessary – only Eric's medallion is required.
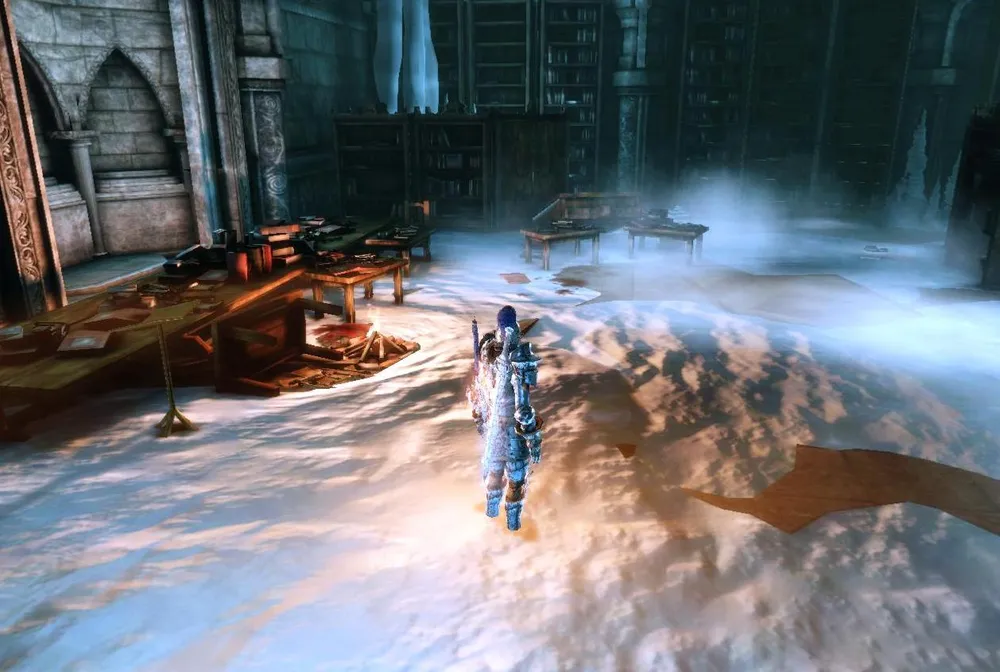
In the Ruined Temple, there are two floors filled with cultists of various classes and traps, so it’s advisable to bring a rogue with a leveled lockpicking skill.
Cultists also love to set traps, so do not stretch your group.

The northern door will be locked. The key is located in one of the chests in the southeast rooms, which are also locked, and the key to the latter is in the Cultist Quarters in the western part of the map. When you return to the first hall, a new squad of cultists will be waiting for you. The next door to the north opens after lighting the sacrificial brazier (the wick can be found in the southwest rooms, guarded not only by cultists but also by a bronto, while the black pearl is in a chest with the key to the central hall).
You will then have to pass through a room with traps and ballistas. The ballistas will not shoot if your rogue disarms two tripwires, but besides them, there are also traps on the floor.
In the last room with a fork, you will meet a new squad of cultists led by the Ashen Ghost. The choice of corridor – right or left, does not matter much, except that in the western one, you will find four chests. In the locked one, there will be a pack of arrows, while in the others – ghosts. In the eastern corridor, you will encounter more traps.
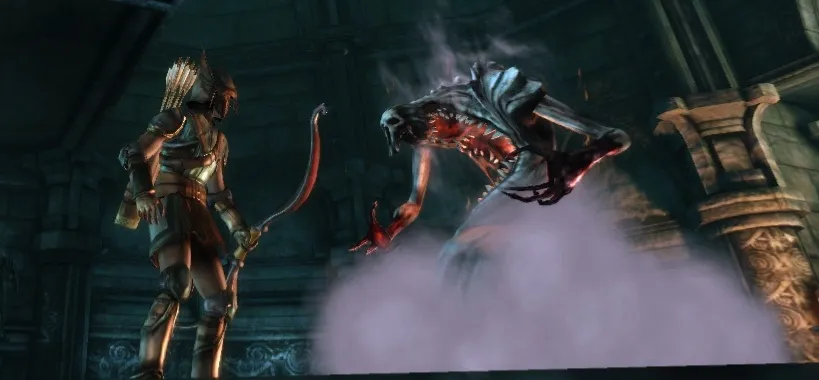
The next level of the Ruined Temple will be home, in addition to cultists, to dragonlings that will often pounce out from ambushes. There are many traps here, and sometimes the rogue will not be able to find the hidden cultists – they will reveal themselves only when you approach that place openly. There are also enough bear traps here.
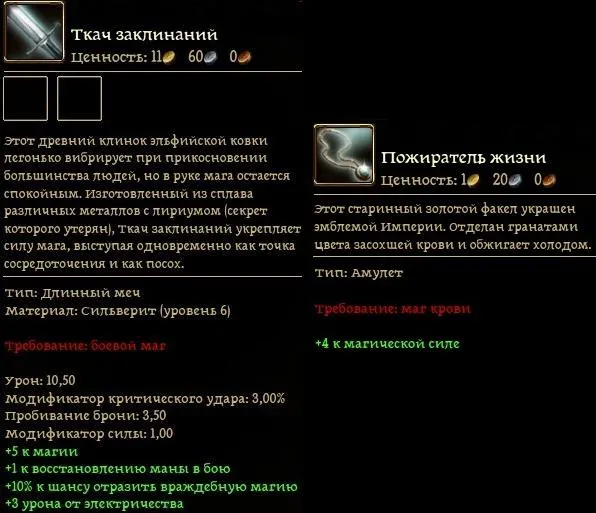
Going straight into the northeast halls, you will encounter the Dragonwarden, from whom a great sword for a battle mage drops. Further, in the dragon nesting ground in the northeast, you can find an amulet for the Blood Mage, which will add an entry to the Codex.
In the cave in the northwest of the location, you will meet the cult leader named Kolgrim. Your decision to accept or reject his offer will affect the Approval of your companions. Some may be so upset by your decision that they will leave the party (if they remained in the camp) or simply attack you. In the former case, you can still try to convince them to stay with you using Persuasion – in this case, you should respond that you are not guilty in this act. Sheyla and Morrigan will approve of the decision to support Kolgrim, while Sten, Leliana, Wynne, and Alistair will be against it. If you promise to kill Kolgrim on the spot, you will gain influence with Leliana and Wynne.
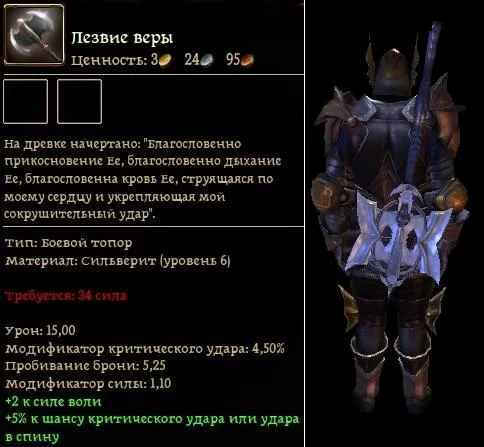
If Kolgrim's offer was rejected, he and his followers will attack your party. From Kolgrim’s body, in addition to a fine axe, you can take Kolgrim's Horn, which can be used to attract and attempt to kill the High Dragon. However, it is quite possible to offend this flying lizard if you manage to shoot the dragon with a bow or spell; otherwise, it will not attack first.
After talking to Kolgrim (it does not matter whether the cult leader stays alive or not), go to the top of the mountain – that is where the High Dragon will dwell. Now your way lies in the Gauntlet, where you will meet the Warden. He will be able to tell you about himself, the cultists, and Andraste, and in turn, will start asking you questions. Your answers do not matter. The Warden will then require you to undergo several trials and prove yourself worthy to see the Ashes.

In the first trial, you will need to answer several questions posed by the ghosts of those who knew Andraste well during her life. If you answer incorrectly, they will attack you. To open the next door, you need to answer correctly eight questions or defeat all eight ghosts.

Correct answers to the questions:
Brona – Dreams
Elisai – Melody
Havard – Mountains
Vasiliya – Revenge
Katair – Hunger
Maferat – Jealousy
Hessarian – Mercy
Shartan – Home

Who you will meet in the next room depends on your hero's backstory (a noble person will meet his father, Bryce Cousland; a city elf – Shianni; a Dalish – Tamlen; a mage – Jovana; a common dwarf – Leske; and a noble dwarf – Prince Trian). Your answers here also do not matter. Expressing your opinion, the ghost will gift you with the Reflection Amulet (only if you did not refuse to answer the Warden's question) and will disappear.
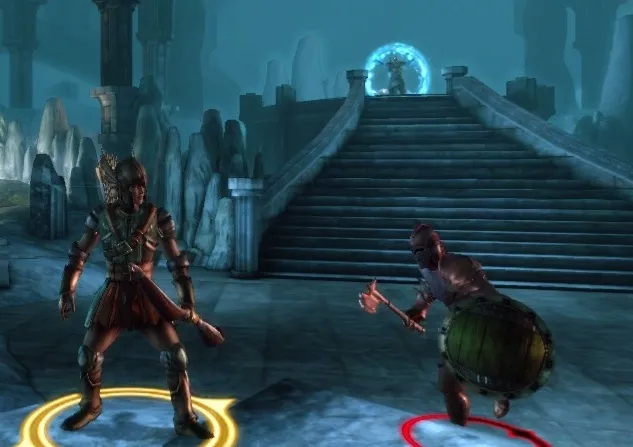
In the next room, you will have to fight with ghosts that are doppelgängers of your group, but not identical copies (the set of spells and skills, and sometimes even weapons differ). After dealing with them, proceed to the room with the chasm. On either side are six tiles, and pressing them activates different parts of the bridge (tiles on opposite sides of the chasm make the bridge real). You will need to position your companions on the tiles in such a way that the bridge becomes real and somewhat whole. If you are solo, three friendly ghosts will automatically join your group here.

To cross the bridge, follow the instructions below.
Place three characters on the second tile on the right and the third and sixth on the left, while place the fourth on the second section of the bridge.
Push the character from the third tile on the left to the fourth tile on the right, and move the character from the second tile on the right to the first tile on the left. Move the fourth character on the bridge to the third section.
Move the character from the sixth tile on the left to the fifth tile on the right, and move the character from the fourth tile on the right to the second on the left. Then with the character on the bridge, cross the last part of the way – and the bridge will manifest completely. Your companions will join you, and the Ghosts will disappear.
Your final trial is to cross the wall of fire. After activating the altar, you will understand how to do this – by removing all armor and weapons, remaining naked, and crossing the fiery wall in this state. After this, the Warden will appear. If you followed all the instructions, he will declare you worthy to take some Ashes of Andraste, and if you pass through the flames in armor or fulfill Kolgrim's condition, the Warden will attack, summoning a couple of Ash Ghosts for help.
Also, in the case of profaning the shrine, Wynne and Leliana will attack you (unless you have "hardened" her by completing the bard's personal quest in a special way), or these ladies will leave you after a conversation in the camp if you did not take them to the Gauntlet (Leliana can also stay if you deceive her).

You can also choose not to profane the Urn and upon leaving the Gauntlet kill Kolgrim.
So, having gathered the ashes (and possibly dousing the remains in dragon blood), you can climb to the top of the mountain and immediately head to Redcliffe to deliver the ashes for the healing of Earl Eamon.
Awaking up, the earl will ask for a report on the work done and thank you for the job – more or less warmly, depending on whether his family and village are saved. After this, the quest will be completed.
Side Quests
Scrolls of Banastor
The scrolls are located in the southeast and northwest rooms.
Unfinished Correspondence
One of the love letters lies in a peasant's house inside a locked chest.
Dragon Scale Armor
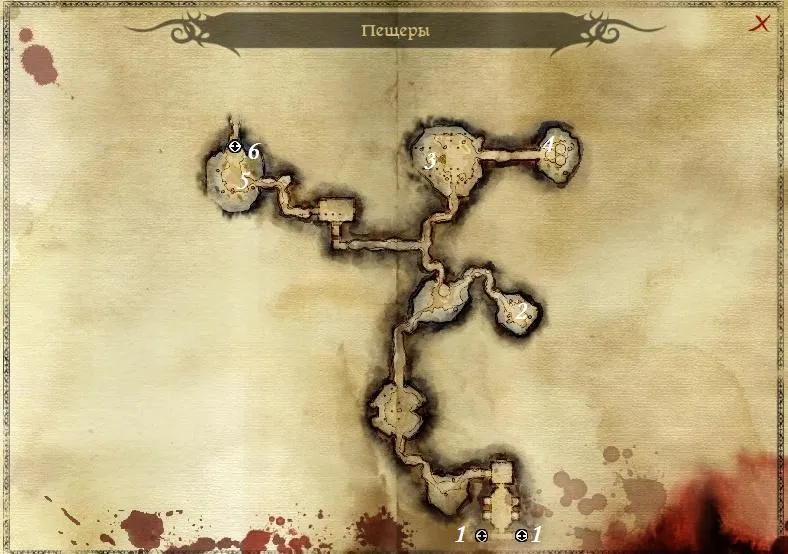
If you carefully search the Dragon Caves, you will definitely encounter adult elite Dragons, from which you can obtain Dragon Scales, which Master Wade from Denerim will make two good sets of armor for you.
Dragon Scale Armor
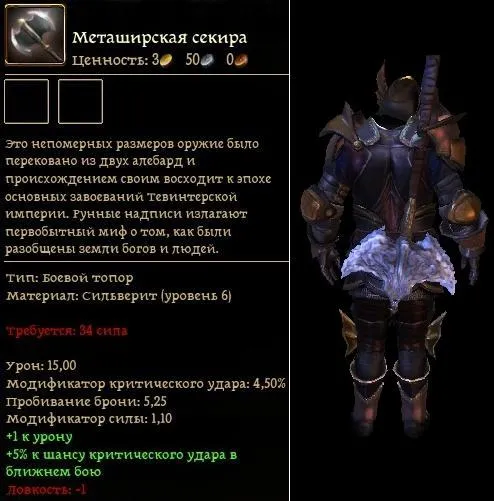
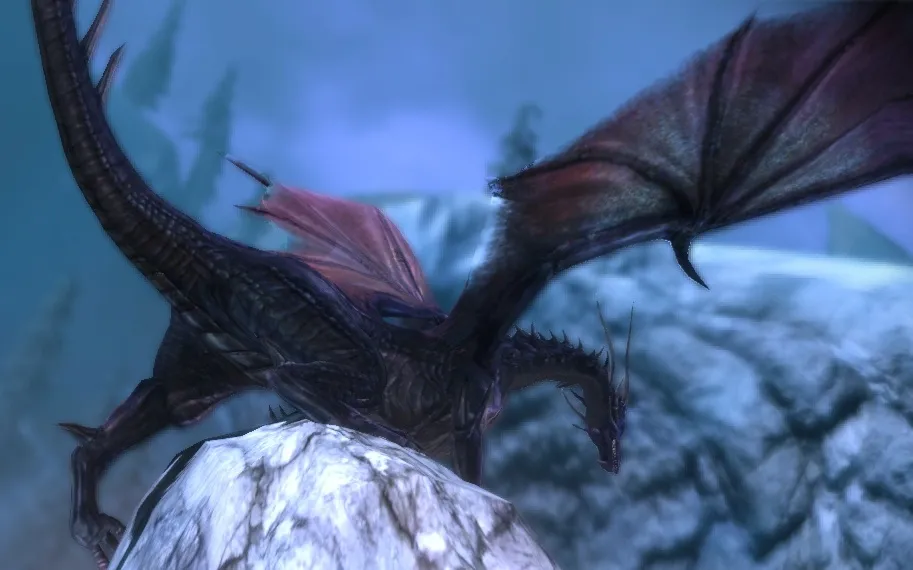
From the High Dragon "Andraste," scale is obtained, from which Wade will forge you an armor of your choice – medium, heavy, or massive. Besides scales, the dragon drops a fine Metashir axe and a lot of other fairly decent junk.
The pseudo-Andraste can be summoned from almost anywhere on the mountaintop, but it’s best to choose the colonnade at the Gauntlet for this. Position three companions behind the columns and arm them with ranged weapons, leaving the fourth for distraction in an open area. It is also recommended for everyone to use Warm Balms, as the dragon will periodically spit fire. It also loves to kick and grab one of your companions in its jaws, thoughtfully chewing. Available options are to periodically heal the poor fellow with the mage's help or to encase him in a magic field, rendering him completely invulnerable. In this case, the dragon will no longer be distracted by the others and can be hit continuously. Another option is to stun the dragon or use freezing on it – the chewed companion will be released.
If you do not kill the Dragon, then in the epilogue, you will learn that the entrance to the Gauntlet was blocked and the Urn of Sacred Ashes is now inaccessible.
Restless Spirits
You need to find the bodies of adventure seekers and compile notes with their bodies into a single text – one of the bodies lies in the southwestern rooms of the Ruined Temple.
Forgotten Verses
Finding encrypted scrolls in the southeastern and northwestern rooms of the Ruined Temple will give you this quest. To complete it, return the scrolls to Sister Justine, who stands at the Denerim Church. You can ask her for a reward for the relic, sell them for an extra fee, and additionally request a copy that will enrich your Codex.
Additional Information:
If Sten is in the group, upon entering Haven, he will ask, "What are we doing here" and try to take your place. If you have high influence, you can convince him to continue with you, or you will have to settle matters in a duel. If your character wins, Sten will remain in the group; if you lose, Sten will leave.
If you saved the Urn, you will unlock the achievement "Orthodox," and if you profaned it – the achievement "Desecrator." For killing the High Dragon at the top of the mountain, the achievement "Dragon Slayer" is provided.
If you accept Kolgrim’s offer, he will unlock the specialization "Butcher" for you, and if you reject it, Earl Eamon will teach you the specialization "Knight." You can also initially profane the urn and then deal with Kolgrim – in this case, you will instantly get both.
If you took Brother Genitivi with you to the temple, after the discovery or profanation of the Ashes, he will want to tell the whole world about it. You will be able to kill him to prevent the disclosure. If the shrine remains untouched, you can later visit Genitivi in Denerim and receive an additional reward.
In the northern part of the Ruined Temple, you can find gloves from the Ancient Elvish set.
On the gravestones of the village cemetery, you can find many inscriptions-easter eggs (mostly the names of developers are written there).
A notorious bug (reportedly fixed in patch 1.02, but present in 1.04) – when transitioning from the Mountaintop to the Gauntlet, the Ruined Temple, and back, all members of your party will receive 750 experience points each.
Gifts in the location:
- Antivan Leather Boots – in the village shop, in a chest (Zevran);
- Medallion – chest in the village shop (Morrigan);
- Small Silver Bar – Haven Church (Zevran);
- Honey Mead from the Hasedin Bag – dusty scrolls in the Ruined Temple (Oghren);
- Secrets of Dragon Blood – bookshelf in the Ruined Temple (Wynne);
- Stone Warrior Figurine – Caves, in the dragon's lair (Alistair).
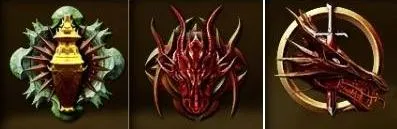
- Golden Demon Pendant – Gauntlet, from the body of an unsuccessful Adventure Seeker (Morrigan).
MAPS
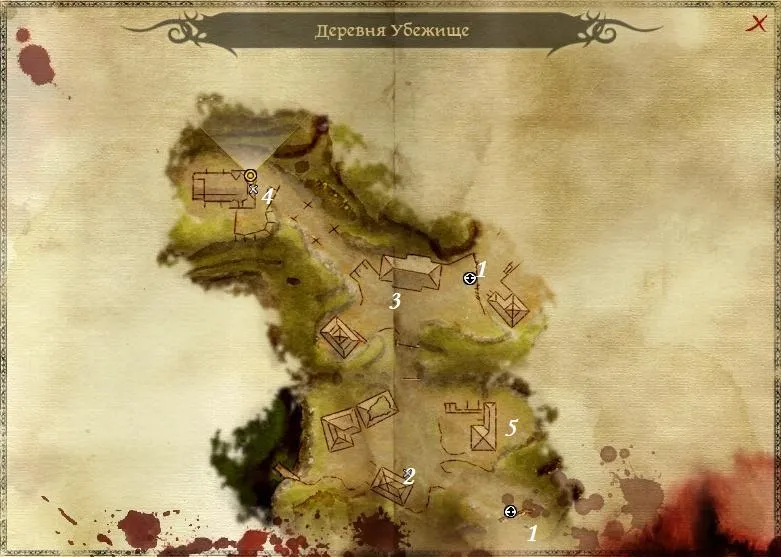
1. Exit to the world map
2. Peasant’s house
3. Village shop
4. Haven Church
5. Cemetery
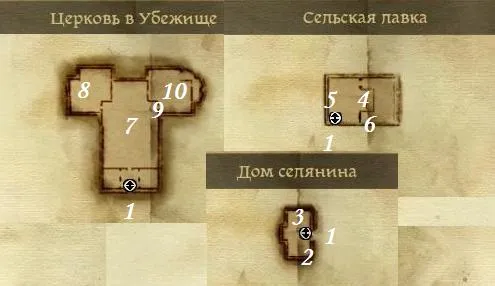
1. Exit to the village
2. Love letter
3. Bloody altar
4. Shopkeeper
5. Chest (Gifts) 6. Knight's body
7. Eirik
8. Chest with inscription (Gift)
9. Secret passage
10. Brother Genitivi
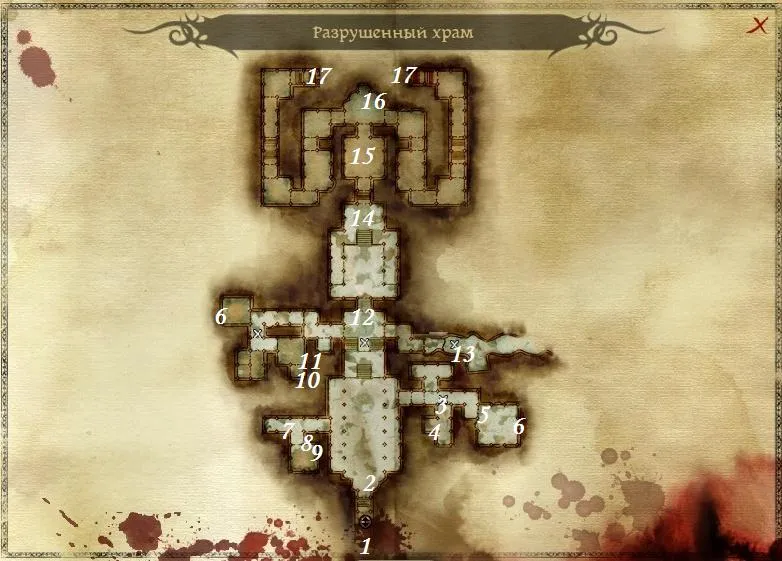
1. Exit to the world map
2. Brother Genitivi
3. Locked door
4. Key to the Main Hall
5. Ancient scrolls
6. Scrolls of Banastor 7. Adventure seeker
8. Dresser (wick)
9. Bookshelf (gift)
10. Ornate chest
11. Gift
12. Main hall door 13. Mountaintop
14. Brazier
15. Room with traps
16. Ancient Elvish Gloves
17. Exit to caves
1. Ruined Temple
2. Pile of dragon excrement (Gift)
3. Dragonwarden
4. Dragon egg
5. Kolgrim
6. Exit to the mountaintop

1. Caves
2. Ruined Temple
3. Kolgrim
4. Gauntlet
5. High Dragon
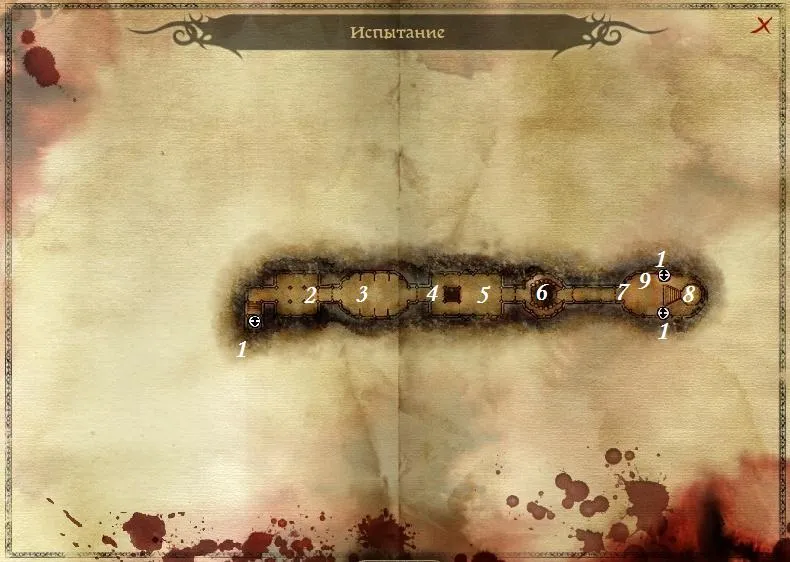
1. Mountaintop
2. Warden
3. Ghost room
4. Meeting with the past
5. Battle with reflections 6. Ghost bridge
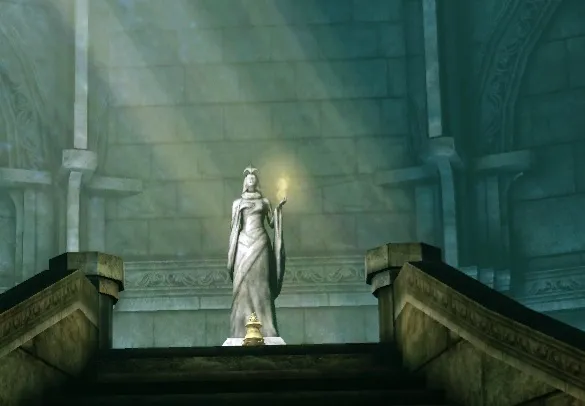
7. Altar and wall of fire
8. Urn with ashes
9. Unsuccessful adventure seeker (gift)
Invariably Yours \_