Speedrun Contest: Portal 2. Supported by GAMER.ru and CBR.
Chapter 1 A Visit of Courtesy
You wake up in a cozy little room. First, you need to familiarize yourself with the controls. You will be asked to look up, down, and then approach a painting and look at it. After you complete the task, go to bed: approach the bed and press E. You wake up, and the situation is a bit unpleasant, right? How long have you been asleep? Well, no matter. You will hear an annoying chatter, asking you to open the door. The door is easy to notice; it’s to the right of the bed and will open automatically as you get closer. Here comes Wheatley! The room will start moving, but don’t worry: you can’t fall or hurt yourself. Once you arrive at your destination, walk confidently forward. You will fall and end up in a test chamber. Yes, yes, that very one where we once started the original Portal \Nostalgy** A portal opens, you step through, and head towards the door.
The first test chamber. Nothing complicated, approach the cube, pick it up with the E key and place it on the red button.
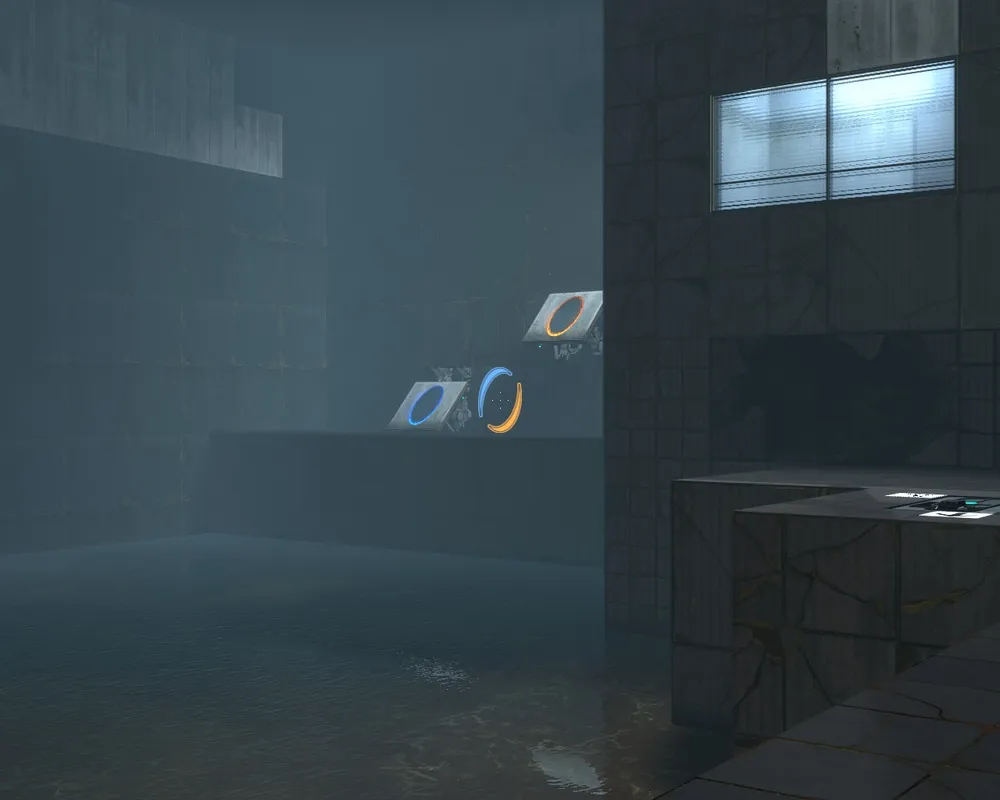
In the next one, everything is also easy. Start thinking in portals, dear player. First, let’s take the cube to the right; it’s not hard to see. The problem is that it’s behind glass. You can get there by pressing a button and entering the orange portal. We take the cube and return. Following the same scheme, place the cube on the button to your left. Placed? Let’s return, press the button in front of you, enter the orange portal, and head to the door.
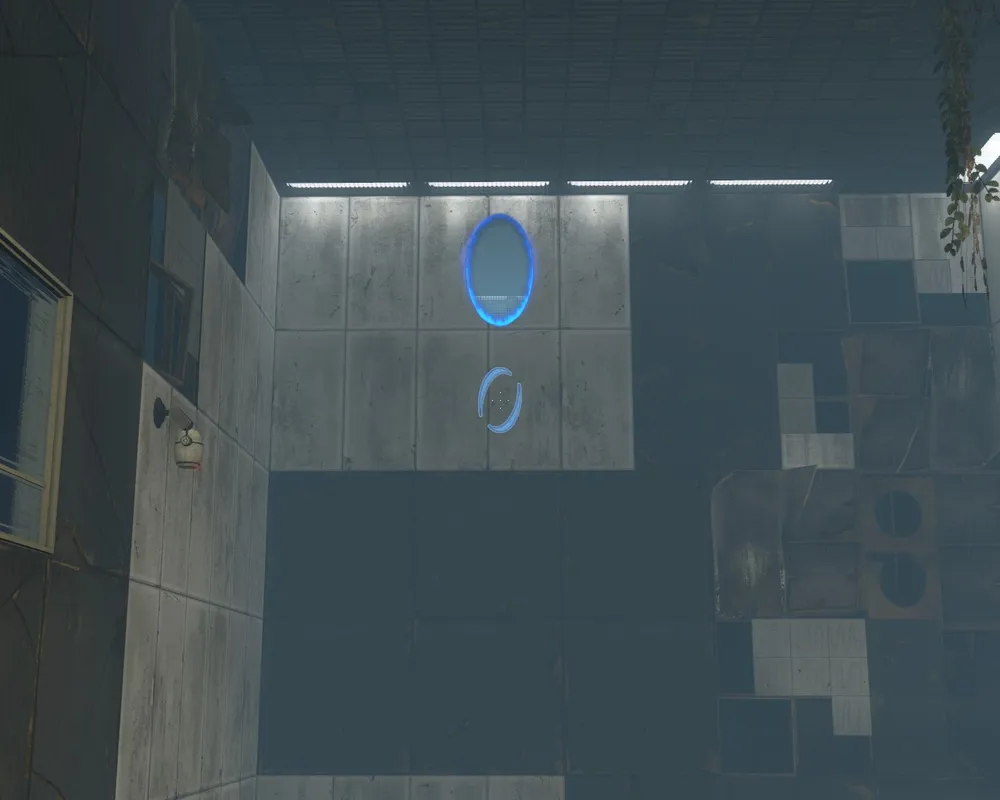
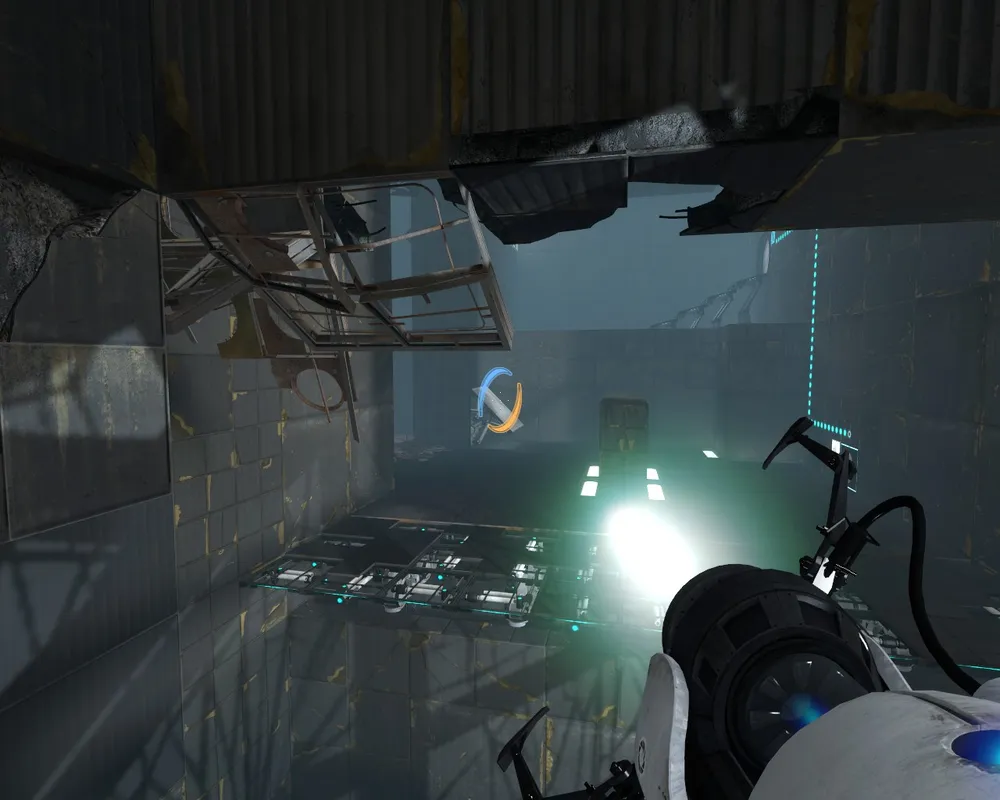
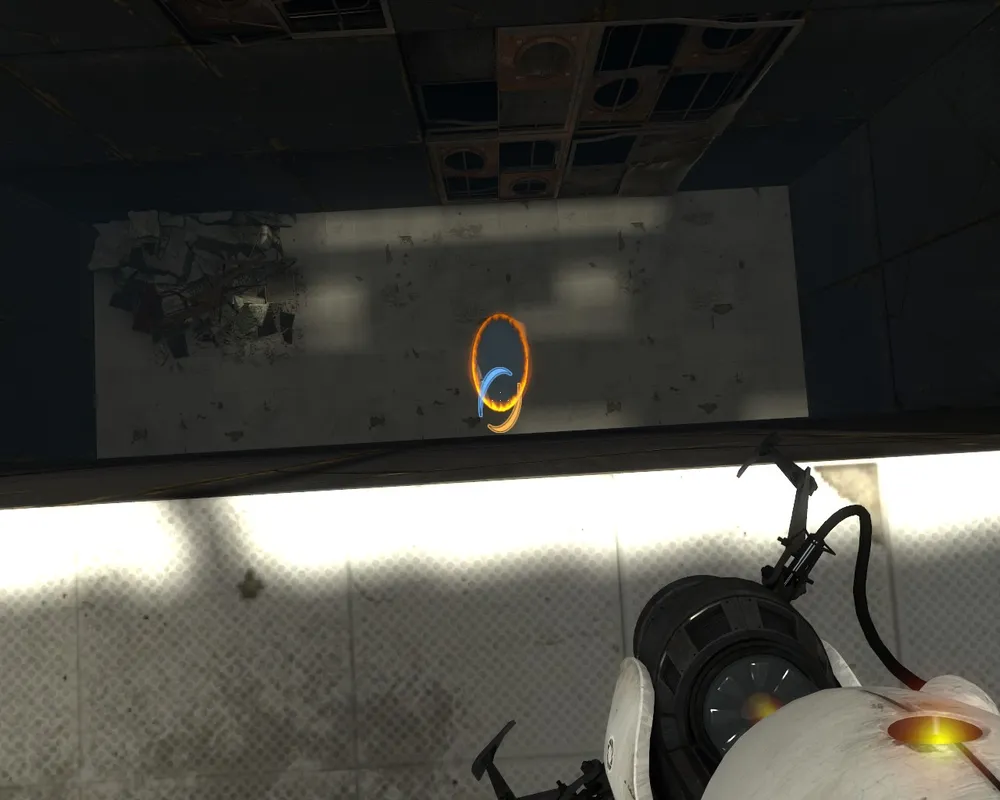
Wheatley asks us to find the portal gun. Walk a bit forward, and you’ll fall down, eventually finding the portal gun and seeing several drawings, one of which is the cover of the Portal 2 comic. Well, in general, you create a portal, enter it, and keep going. Ahead, you have an easy puzzle to exit. Place any portal on the wall – enter it. Place a portal next to the door, turn around, and enter the orange portal.
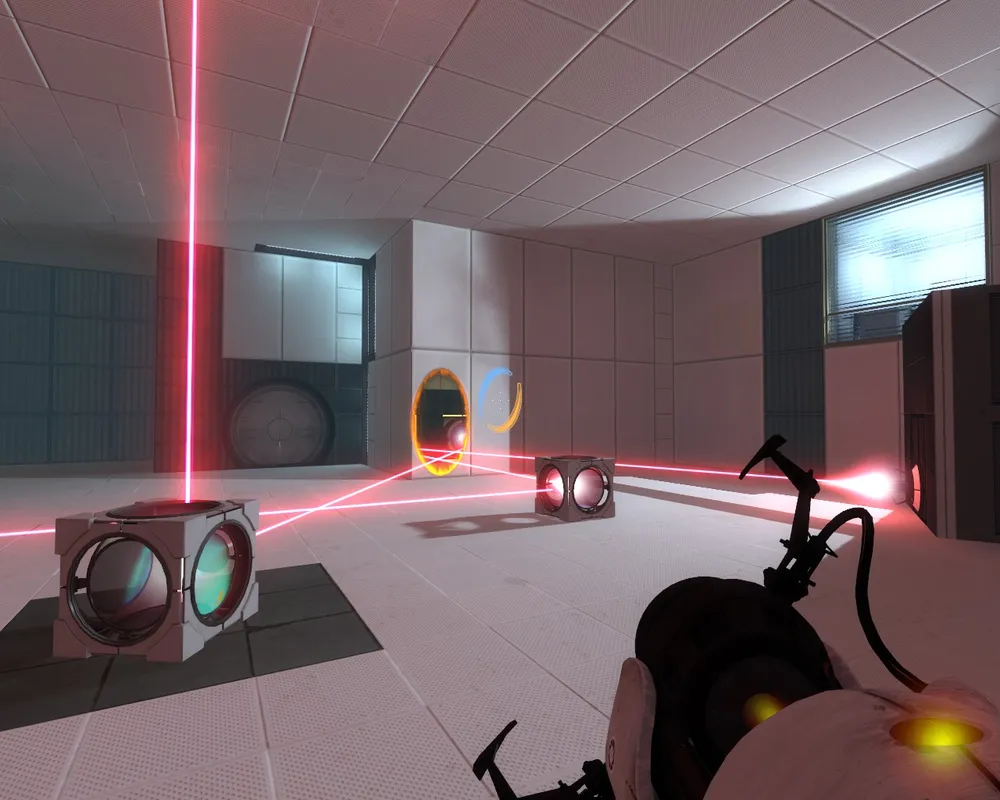
Next chamber: Move forward, the cube will fall down. Place a portal underneath it and turn around – it has come out through the orange portal. Place it on the button. Alright, the chamber isn't done yet. Ahead is the second part. Place a portal anywhere, enter it. You’ll see the cube on the other side. Place a portal underneath it, and in an instant, it will be behind you. We take it, place it on the button. One more cube below, we grab it using the same scheme. The door opens, we go forward. We place any portal, and enter it.
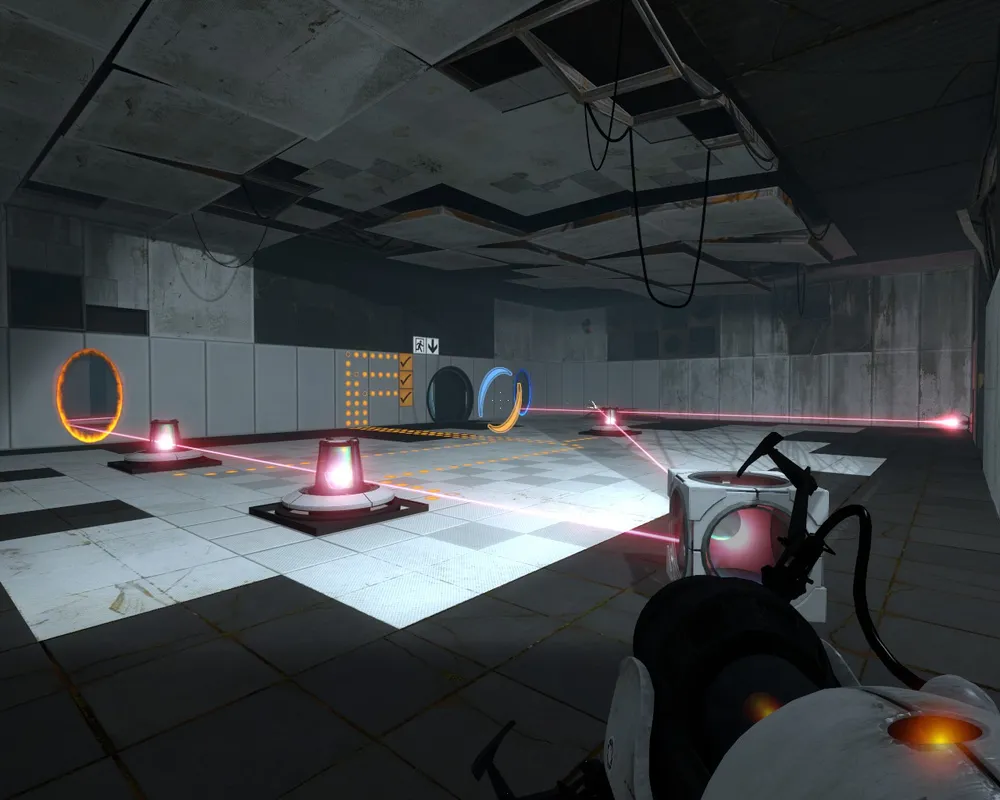
Next. Press the button under the orange portal – a cube will drop ahead. Create a portal underneath it and it will drop on your head. ): Or maybe not. (: Place the cube on the button. Climb the stairs. Here are two more buttons. So, the button to the left calls the cube that drops onto the panel; immediately place a blue portal there. The cube will fly out through the orange one and fall into the water, unless you press the right button. The scheme is as follows: place a portal on the panel, press the left button, wait ~1-2 seconds, and press the right button.
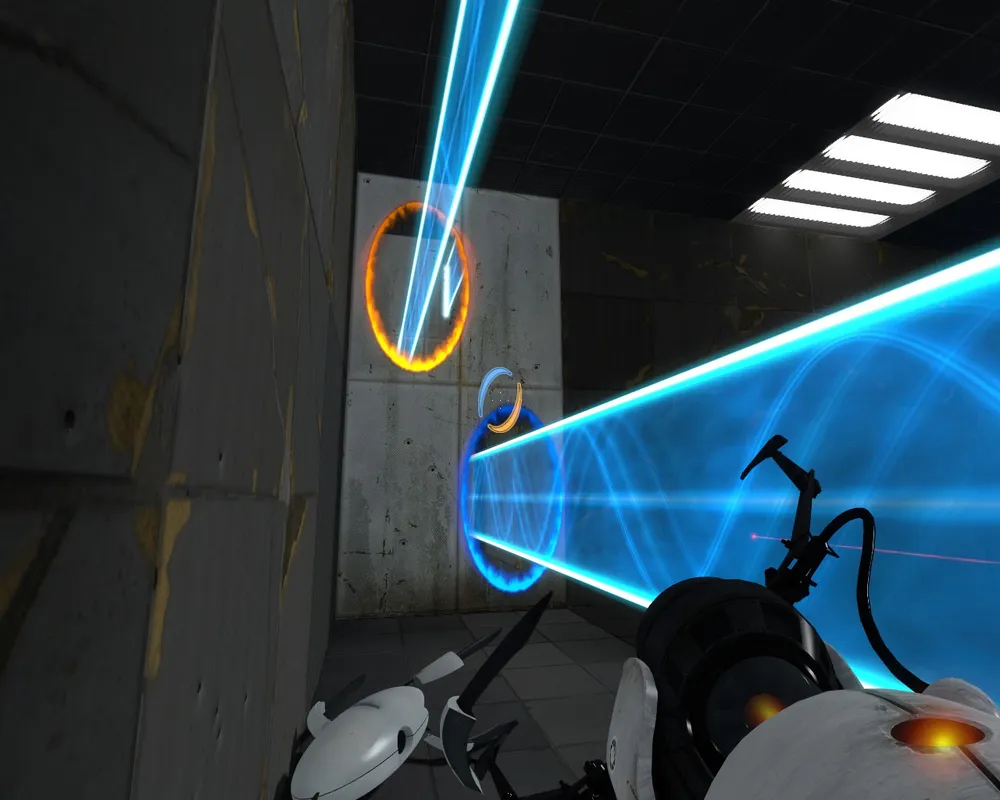
Next. Place a portal down and fly into it. You will see a cube; place a portal underneath it. We take the cube. Again, we place a portal down and fly into it, now holding the cube. We leave the item on the button and move forward. The chamber is not done yet; there’s a second part. Here we can't place portals down for obvious reasons. Place a blue portal on the left on the panel. Fly into the orange and find yourself next to the cube. Place a portal somewhere higher on the other side of the panel you came from. We take the cube and fly down into the orange. Place the cube on the button. Place the portal roughly where indicated in the screenshot and fly into the orange down below.
We head to the elevator. Another meeting with Wheatley. Place a portal anywhere on the other side and enter the orange. After that, Wheatley will explain what to do. You will walk with him to the Main Control Room, and due to his silly mistake, you will wake GLaDOS. After an unpleasant conversation with her, you are thrown into a smelting furnace. Move forward and take the portal gun. Place one far ahead and the second next to you, to step out there. This way, keep moving forward and you’ll quickly reach the elevator.
Chapter 2 Cold Start
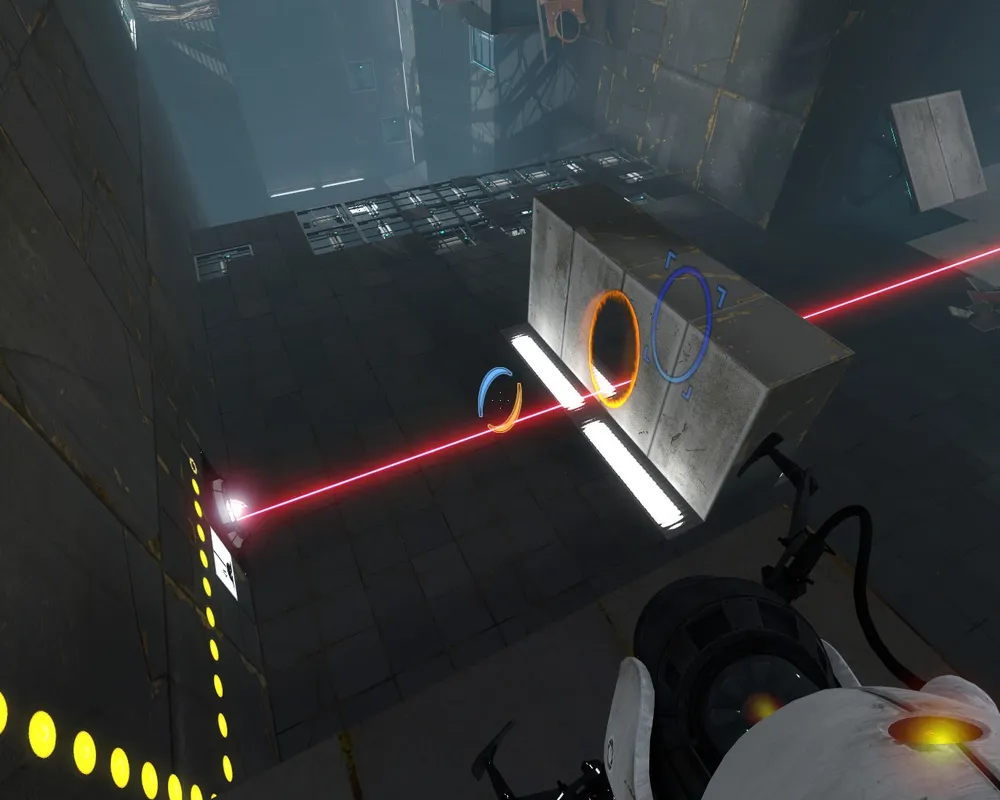
The first easy test. Move straight forward and stand on the black panel-elevator while the laser device changes. Place one portal where the laser shines and the other up to the left. Done. If you’re having trouble, the screenshot is here to help.
Next test. Find the refraction cube and take it by creating one portal under it and another on the wall near you. Take the cube and place it like this:
Go up, create a portal near you (on the floor up there) and under the cube, take it and place it on the button.
This chamber will be difficult to explain; just place cubes and portals as shown in the screenshots.

Chamber #4
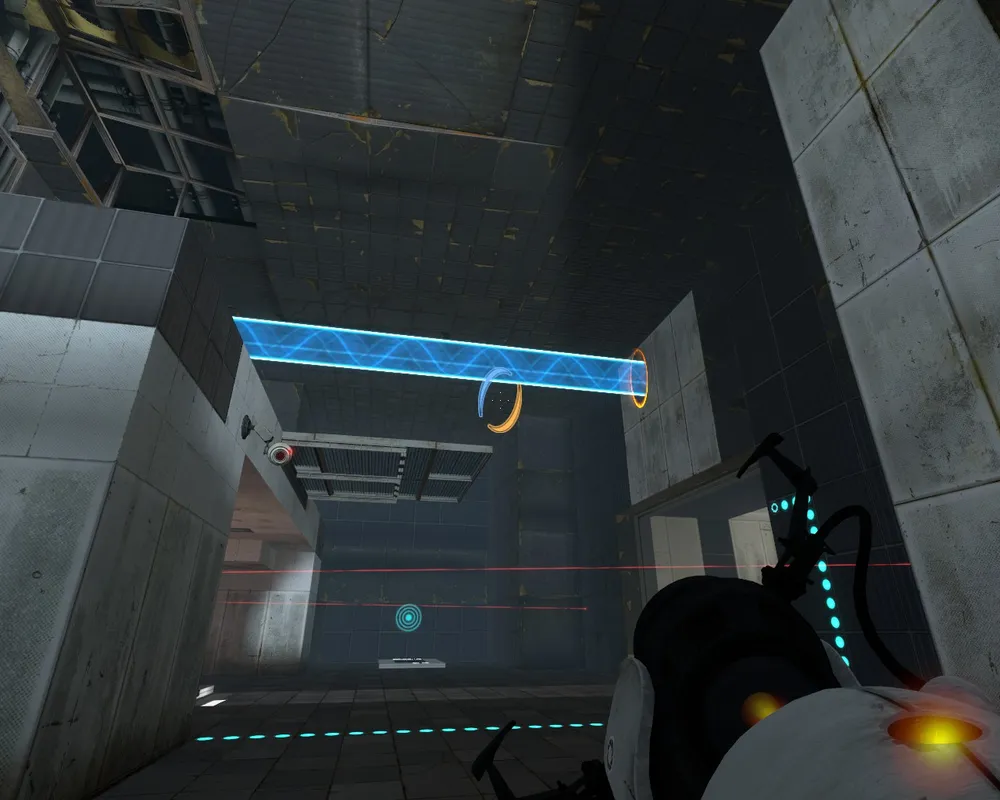
Place the portals like this:
You will start the moving panel on the other side. Wait for it to arrive at the location with the cube and button and quickly place a blue portal there. The panel will stop. Enter the orange portal next to you, press the button, take the cube, and stand on that panel. Create a blue portal in the place where the laser shines, and you will move towards the door. Be careful not to burn yourself on the laser! (:
Chamber #5
Stand on the faith panel and you will fly to the other side. Go ahead and press the button. Turn around, and you will see the cube jumping in one place. You just need to fly back and forth with the faith panels until you grab the cube. And once you have it, place it on the button. Did you manage it? Good job.
Chamber #6
Place portals as shown in the screenshot and stand on the faith panel.
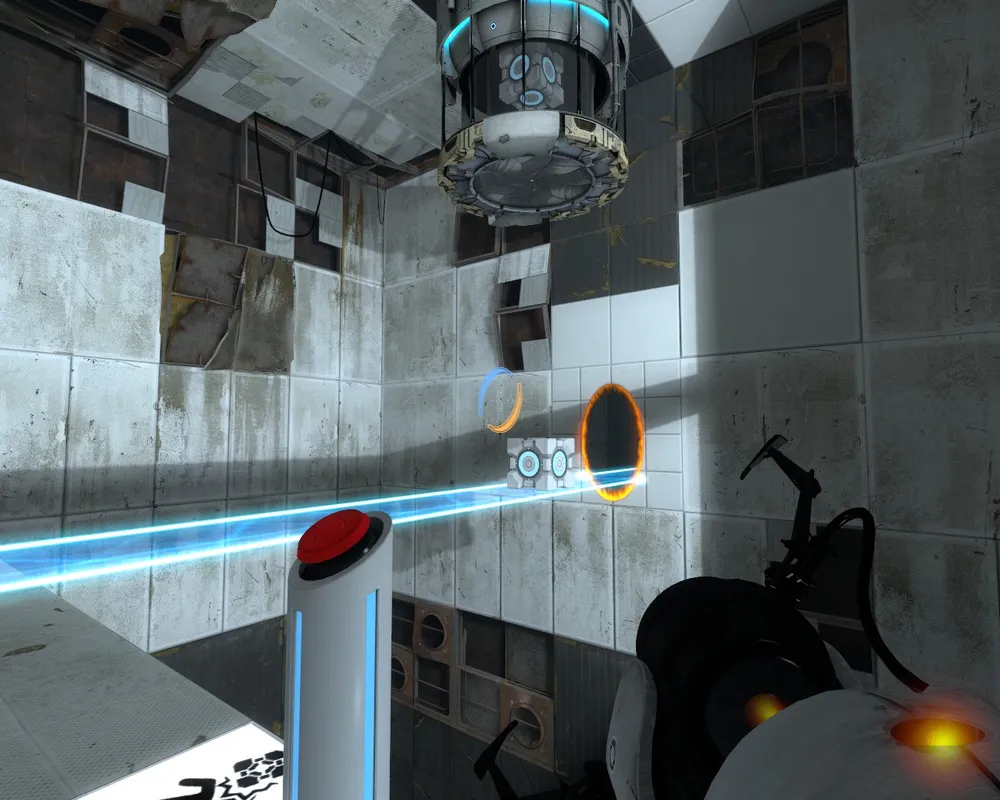
When you get there, press the button. First, trash will fly out (due to GLaDOS's mistake), but then the cube. So you need to press the button a second time, but before repeating it, place the blue portal right here.
In the end, without any extra movements, the cube will be on the button + those with licenses will receive an achievement. %)
Chamber #7
Everyone's favorite Companion Cube. Despite GLaDOS mocking the poor cube, we still love it and want to save it. For that, we will get another achievement. So, first, the cube will melt a bit due to you-know-who, and then we will take it and block the laser. The elevator will descend. Stand on it and get the cube anywhere using portals. Once you get to the top, take the cube by creating one portal underneath it and another on the panel.
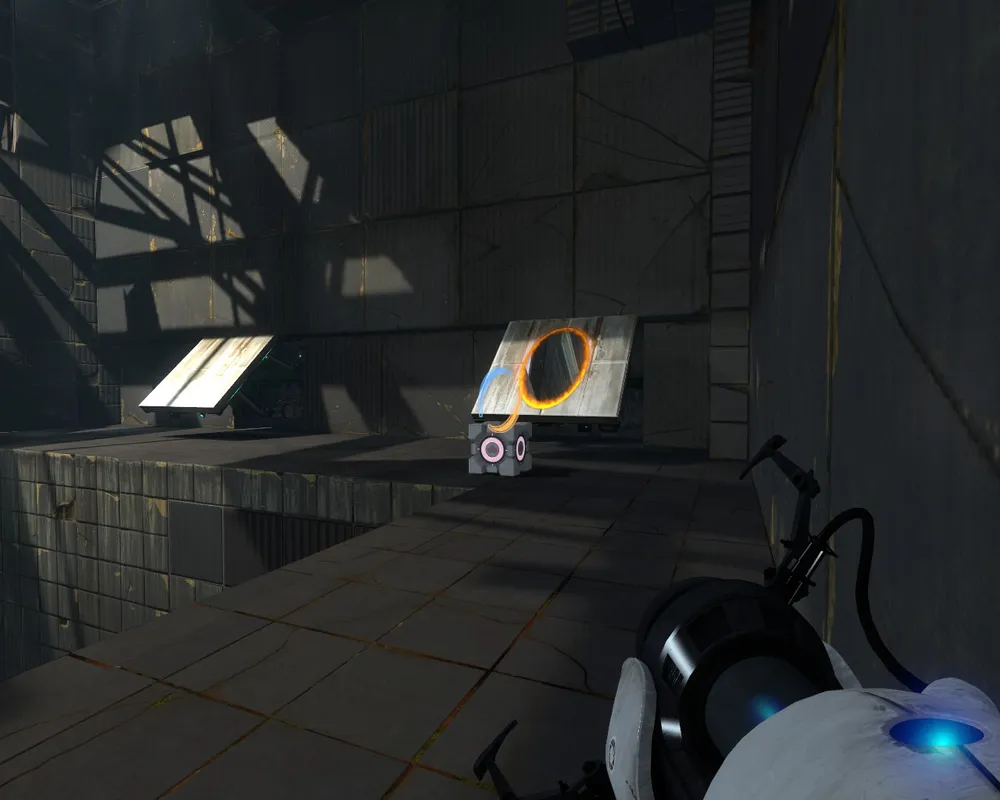
Now, place the portal conveniently below, without changing the position of the second portal. Fly into the portal below and you will find yourself next to the button. Place the cube there. Create a portal on the other (left) panel and again fly into the lower portal. Luckily, the door is without heated particles. You can place any portal on the way to the elevator and return to the Companion Cube and fly into the lower portal again. Walk to the elevator with the cube - the achievement is yours. But you can also skip this step, if you wish.
Chamber #8
Walk to the button and press it. A refraction cube will drop on the other side. You can’t carry it through the wall of heated particles, but to get there, you need to use the hole if you don’t notice it.

Place the portal through the hole and somewhere near you. Carry the cube and place it like this.
We walk to the door and complete Chapter 2.
Chapter 3 Return
Chamber #9
Stand on the faith panel several times and wait for the complex owner to lower the ceiling. Now you can safely begin solving the task. Place one portal above yourself on the ceiling and the other try to place on this panel during the flight.
It’s tricky to hit, right? %) Place the portal on the wall shown in the screenshot and return to the faith panel.
Fly to the button, press it. Place a portal here and again go to the faith panel.
Fly out, take the cube and direct the laser to the very center of the white wall.
Leave the cube. Go up by creating portals where you created them the first time. While staying at the top, create 2 portals so that the laser goes where it needs to.
Chamber #10
First, you need to take the cube. Create portals here:
You need to enter the lower one, yes. Come back to the other side with the cube and stand on the faith panel. Close the laser with the cube, leave it. Go down and stand on the faith panel. Fly up, press the button. A refraction cube will come to you. Take it and go down to where the other cube is. Place the refraction cube like this:

Immediately place any portal on the wall where the laser shines. Take the normal cube and go down to the faith panel. When you get there, place another portal on the panel next to the button. If the laser hits the right place, take the cube and go down to the panel again. Fly to the exit. Actually, the door will open after you leave the cube on the button. By the way, if you accomplish this task in less than 70 seconds, you will receive an achievement.
Chamber #11
Light bridges are hard to explain in words. You need to figure out how it works for yourself.
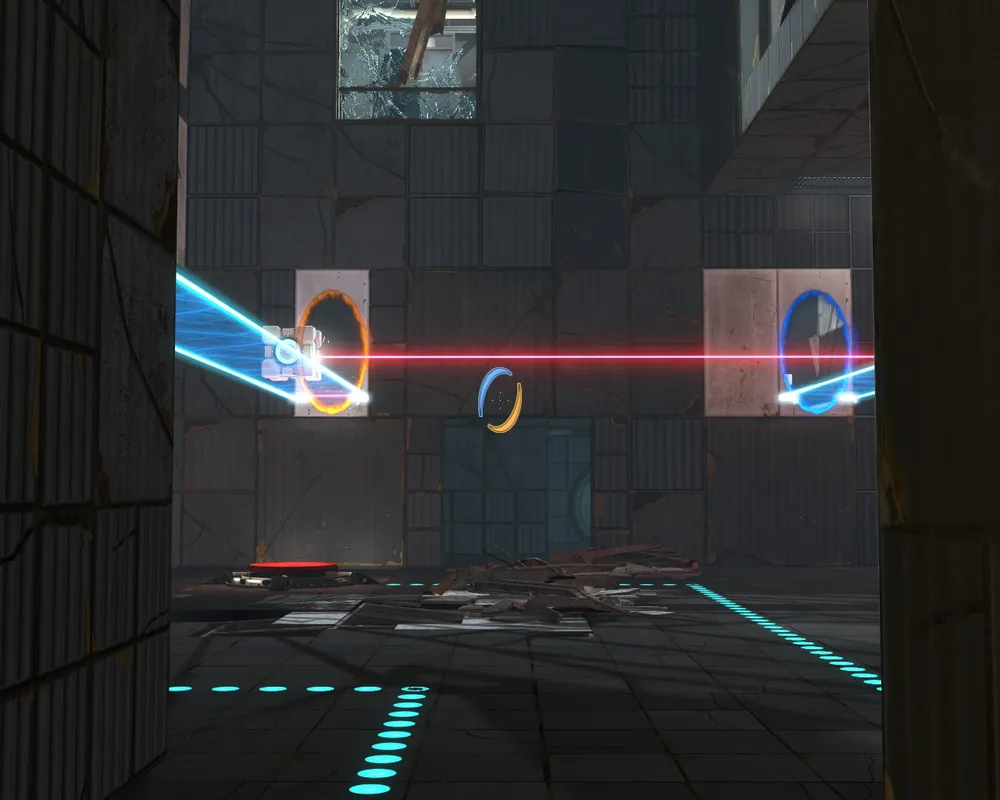
Create portals as shown in the screenshot and press the button.
If you took the beginning of the bridge with the blue portal, never lose it, because you will just fall. Always remember that you can’t lose the beginning of the bridge. Place portals in the sequence that is shown in the screenshots:

Take the cube and return to the very beginning by simply walking into the portal; you will be at the entrance. Place a portal as shown in the screenshot, carry the cube, leave it and finish with this chamber.
Chamber #12
Place a portal above the start of the bridge and on the wall, to actually stand on the bridge. Take the start of the bridge with the blue portal and continue the bridge anywhere near the button. Just don’t fall. Place a portal right here:
Press the button, take the cube and return to the start of the bridge. From there, from above, continue the bridge to the button. Walk across the bridge, leave the cube on the button – you’re done.
Chamber #13
Everything is simple here. If you played Portal 1, you know how to remove turrets from your path. The main thing is not to approach them from the front. Take them from behind with E and knock them out. You can use portals if there are walls. You can also drop cubes on their heads. In the end, just leave the cube on the button and move forward.
Chamber #14
A pretty interesting puzzle. I recommend thinking for yourself, but if you’ve finally decided that you want to know, here’s what the full picture looks like:
Chamber #15
It should be noted in advance that the turrets behind the bridge do not react to you. So, take the start of the bridge and close the lonely turret. Enter where the 4 turrets are and just knock them down. Now create portals like this:
Enter the blue (I have it in the screenshot) and quickly place the orange portal somewhere far away from you. The start of the bridge should be preserved. Enter the portal. You will exit the other end. Create the continuation of the bridge here:
Stand on the faith panel. You should fall onto the upper floor, so to speak. Move forward and descend to the turrets, quickly knock them down. Place the cube on the button. The door to the exit will open. Just move back to the turrets. They won’t notice you.
Chamber #16
Stand on the button and don’t move. Take the start of the laser and continue it with a portal toward the turrets. The laser will explode them. Leave the portals. Take the cube (the normal one) in front and place it on the button. Direct the laser with the refraction cube at the turrets. Aim the laser into the nest.
Chamber #17
The solution to the puzzle is not so complex. Do everything as shown in the screenshot:
Make sure you are standing on the lift, the laser is shining in the direction of the nest, but the cube blocks the beam, and the cube must be above the button. Now just remove the orange portal anywhere. The beam hits the nest, the cube will drop on the button – the lift will rise to the exit.
Chapter 4 Surprise
Chamber #18
Jump with portals to the other end to the button. When pressing the button, you will see cubes falling from your side and the other side. So, take the start of the bridge and place it at the other end, blocking one cube’s free flight while the other one has complete freedom. If neither cube falls into the water, you’ve done it right. Take them. Deal with the turret once and for all using the laser and cubes. Then set everything up like in the screenshot.

Chamber #19
Grab the cube below and move to where the laser shines. Use the cube to direct the laser on that thing (I don’t know what to call it) that’s against you. Grab all the other cubes using the faith panel. Now place the cubes so that the laser beam goes from one stage to the next and so on until the end.
Chamber #20
Place one portal opposite the 3 nests. In the other room, you need to do this:
Chamber #21
Create a bridge to pass to the button. Did you press it? Oops. (: A cool plot twist. Move forward. When GLaDOS asks you to go to the exit, don’t listen: you will die. You can only go there if you want to achieve an achievement. Otherwise, just run, run, and run. ;)
Chapter 5 Escape
The chapter starts very simply. Wheatley will practically guide you by the hand. You’ll only need to use the portal gun occasionally. For a while, you will part ways with Wheatley. Later, you will meet him at the Turret Control Center. You need to remove the