
"Pillars of Eternity II: Deadfire": "The Path of the Cursed" (Part Two)
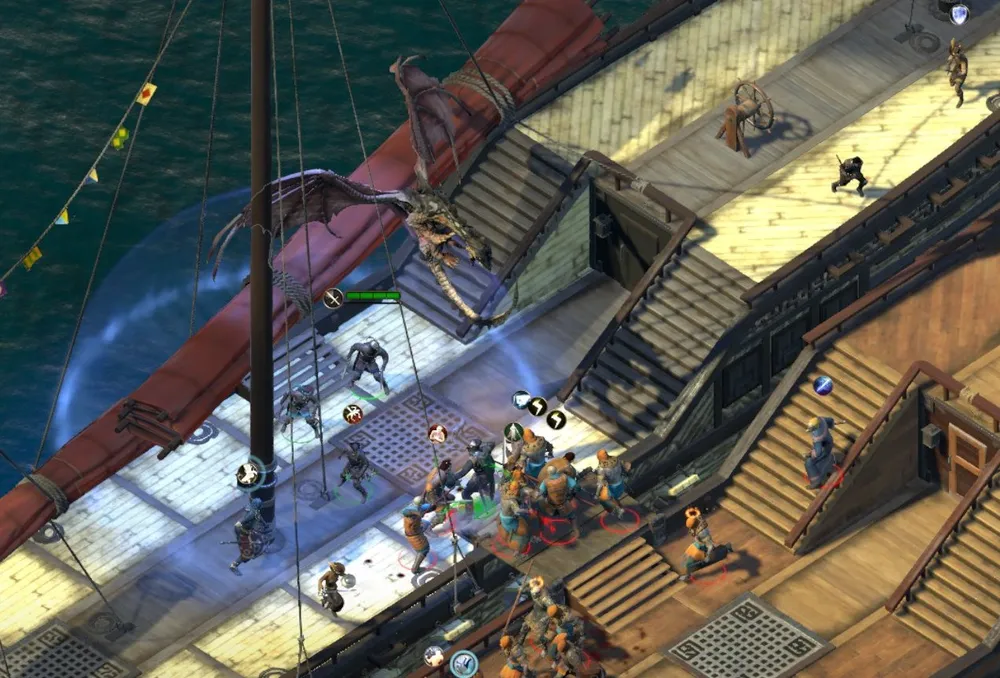
So, we are pirating! The crew is not complete, we are short on gunners; but they do not participate in boarding fights, right? And I have absolutely no desire to shower the enemy with broadside fire, receiving the same in return: we will have to repair the hull, replenish the supply of cannonballs, heal the crew; all this is extra expenses. If one of the sailors gets killed, we will need to hire a newcomer and wait for their level to rise. No, just boarding!
Moreover, the tactic is worked out: as soon as the fight begins, the warrior and the paladin rush to the middle of the first ladder leading to the bridge and take up defense. At the same time, the rogue, bard, and cleric ascend to the bridge via the second, further ladder, taking positions behind the fighters in the front line.

This prevents enemies from surrounding allies, and the bard can summon allies without interference, even onto the deck of the enemy ship.
This is important!
You need to summon either three worms or two ogres; they will "bind" a greater number of enemies if something goes wrong. A large worm fights much worse during boarding when friend and foe are mixed in the same scramble.
For now, it is not worth attacking ships with three skulls of red or even gray color; the crew will not cope. (But if it is a slaver ship, you can take a risk: usually, only a few enemies have two to three skulls above their heads, there is a chance for victory and leveling up the crew.) Do not pursue vessels led by an "outstanding captain"; your boarding crew is unlikely to be able to win. And don’t intimidate the potential victim: reputation will drop! If you do decide to attack, then with the intent to leave no one alive.

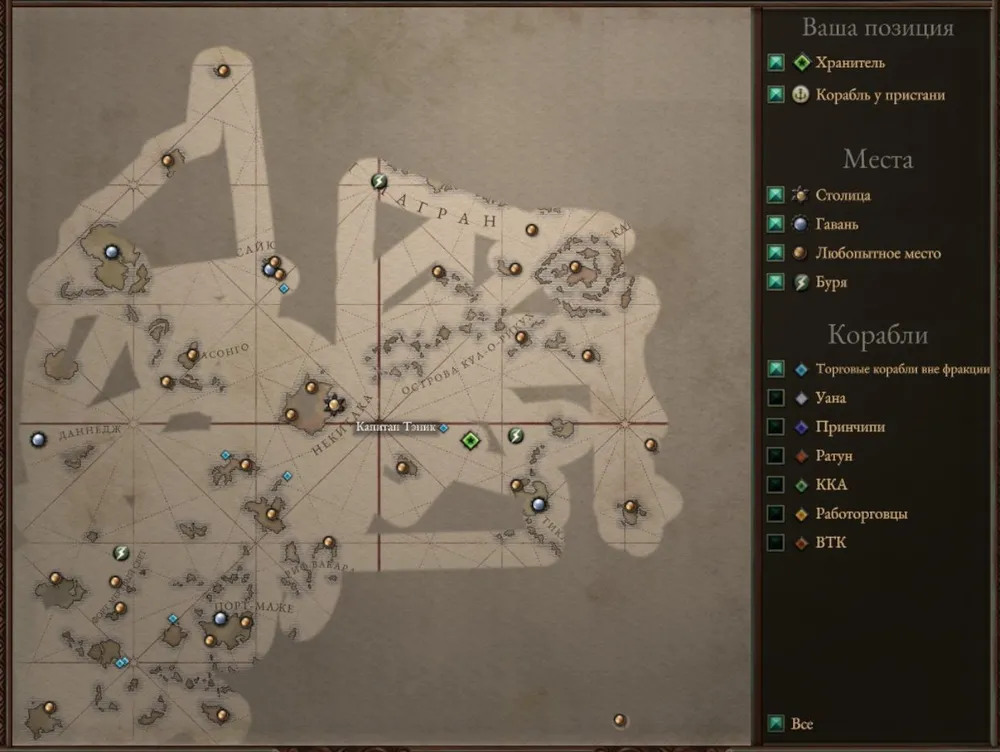
Ah yes, the "Ship of Wonders", mistakenly boarded during the last playthrough. It is quite easy to spot among the general mass: we disable the icons of all ships except for those that are outside factions; among them will be the only ship with a captain that has a unique name. (In the same way, we find it if we wish to trade.)
How many enemy or allied pennants to board? Until you decide that you have gathered enough to upgrade the ship and the crew's weapons. My squad interrupted the process when the speed of the upgraded junk reached eighty units.

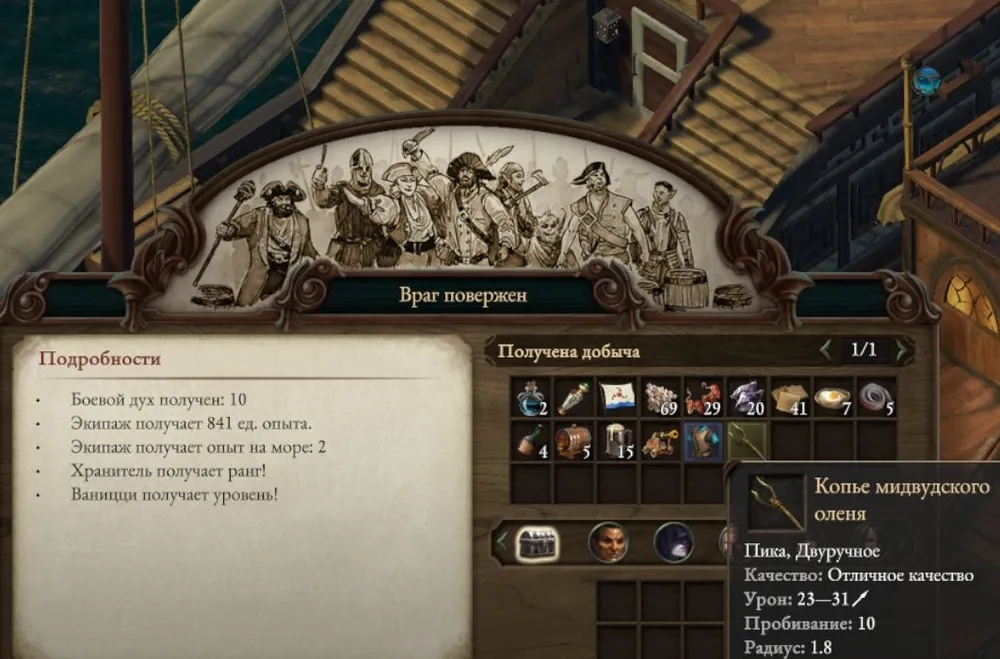
Sometimes after boarding, you can pick up unique weapons items.
The first thing the Keeper did after accumulating gold was to head to "Port Maje" to buy the bow "Aura Destroyer"; and also to check what kind of gift the savior prepared in the dungeons under Nekitaka? (Do not underestimate the feelings of human ingratitude: the saved one stood beside the dock catching fish peacefully as if seeing the bard and his squad for the first time; the Keeper received no gift.)

By the way, why exactly the "Aura Destroyer", available (if it weren't for the price!) almost from the very beginning of the journey? Because of its unique properties: the additional electrical damage of this weapon depends on the "Metaphysics" stat of its owner; a good chance to increase the weapon’s damage capability.
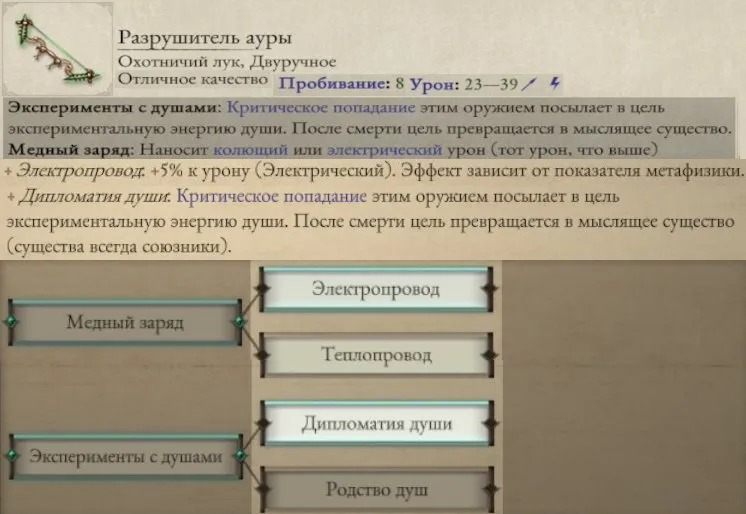
In addition, from time to time, the bow turns a defeated enemy into a temporary ally, which is also quite good. (This weapon was the first to be upgraded to "Legendary" quality.)
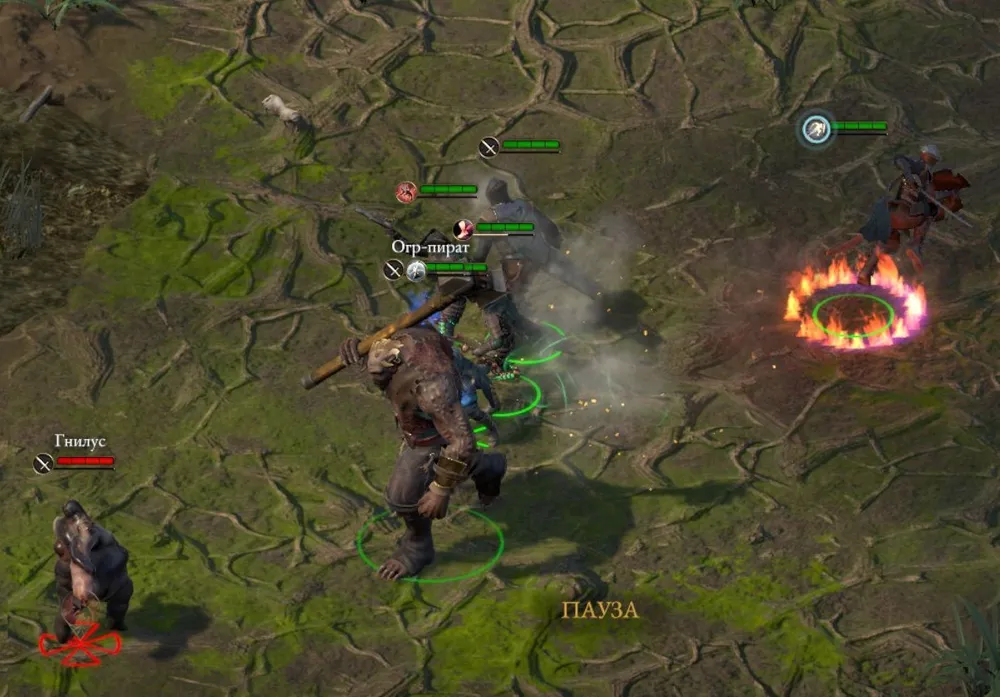
An ogre-pirate was a hostile undead just a moment ago.
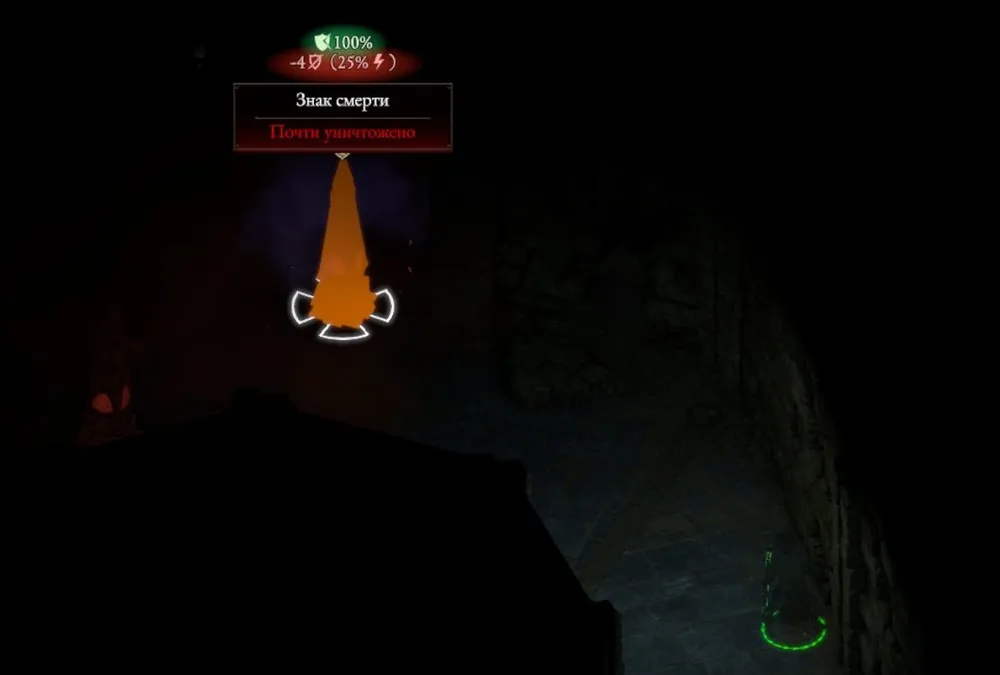
The next useful property of the "Aura Destroyer" is the ability to eliminate various malevolent obelisks without entering their area of effect (regular bows handle this task very poorly).
At the next stage, the hero decided to complete faction quests: all of them at once, except for their final quests; there were two reasons for that. First, completing the final quest of any faction will instantly block the final quests of the others. Second, it is with the fleet or ship of this faction that one will have to break through to unexplored areas chasing Eothas; and the Keeper plans to do without outside help.
This is important!
Under no circumstances should you take on the quest "Shadow under Nekitaka", leave it for the very end when all adventures in the available area have been completed.
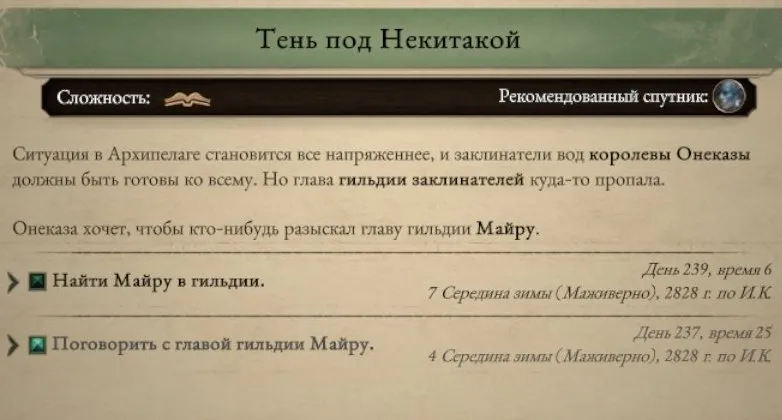
Why? As soon as you enter the "Water Spellcasters Guild" and talk to the priests, you will have to complete the task until the end; you will lose the opportunity to check how your choice affects the final part of the journey. (I will explain this in more detail later.)
And the travels between the islands began: find this, bring that, blow up an adrovy vein. The "Royal Company of the Archipelago" issued a quest,
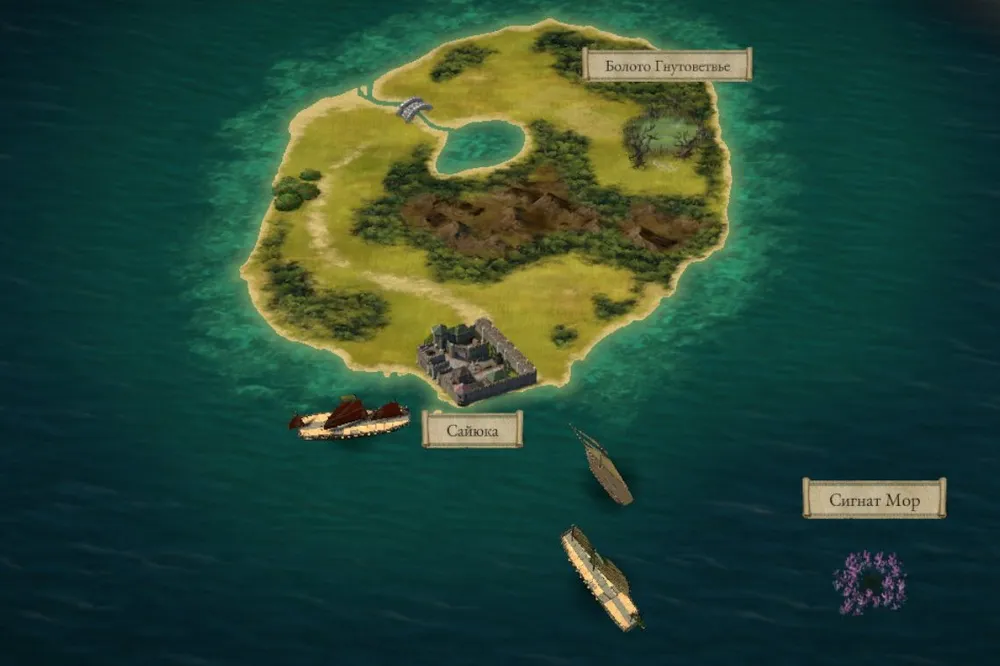
resulting in discovering that a kraken does exist in the game!
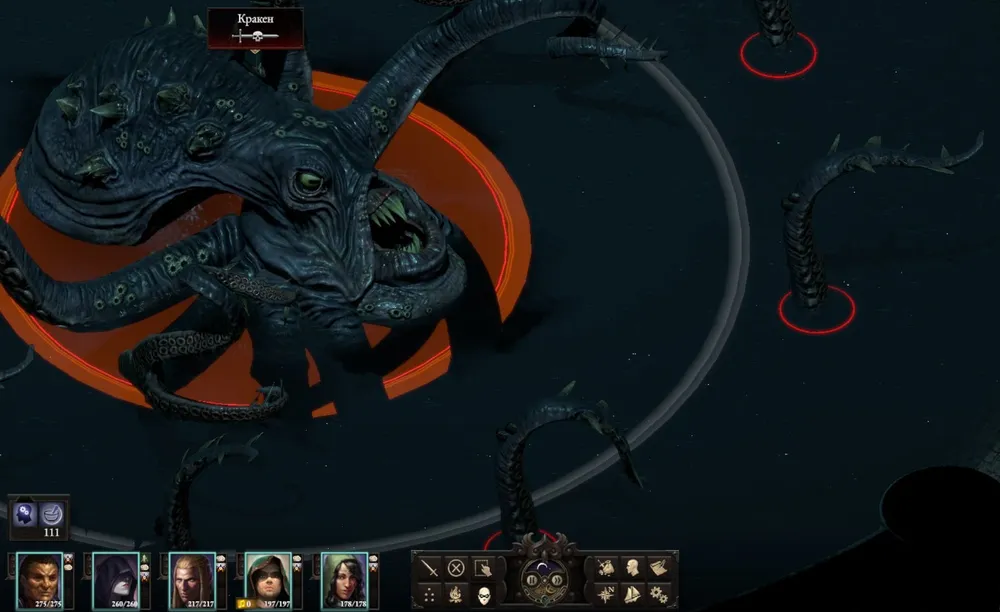
However, it will not attack the ship as shown in the game intro; it appears only if the hero resists the will of the god – but still.
The merchants of Sayuka had rare components for making unique dishes (lobsters and spices);
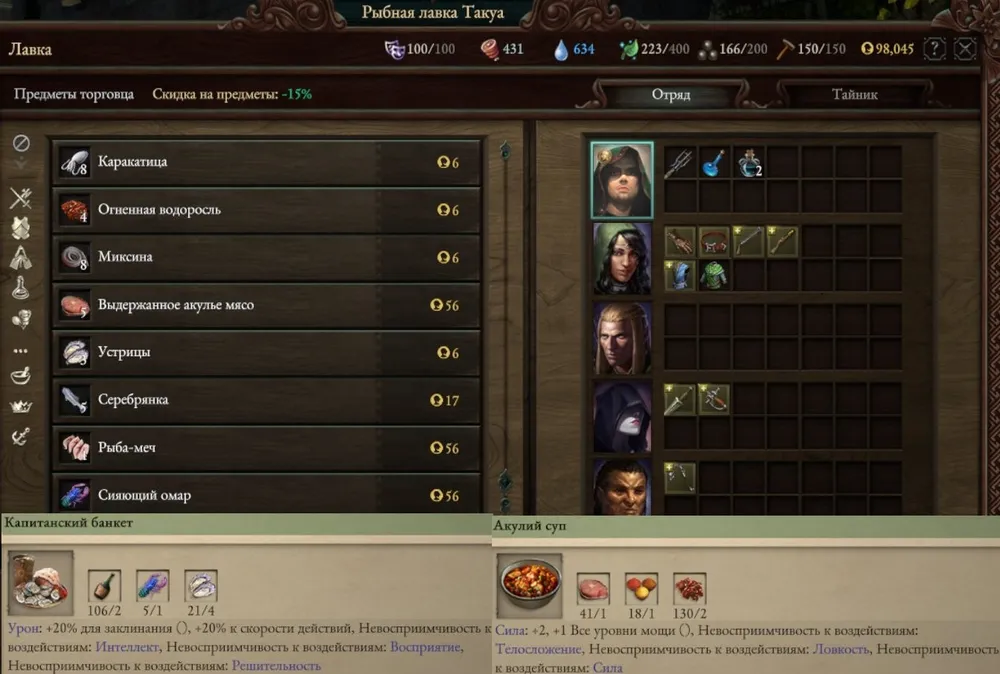
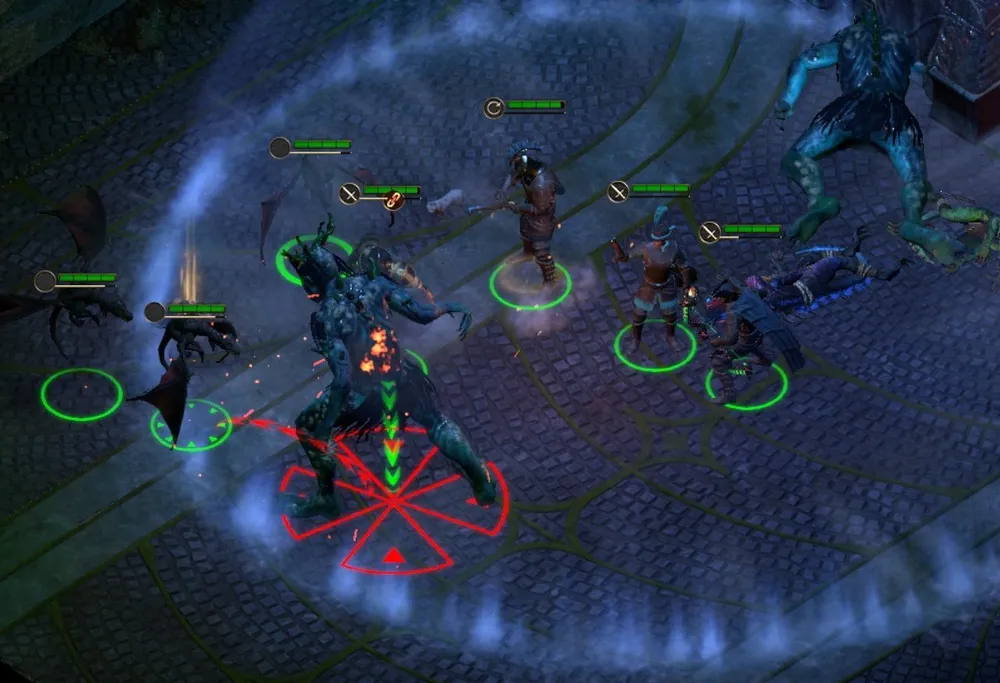
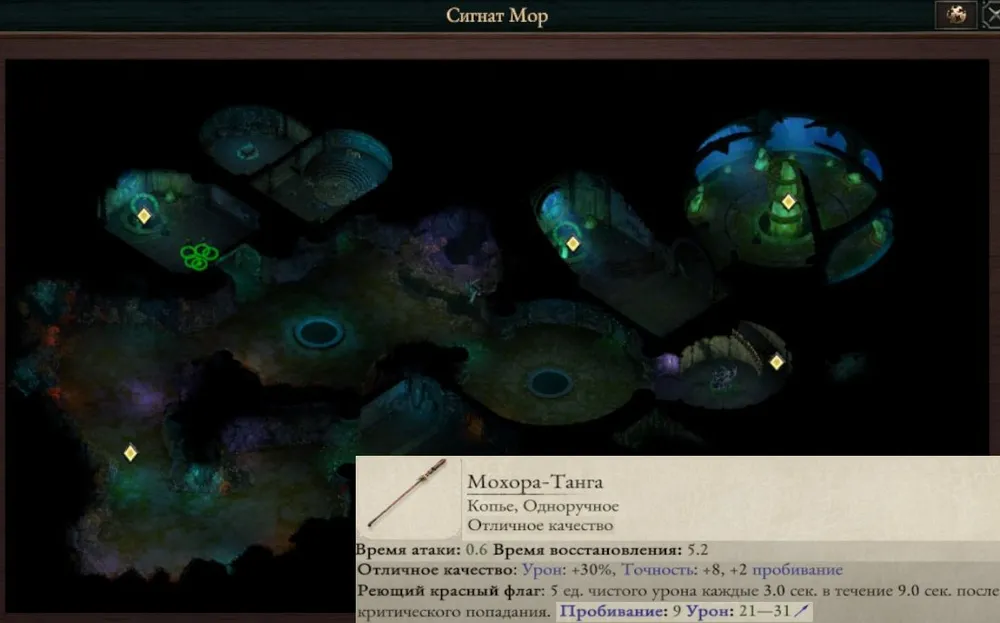
in the underwater city off the coast, another weapon with upgrading potential was found – a spear.
This is important!
During the previous playthrough, an attack on Sayuka from the land occurred, which was successfully repelled by the squad. This time, nothing similar happened, but when the heroes returned from the underwater city, the local authority complained that many citizens had died during the repelling of the attack. It turned out that among the dead were also the merchants of rare components; a pity: I did not have time to buy weapons from them.
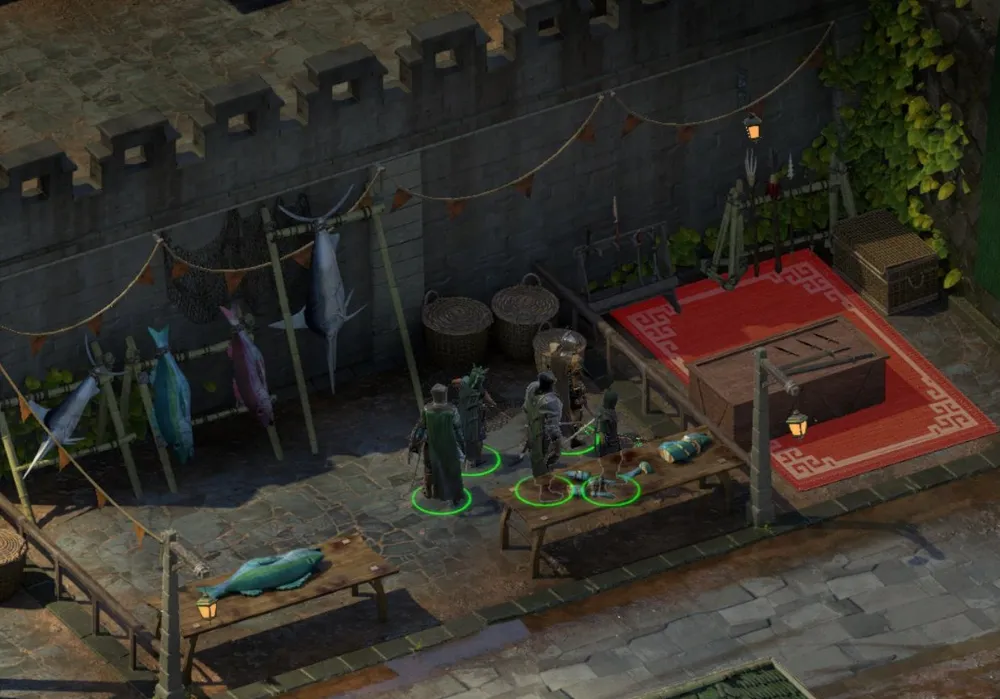
Either a bug, or I did something wrong.
And what about the kraken? The summoned bard allies distracted it, while the entire squad with ranged weapons shot tentacles one by one.
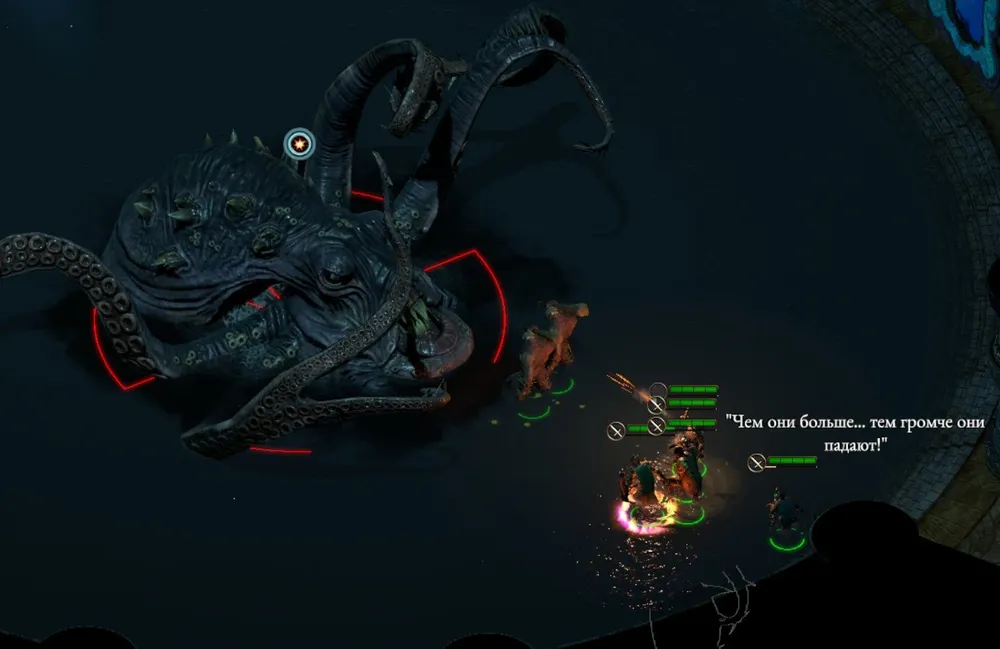
Then it was time for its owner, leaving the squad – by the traditions of this world! – with a single eye.
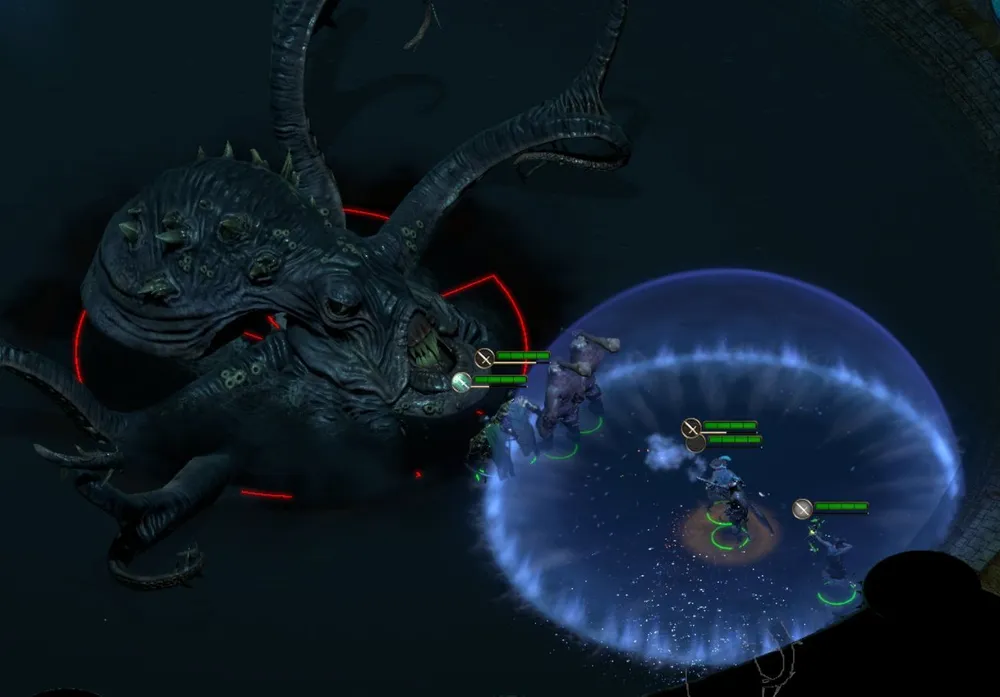
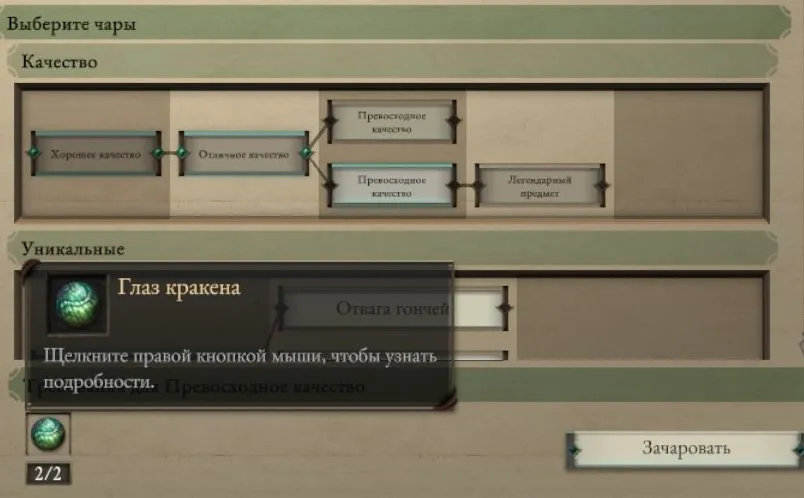
That’s when the meaning of stealing the kraken's eye from the tavern sign in "Port Maje" became clear! Especially since two eyes allow upgrading the weapon to "Exquisite" quality.
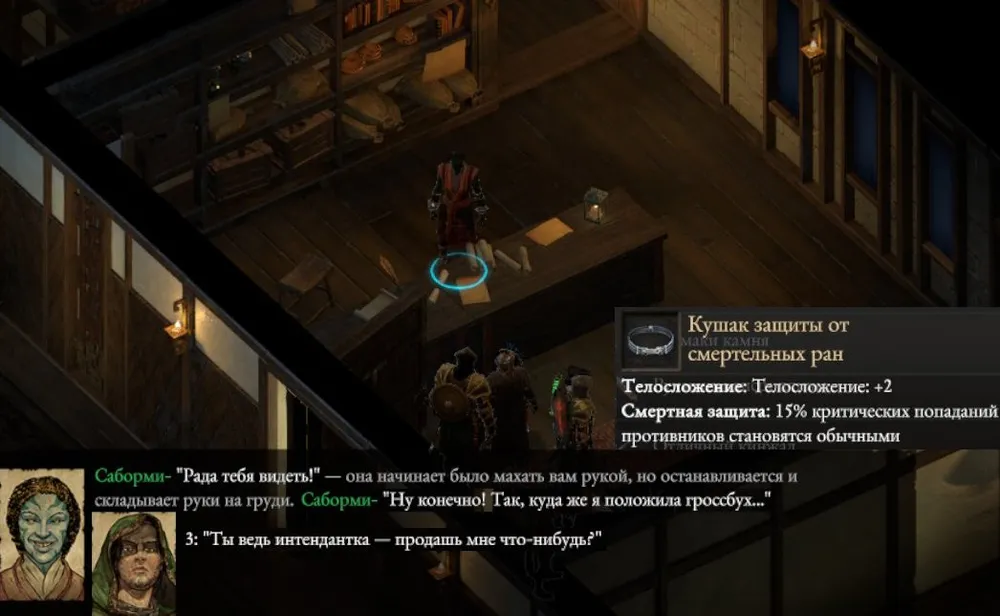
Upon returning from the journey to Sayuka, the quartermaster of the "Royal Company of the Archipelago" opened her shop to the squad (she had previously refused to do so), where there was something useful.
Another quest from the "Royal Company": they will ask to blow up the Adrovy Pillar on Pokko Kohara Island. The island is not on the general map; it will appear there after visiting Tikavara and talking to a number of locals. Somehow, I missed this moment and immediately went looking for Pokko Kohara among the "fog of war". There were many enemies, and a couple of times I had to reload the game due to a companion's ultimate demise. It’s not the easiest task! However, I managed to procure rare stones.

The next quest from this faction is to clear Crookspur Island; this is what the squad had been waiting for a long time. When approaching the island, a slaver ship was discovered, which seemed to be asking for boarding.
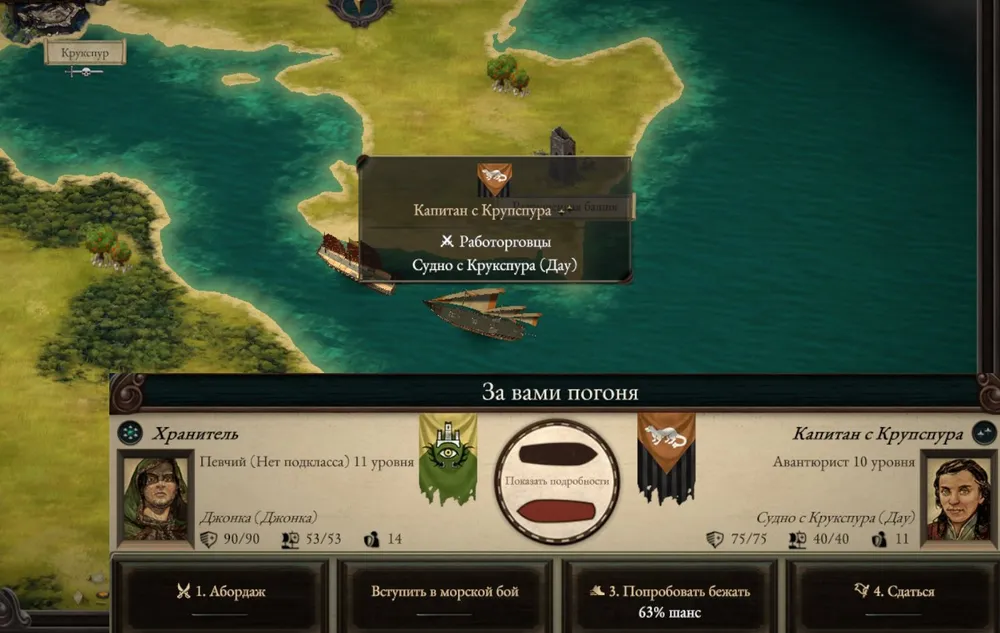
The battle ended in victory, and next to the junk… another identical slaver ship appeared! A system? Definitely a system! The Keeper boarded quite a few enemy ships and significantly replenished his gold reserves (and the fights didn’t even have to be controlled: I took the game off pause and waited for victory).
This is interesting!
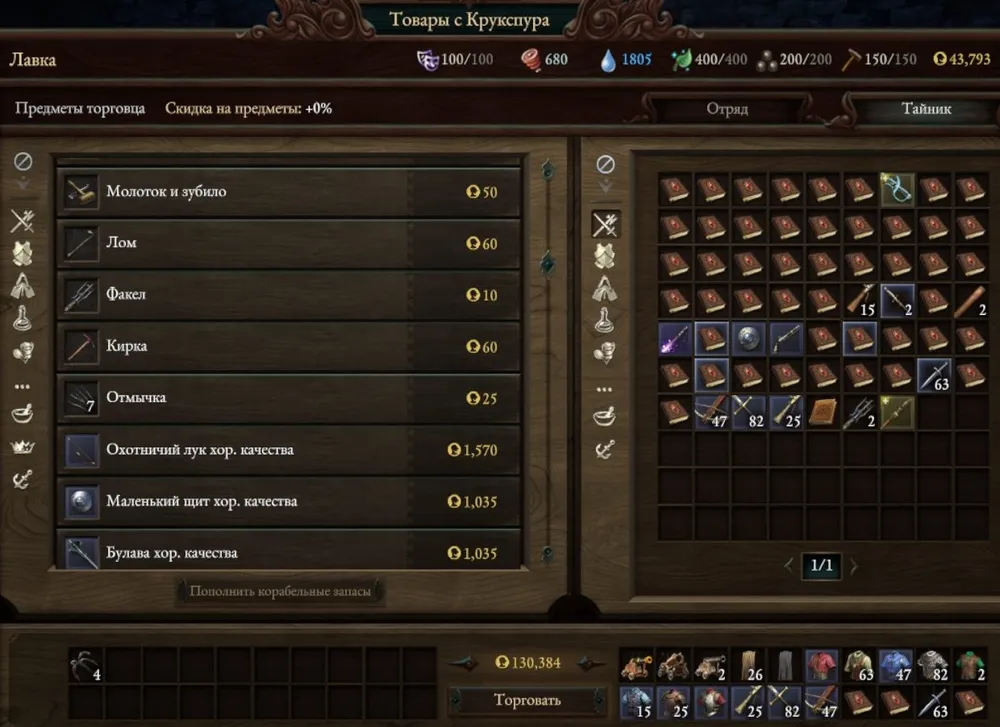
*It seems trivial, but what a pleasure: endless gold at the merchant! No matter how many "goods" the hero has, they will buy everything and pay for everything. How can one not remember with unkind words the creators of "Encased", who were terribly afraid of the hero's quick enrichment: enemies "dropped" far from everything, and even that could not be sold for ringing coins due to the merchant's minimal amount of gold (which, however, could be stolen).*
The first thing I did was steal heavy armor from the merchant positioned by the wall – the thief finally proved capable of picking locks on chests. Now it won't be so easy to defeat the paladin! (I want to believe this.)

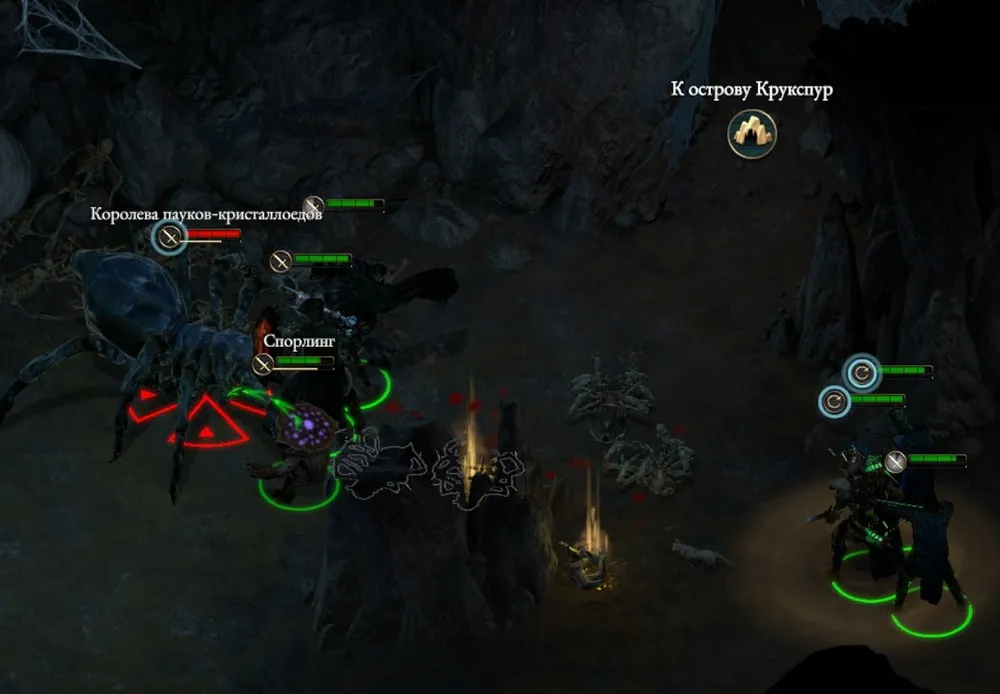
The group headed to the dungeon, where it turned out that the local slavers and their pets do not pose any threat to the squad.

This is interesting!
Here’s the dilemma: I can arrive at Crookspur early, but I won’t be able to pick locks or defeat anyone. I can arrive late: I will easily open all locks and have no problems destroying enemies. A bit boring! I would prefer to arrive early, steal the best weapons and armor, with which to defeat the local garrison. But the game creators have a different opinion on the options for completing the game….
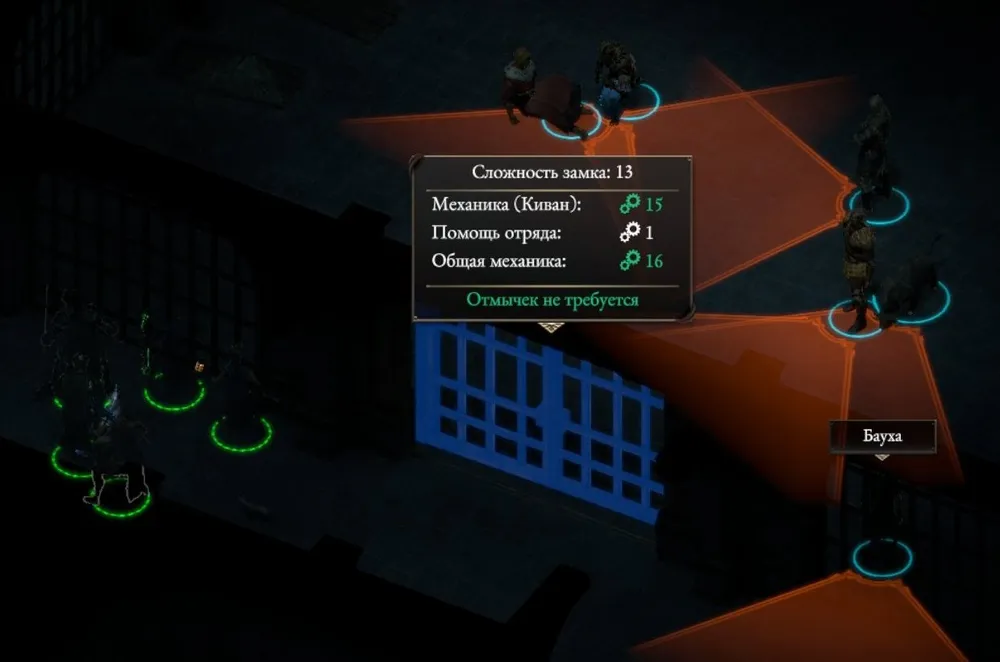
The deed is done, slaves freed, slavers destroyed. In the process, it was discovered that the squad not only knows how to walk through the air but also can pass right through the raised drawbridge.

This is important!
You cannot receive the next quest from the "Royal Company of the Archipelago"; it is the final one. However, it is up to you.
In Asongo, the squad will either arrive by themselves or receive a quest from the queen of the uana. If the squad reaches the eleventh-twelfth level, there should be no problems with clearing the island of nags: though numerous, they are not too dangerous. (I didn’t even use the bombard: it "disperses" corpses along with their gear.)
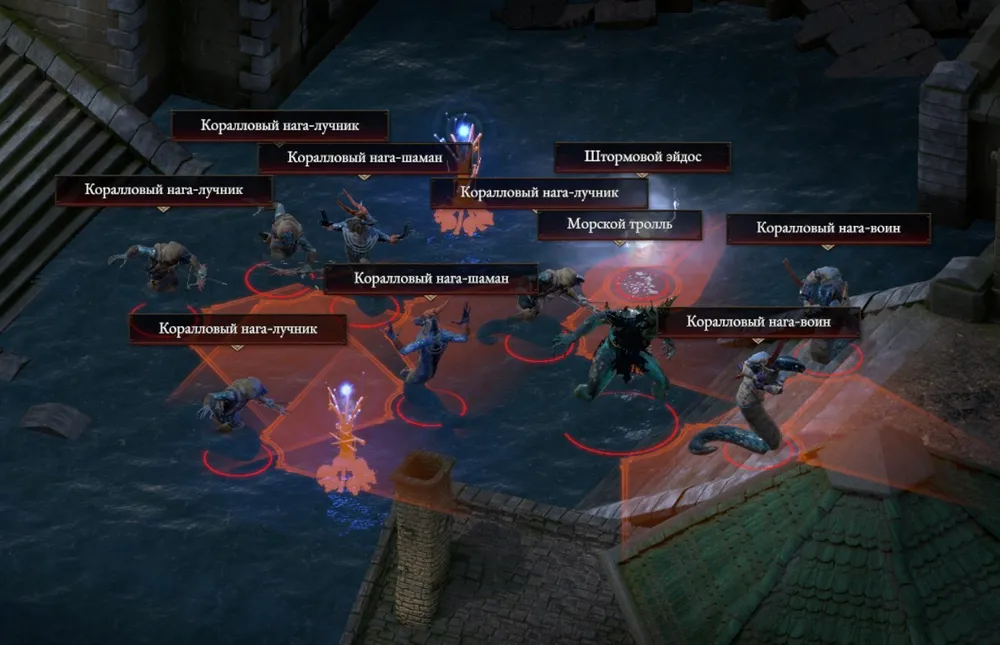
Upon completing this quest, there will be a conversation with Eothas, and the path to the next quest in the "Ashen Maw" will be opened. But for the squad at the twelfth level, it is still too early to go there!
Uana sends the Keeper to the island of Motare-o-Kosi to find the map; there are two paths on the island itself. The first: we destroy all living things with fire and sword and take the map. The second: we replace one of the companions with the druid Tekeku (if you do not have a druid in your squad). When the druid manages to sneak up to the infected trees and heal them, three pugs will join your side and allow you to avoid the final showdown on this island.
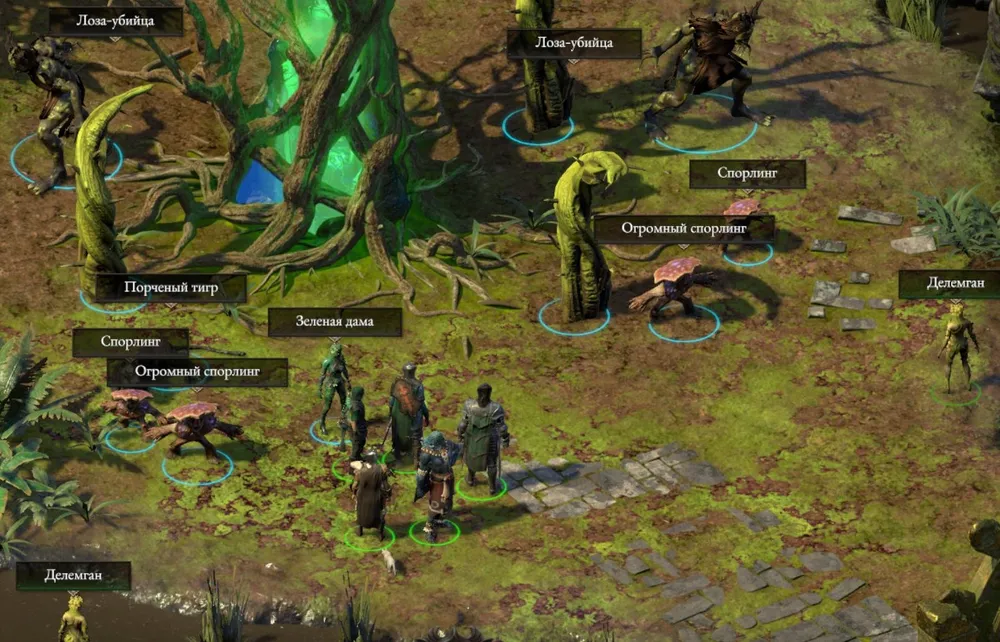
(The most challenging part is getting to the lower, middle tree. It’s best for one of the companions to distract the guards and make a run for it; the druid, who has sneaked closer beforehand, will heal the tree.)
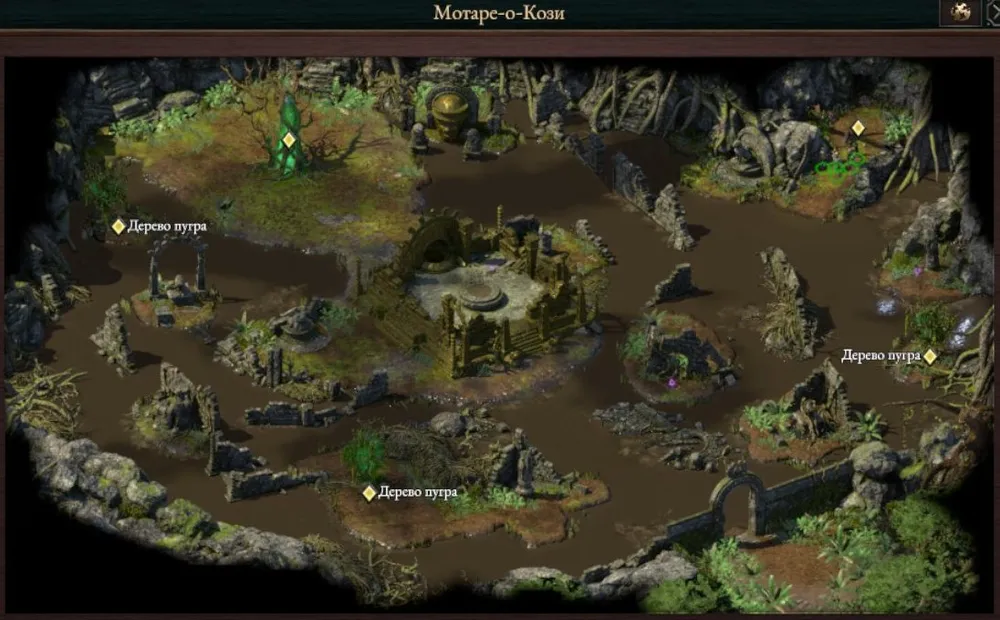
The puzzle in the center of the island is solved like this: the symbol of the Shining Adra; the symbol of Ukai; the symbol of the Fruit of Koiki; the symbol of the Maelstrom.
A quest from Captain Furrante (the Principi faction) was received at the very beginning of the voyage, which must be completed. We arrive at the "Deadlight Fort" and... Deceive the guards, land secretly, go for a storm – it's your decision which method to choose. The bard decided that his squad could storm the fort and launched a straight attack (the ship's crew, especially the helmsman! – must be seasoned enough!).
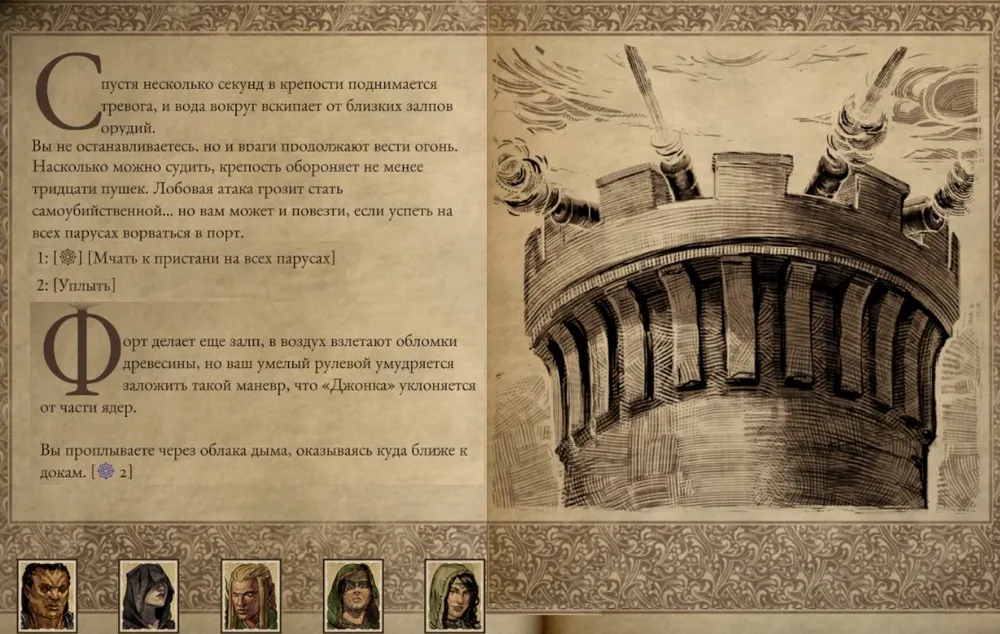
Those wishing to repel the attack came in droves, but how were they to cope with a group supported by ogres?
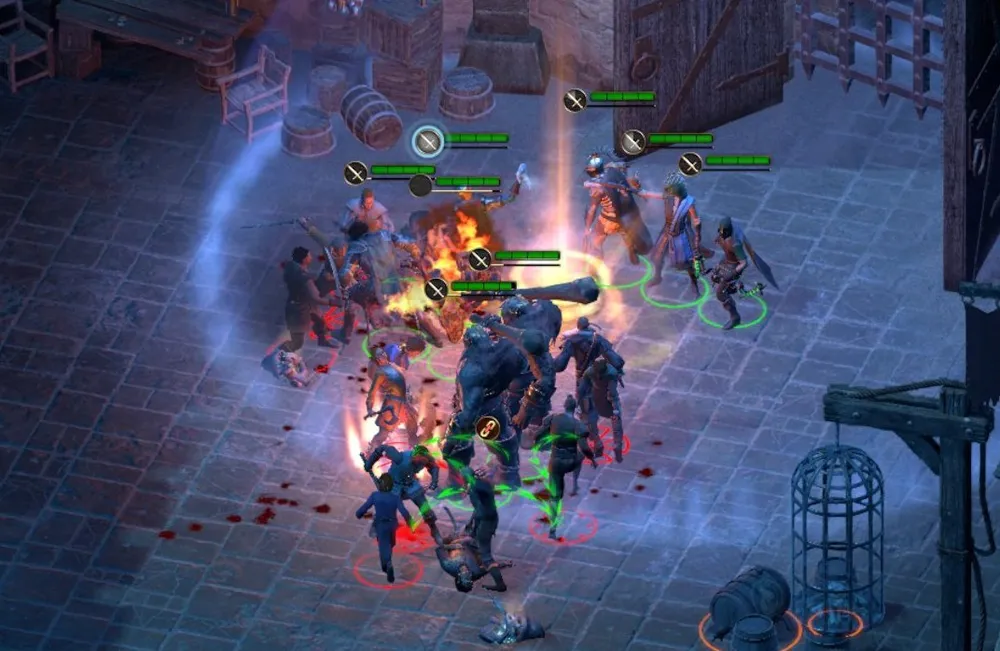
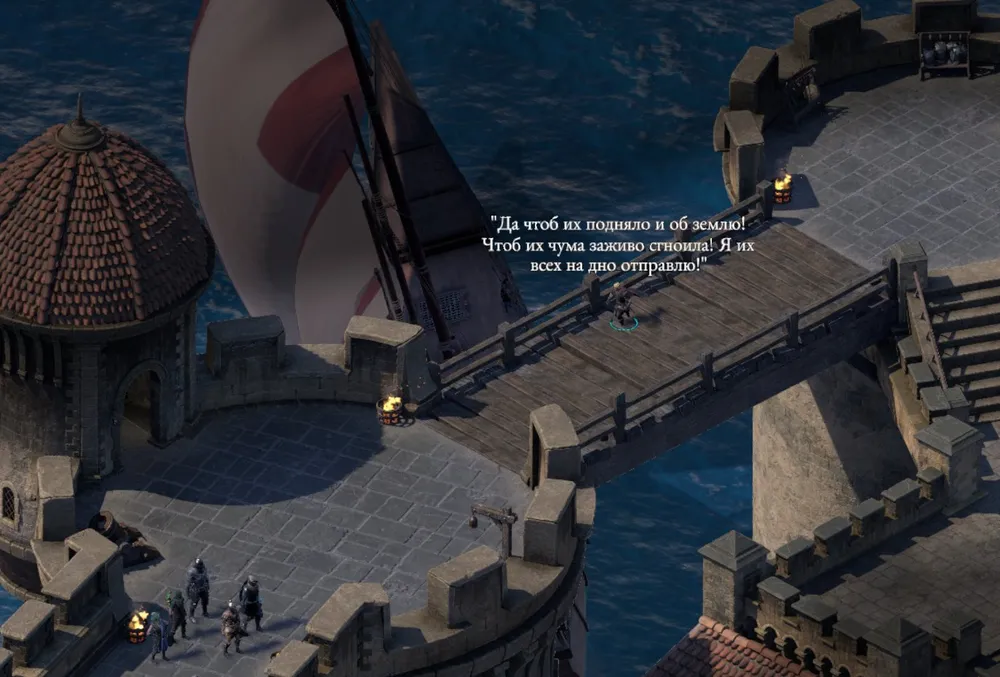
They chopped everyone in the inner courtyard, climbed the wall, and orchestrated the theft of Benweta's ship by another pirate. To see his ship sail away, Benweta dashed to the wall with curses and came face to face with the Keeper’s squad, who had so recklessly attacked his ship at the very beginning...
This is interesting!
Don’t want to "bother" with the theft of a ship (for that you need to free the crew of pirates from prison)? You can simply attack Benweta in his den or even arrange an explosive diversion.
Faction final quests are uninteresting; we sail to explore the islands not listed in the quests (at least that seems to be the case).
This is important!
I discovered an error in the actions of my lonely hero! Remember the unnamed island in the lower left corner of the map, where to turn off the fire around the sarcophagus, you had to activate four levers simultaneously, which is impossible for a lone hero? You needed to sneak into a nearby room and activate the secret plate guarded by death obelisks: that will turn off the flames, open the sarcophagus, and remove the unpleasant effect triggered after activating the four levers. Additionally, the plate will remove all unremoved traps, depriving the squad of experience and a small amount of gold.
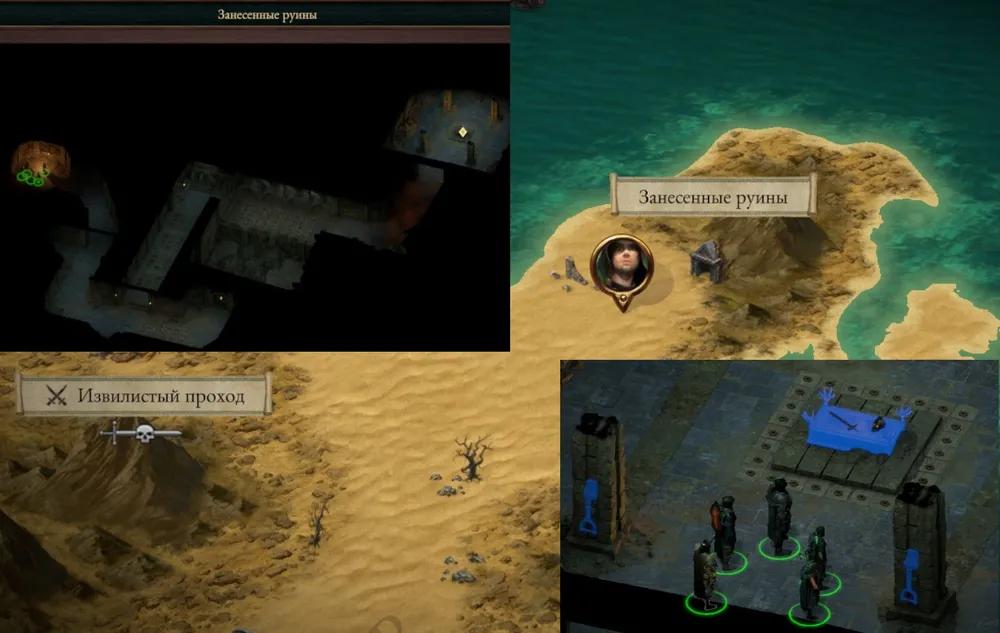
Not far from the "Deadlight Fort", a small island was accidentally discovered, where the fourth boss, the possessor of the crystal that allows enhancing weapons or armor to mythical level, has settled; but the squad is too weak to fight this trash.
This is interesting!
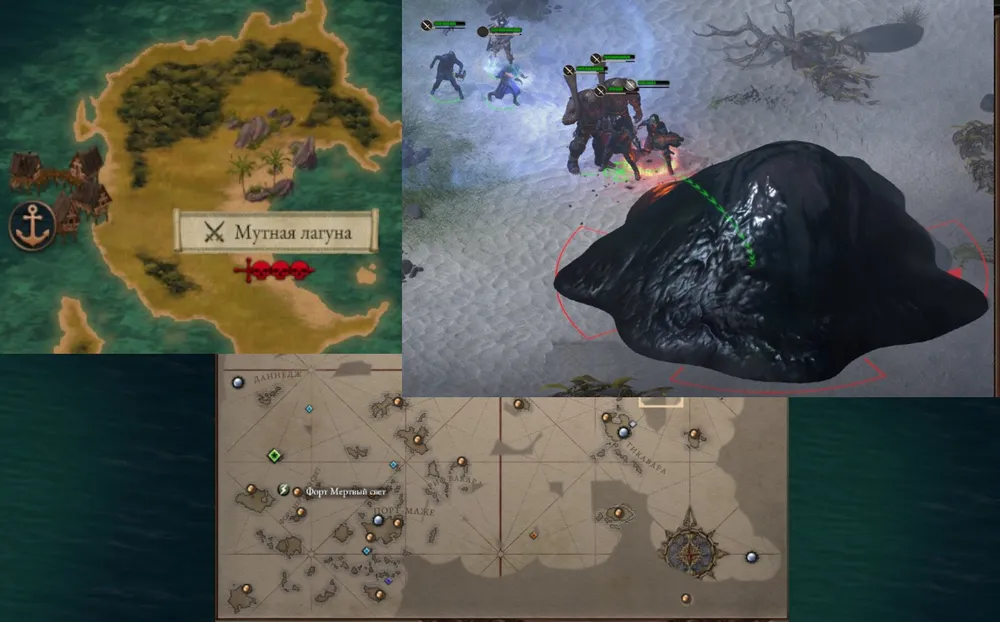
The warrior's ability to knock opponents down while rushing through their ranks caused a lot of trouble on "The Path of the Cursed". Branwen began each fight with this ability, finding herself in the thick of enemies every time - and more than anyone else received wounds; she would lose consciousness. (Later I removed this ability from her.)
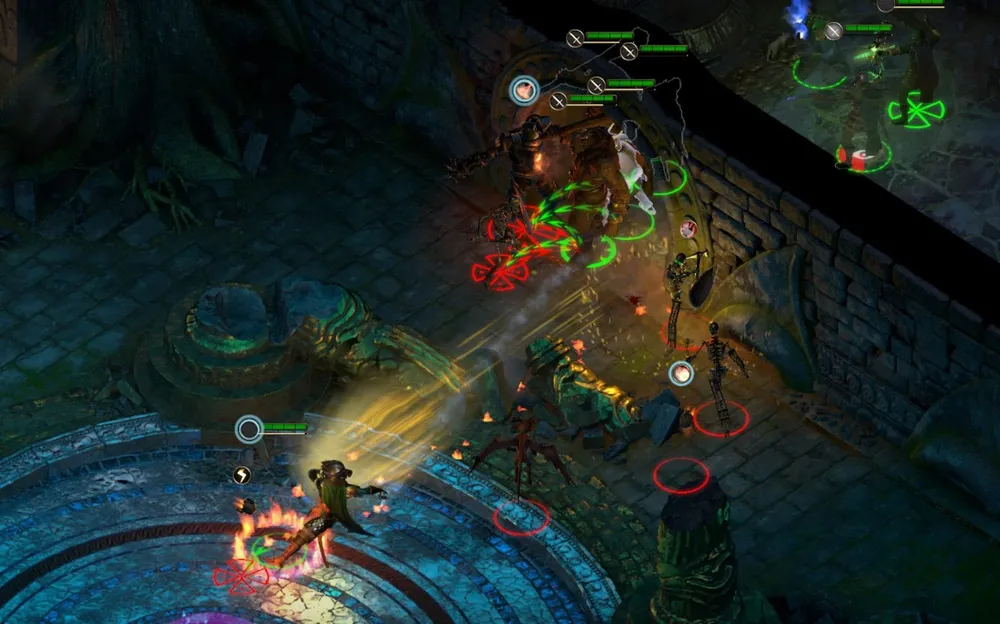
The paladin also "gives a light": if you try to pull a wounded comrade out of combat, the paladin drops everything and chases the wounded with the intent to heal him.
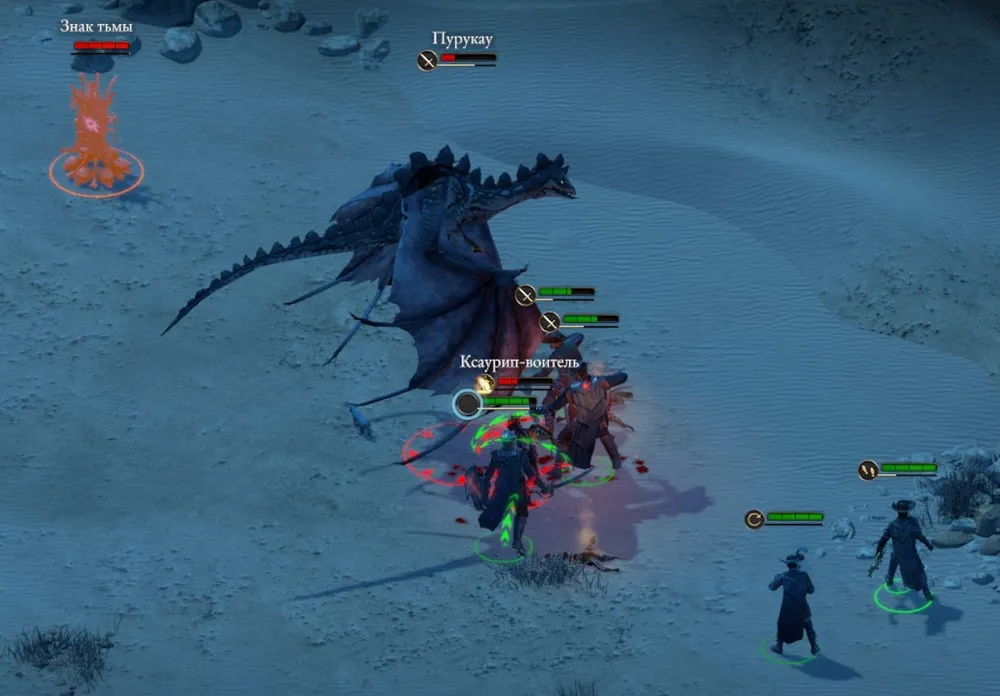
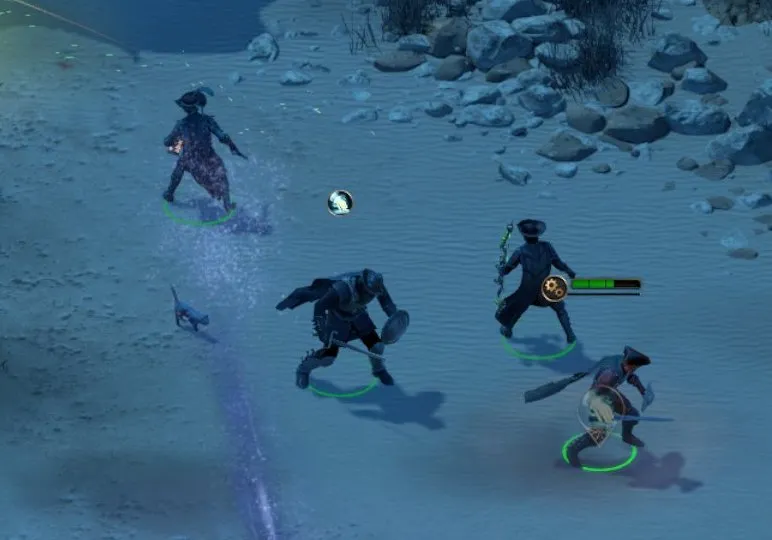
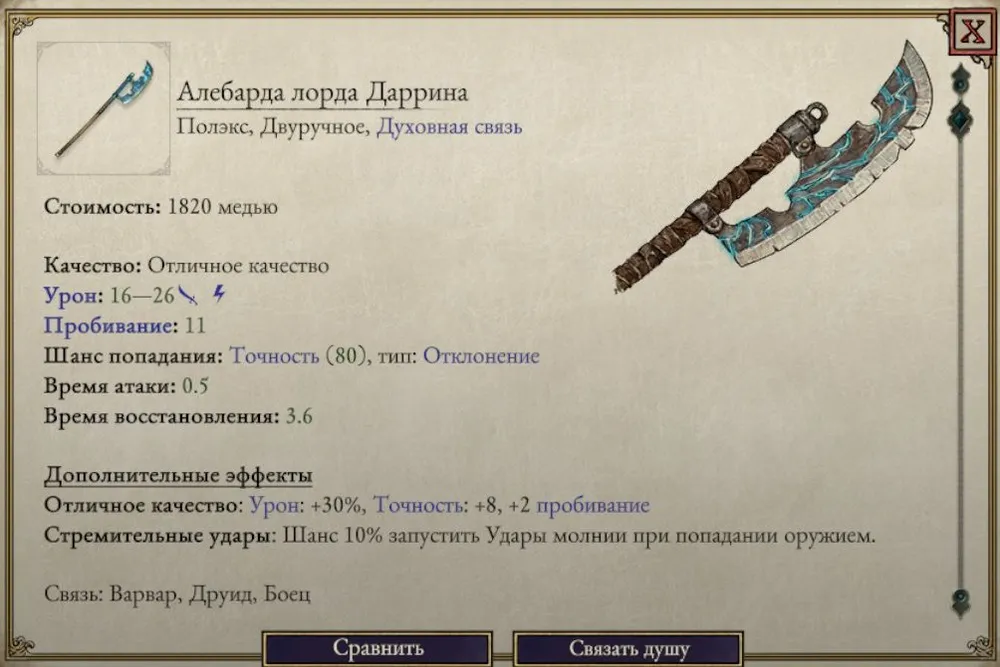
It is unknown at what point (probably after another boarding) the squad became the owner of another weapon with a soul binding; I did not enhance it.
It became clear that certain components needed for upgrading armor or weapons are completely absent from the map, they can only be bought; and not everywhere.
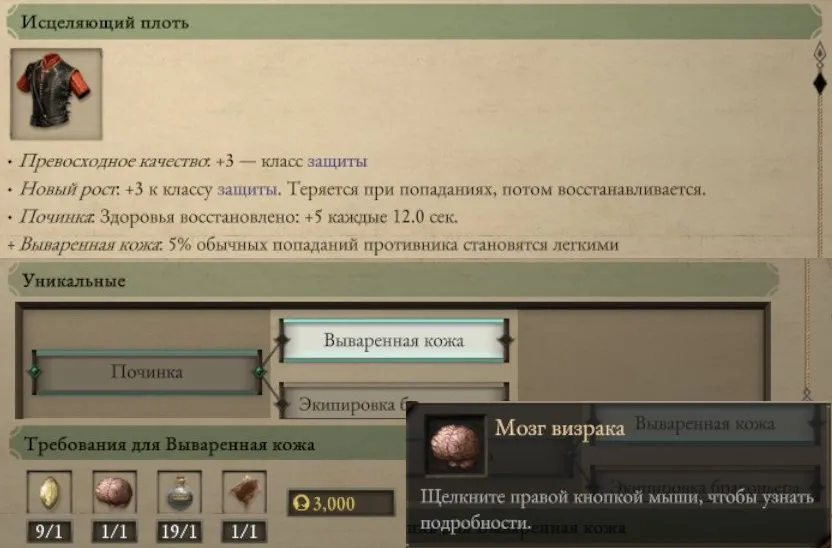
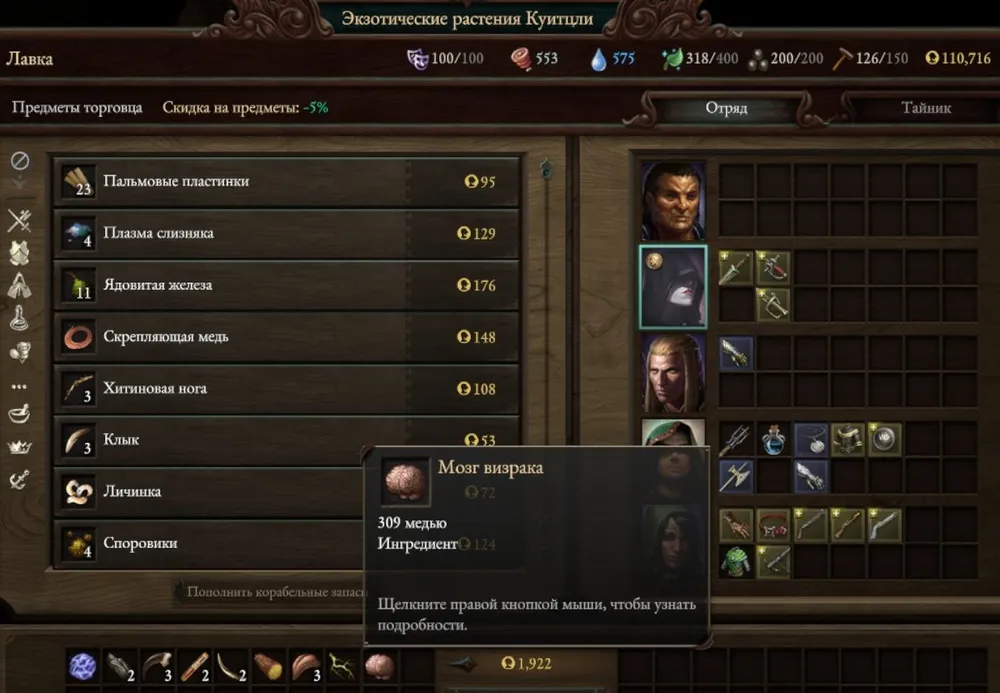
A long-found crystal of shining adra, kept for an unknown time, turned out to be suitable only for enhancing Zoti's lantern.

They continued to bring "surprises" while exploring Nekitaka's streets: sometimes arsonists appear,
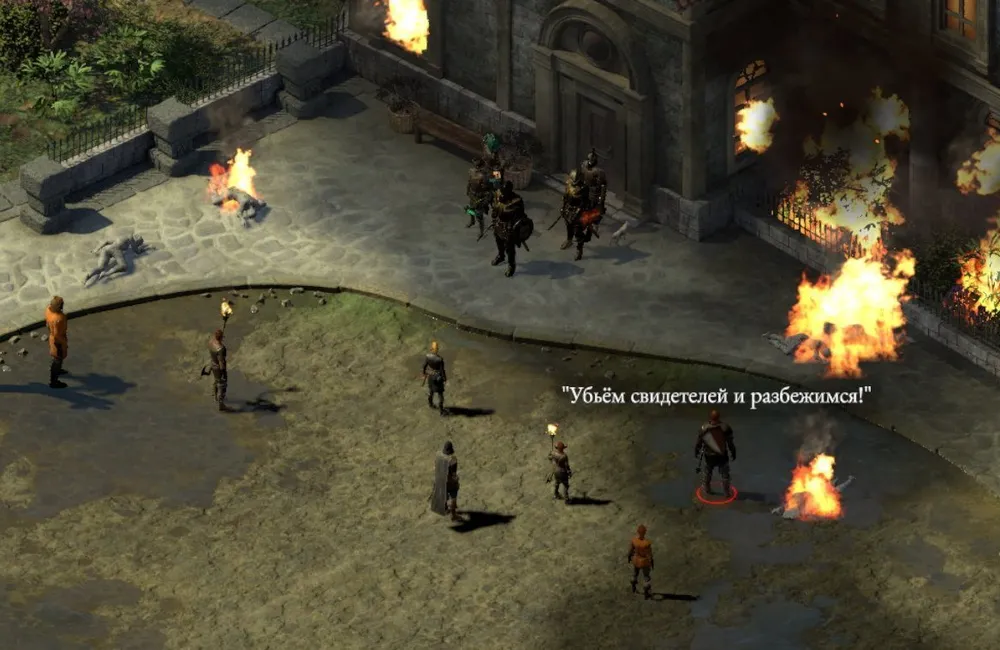
and sometimes the crew from the Keeper's own ship would want to increase their financial well-being at the expense of somewhat tipsy locals.
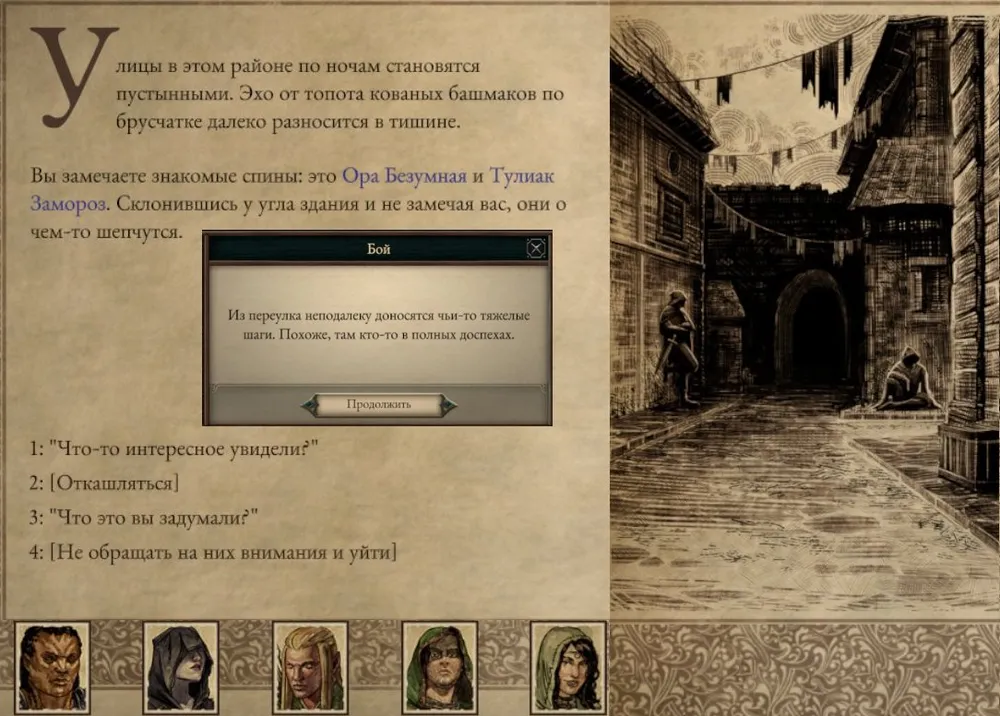
Speaking of arsonists and the like: the inability to save the game at the beginning of a meeting "stresses"; because one cannot figure out what other options for answers or actions of your squad will lead to.
But the most annoying was the absence of the rarest components and stones needed for maximum upgrades of rare equipment items for sale; they are not even on the "Ship of Wonders"; components can only be found. From the previous playthrough, it is known that most rare stones and others are found in the "Hall of the Invisible": we hurry there.
The labyrinth on the mountain peak was passed, but entry is not allowed; the entrance does not open. Apparently, it opens only after visiting the "Ashen Maw" and another "meeting" with Eothas. There's nothing to be done, we head there. The inhabitants – ratfolk – are aggressively inclined, but a high level of diplomacy helped avoid conflict; their leader sent the squad to the fire dragon.
This is interesting!
The ratfolk together with the dragon are ready to strike Eothas. In conversation with the dragon, you can convince him to attack the adrovy giant, and he will fly away. However… It is known that the risen god will still bypass this place and move on – nothing will come of giants and dragon! Whether to let the dragon go or fight him – it’s up to you.
In the fire lizard's treasury, there is an excellent saber, which – theoretically! – can be stolen without entering a fight and even without triggering the dragon's appearance.
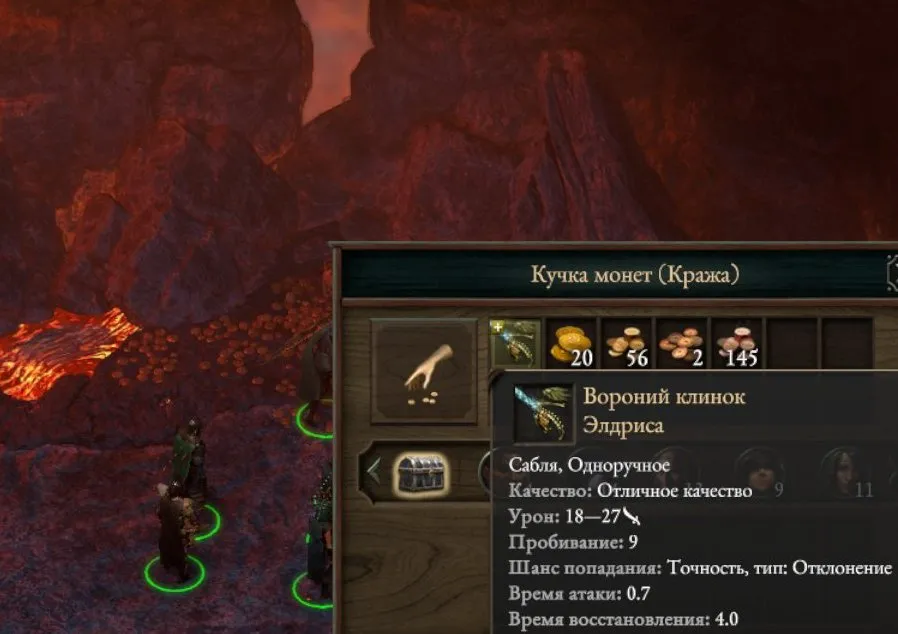
If you send all companions to reserve and max out the hero's invisibility, it will be possible to bypass two guards' squads.

(But how to do this at low levels…) I preferred the fight.
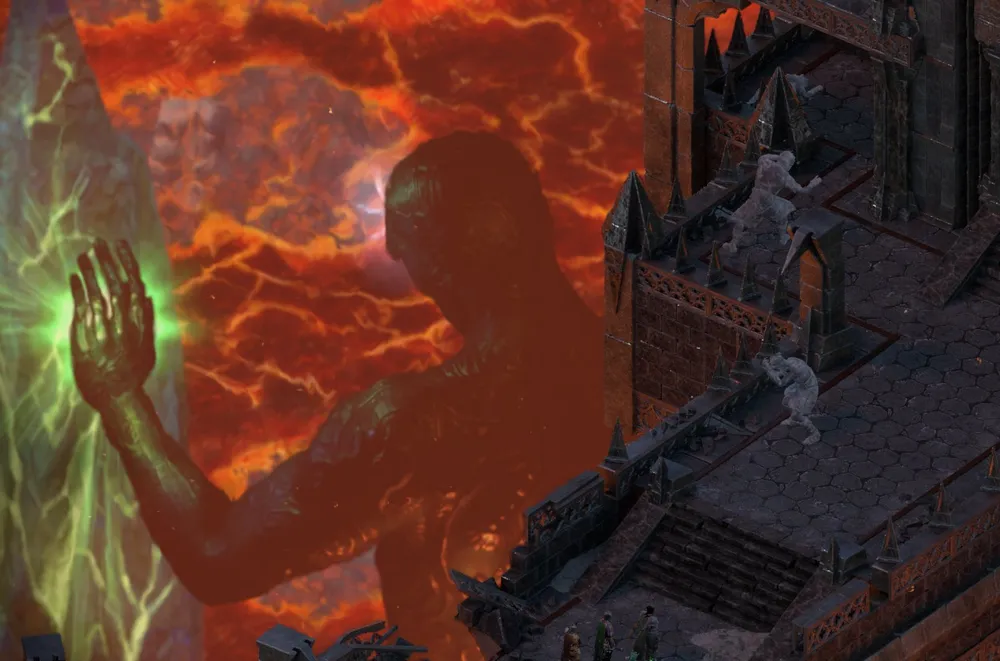
The dragon calls several magma slugs to his aid; his lair is not enclosed and consists of lengthy twisting corridors – what else do you need? The squad arms themselves with ranged weapons, the bard summons weapons or ogres, who block the slugs’ access to the squad. And the slugs, in turn, do not allow the dragon to get close to the group, showering him with arrows. The rest is a matter of time.
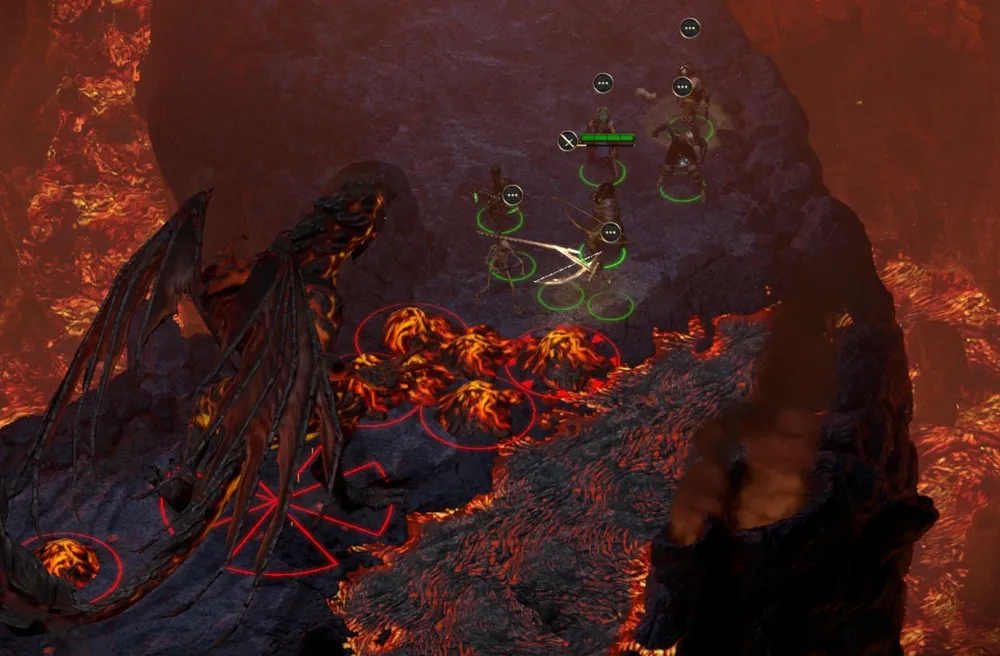
From the dragon's corpse, only one item can be taken – a stone from its gullet; it allows upgrading weapons to legendary level. We talk with Eothas; he transports us to Nekitaka – the path to the "Hall of the Invisible" is open! But about that – next time. Good luck to all of you!
To be continued…